Additional Service When Replacing Transaxle Assembly
Perform the following work after the transaxle assembly is replaced. For work procedure, refer to Work Procedure.
ERASING AND WRITING TCM DATA (IP CHARACTERISTICS VALUE)
TCM performs accurate control by retrieving data (inherent characteristic value) of each solenoid. For this reason, after replacing transaxle assembly, it is necessary to erase data stored in TCM and write new data.
ERASING OF CVT FLUID DEGRADATION LEVEL DATA
TCM records the degradation level of the CVT fluid calculated from the vehicle driving status. Therefore, if the transaxle assembly is replaced, it is necessary to erase the CVT fluid degradation level data recorded by TCM.
ASIST on the CONSULT has been synchronized to the current date.
All CONSULT software updates (if any) have been installed.
PRINT CURRENT CALIBRATION DATA
Turn ignition switch ON.
Connect CONSULT.
Select “CALIB DATA” in “TRANSMISSION”.
Print page 1 of 7.
GO TO 2.
CHECK THE SERIAL NUMBER (PART 1)
Write down the serial number of new transaxle assembly.
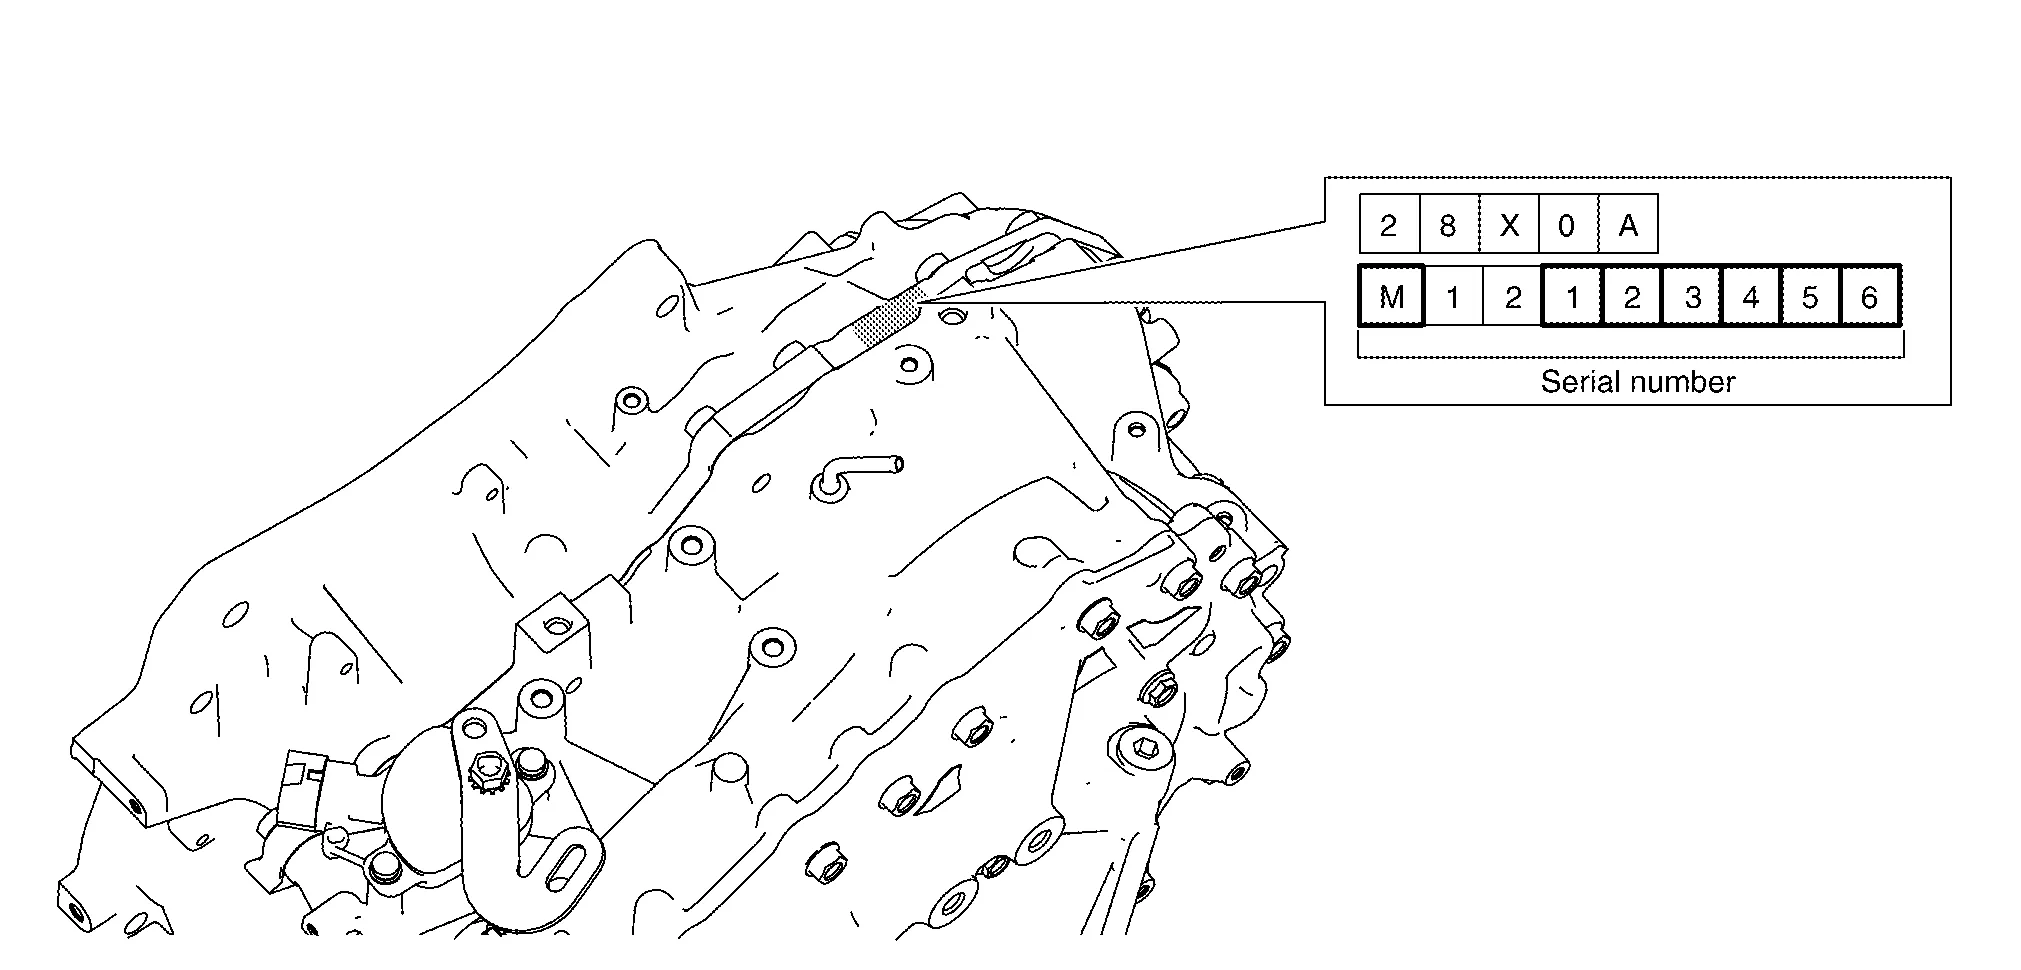
GO TO 3.
CHECK THE SERIAL NUMBER (PART 2)
Turn ignition switch ON.
Insert the supplied CD into CONSULT.
Select “Work Support” in “TRANSMISSION”.
Select “WRITE IP CHARA - REPLACEMENT AT/CVT”.
Select “OK” on the “Select IP characteristics data file” window.
Open the calibration file located on the supplied CD.
Confirm that the serial number (calibration file number) displayed on CONSULT screen matches the serial number (calibration file number) on the transaxle assembly.
Select “Next” on the “WRITE IP CHARA - REPLACEMENT AT/CVT” Work Support screen.
GO TO 4.
WRITE THE DATA
Turn ignition switch ON, engine OFF.
Press the brake pedal.
Shift the selector lever to the R position.
Depress the throttle pedal half way and hold, then press “START” on the CONSULT screen.
Write data to the TCM according to the instructions on the CONSULT screen.
Select “End”.
GO TO 5.
PRINT NEW CALIBRATION DATA
Select “CALIB DATA” in “TRANSMISSION”.
Print page 1 of 7.
GO TO 6.
PERFORM SELECT LEARNING (DRIVE/REVERSE LEARNING)
Perform Select Learning. Refer to Work Procedure.
>>GO TO 7.
ERASE CVT FLUID DEGRADATION LEVEL DATA
Select “WORK SUPPORT” in “TRANSMISSION”.
Select “CONFORM CVTF DETERIORTN”.
Touch “Clear”.
Clear any DTCs that may have set and then test drive the Nissan Murano vehicle.
WORK END