License Plate Light Assembly
Components
COMPONENTS
ILLUSTRATION
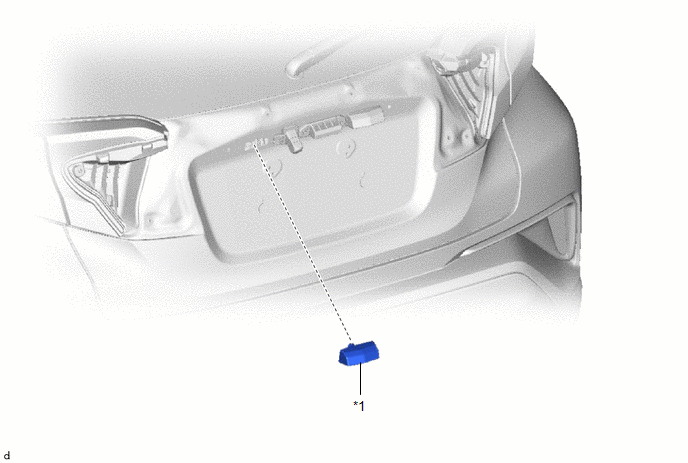
*1 |
LICENSE PLATE LIGHT ASSEMBLY |
- |
- |
Removal
REMOVAL
PRECAUTION / NOTICE / HINT
HINT:
- Repeat the same procedure for the right side and the left side.
- The following procedure applies to the left side.
PROCEDURE
1. REMOVE BACK DOOR OUTER GARNISH
Click here
2. REMOVE LICENSE PLATE LIGHT ASSEMBLY
(a) Disconnect the connector. |
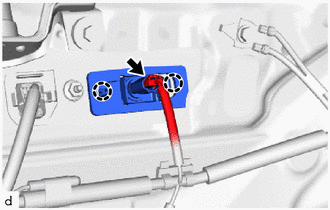 |
(b) Release the claws to remove the license plate light assembly.
Inspection
INSPECTION
PROCEDURE
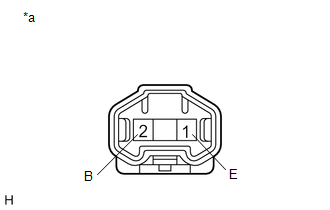
1. INSPECT LICENSE PLATE LIGHT ASSEMBLY
(a) Apply battery voltage to the license plate light assembly and check that the light illuminates. OK:
If the result is not as specified, replace the license plate light assembly. |
|
Installation
INSTALLATION
PRECAUTION / NOTICE / HINT
HINT:
- Repeat the same procedure for the right side and the left side.
- The following procedure applies to the left side.
PROCEDURE
1. INSTALL LICENSE PLATE LIGHT ASSEMBLY
(a) Engage the claws to install the license plate light assembly. |
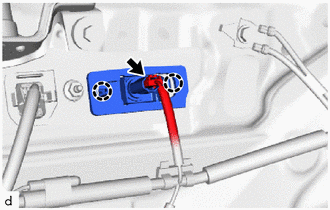 |
(b) Connect the connector.
2. INSTALL BACK DOOR OUTER GARNISH
Click here