Lettering and emblems
Dimensions - Lettering and emblems
Dimensions of lettering on tailgate

Note
- The height and side dimensions of the lettering are identical for all engine variants.
- Observe the following installation notes when installing the lettering.
Installation notes
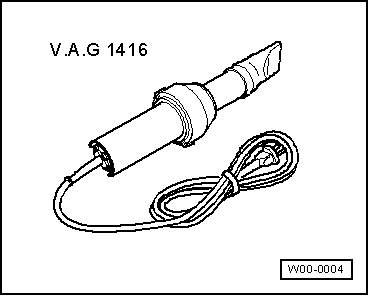
- Heat lettering or emblem with hot-air gun -V.A.G 1416- before removal.
- If lettering or an emblem is removed and installed, only adhesive remover -D 002 000 10- is used to remove adhesive residue.
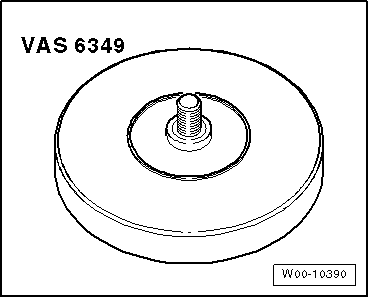
- If present, remove any adhesive residue from the adhesive tape with adhesive tape remover -VAS 6349-.
- Make sure the adhesive surfaces are free of dust and grease.
- Stick on the lettering or emblem immediately after cleaning.
- Remove the protective film only immediately before installation.
- The processing temperature is approx. 21 °C.
- Bonded lettering or emblems cannot be removed without damage.
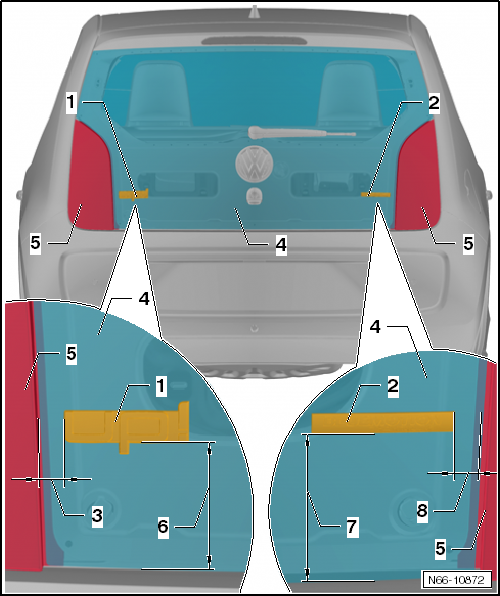
- Lettering
- Model designation
- Lettering
- Engine designation
- Side dimension
- 20 mm, from outer edge of tailgate to lettering
- Tailgate
- Tail light
- Height dimension
- 102 mm, from lower edge of tailgate to lettering
- Height dimension
- 108 mm, from lower edge of tailgate to lettering
- Side dimension
- 20 mm, from outer edge of tailgate to lettering
Removing and installing film lettering
Extra equipment Volkswagen R GmbH

Note
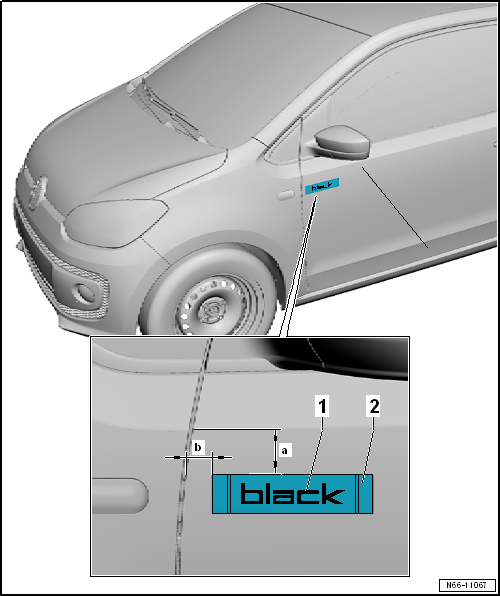
Depending on model variant, the "Film lettering Black" or the "Film lettering White" is bonded to the front door or side panel.
Required Special Tools, Test and Measuring Equipment and Auxiliary Items
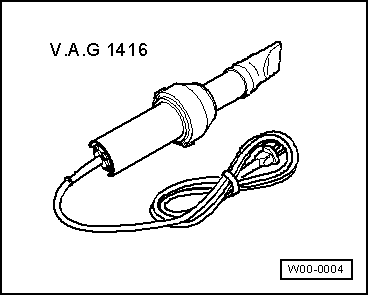
- Hot air blower -V.A.G 1416-
Installation notes
- Bonded film lettering cannot be removed without damage.
- Heat film lettering with hot-air gun -V.A.G 1416- before removal.
- If film lettering is replaced, only adhesive remover -D 002 000 10- is used to remove adhesive residue.
- Make sure the adhesive surfaces are free of dust and grease.
- Stick on the film lettering immediately after cleaning.
- Remove protective film only immediately before sticking on.
- The processing temperature is approx. 21 °C.

Note
The film lettering "black" in the illustration is for example only.
Removing
- Heat film lettering -1- with hot-air gun -V.A.G 1416- before removal.
- Carefully peel film lettering -1- off side panel.
Installing
Observe installation notes.
- Remove protective film before sticking on.
- Position film lettering -1- on the contact edges and press on.
- After sticking on, remove installation film -2-.
Removing and installing emblems
Removing and installing front emblem
Removing
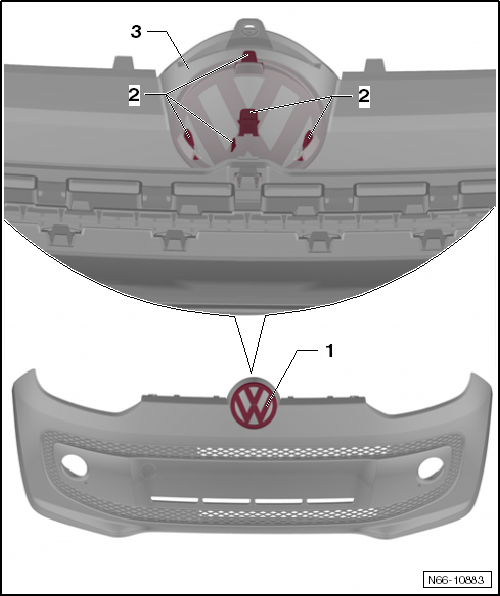
Carry out the following work:
- Remove bumper cover.
- Release all locking hooks -2- of emblem -1-.
- Remove emblem -1- from bumper cover -3-.
Installing
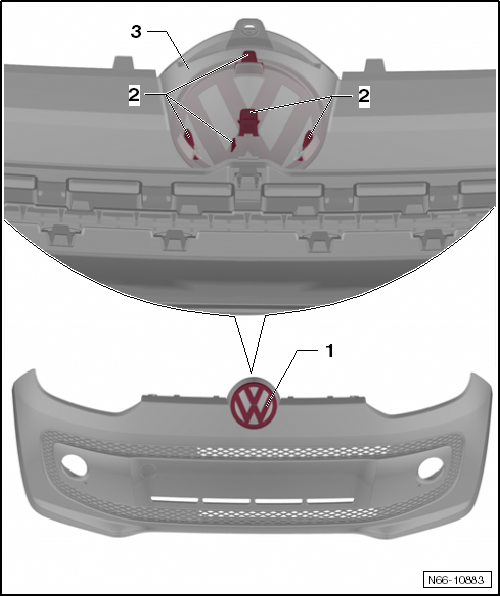
- Press emblem -1- onto bumper cover -3- until all locking hooks -2- engage.
Removing and installing emblem on tailgate
Required Special Tools, Test and Measuring Equipment and Auxiliary Items
- Hot air blower -V.A.G 1416-
- Adhesive tape remover -VAS 6349-
Removing

Note
- Depending on the model variant, minor differences must be taken into account during removal and installation.
- Observe the following installation notes when installing the emblem.
Installation notes
- Heat lettering or emblem with hot-air gun -V.A.G 1416- before removal.
- If lettering or an emblem is removed and installed, only adhesive remover -D 002 000 10- is used to remove adhesive residue.
- If present, remove any adhesive residue from the adhesive tape with adhesive tape remover -VAS 6349-.
- Make sure the adhesive surfaces are free of dust and grease.
- Stick on the lettering or emblem immediately after cleaning.
- Remove the protective film only immediately before installation.
- The processing temperature is approx. 21 °C.
- Bonded lettering or emblems cannot be removed without damage.
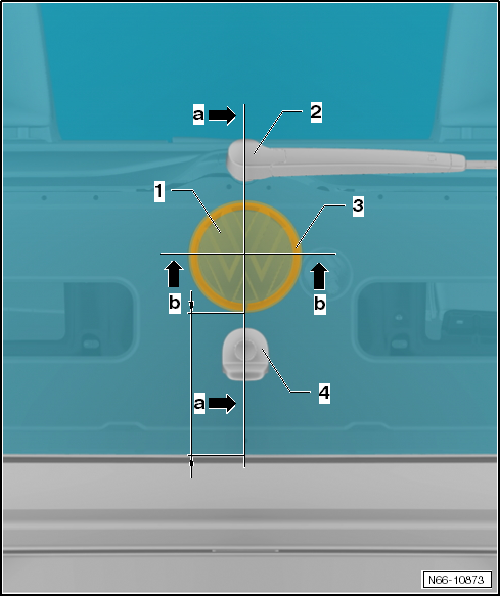
- Heat emblem -1- with hot-air gun -V.A.G 1416- before removal.
- Lift emblem off tailgate.
Installing

Note
The template is ordered together with the emblem via "ETKA".
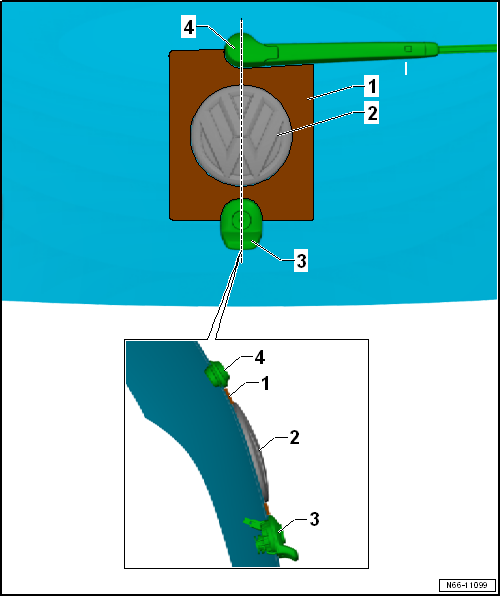
- Place template -1- between rear wiper -4- and switch -3-.
- Clean adhesive surface -2- and let it flash off for 10 minutes.
- Prime adhesive surface -2- and let it flash off for 10 minutes.
- Remove protective film from emblem.
- Align emblem -1- and press firmly.