Engine Control System/Fuel System
Fuel Line Repair Procedures
In this manual: Engine Control System/Fuel System
20steps
~120min
4/5difficulty
Done 0 of 20
Removal
- Turn the ignition switch OFF and disconnect the negative (-) battery terminal.
- Release the fuel line residual pressure. (Refer to Fuel System - "Release Fuel Line Residual Pressure")
- Disconnect the quick-connect coupling of the fuel feed tube (A).
- Disconnect the vapor hose (B) connected to the PCSV.

- Remove the front left wheel, tire and wheel house liner.
- Remove the fuel line protector (A) after removing the mounting nuts.

- Disconnect the quick-connect coupling (A) of the front vapor and fuel line.

- Remove the noise shield (A) after loosening the mounting bolt and nut.
- Remove the front vapor and fuel line (B).

- Remove the fuel tank. (Refer to Fuel System - "Fuel Tank")
- Remove the retaining clips (A) of the vent tube and fuel feed tube using a common screwdriver.

- Remove the fuel line from the underbody.

Installation
- To install, reverse the removal procedure.
Inspection
- Start the engine.
- Check the installation condition of the fuel feed line (A) and check for fuel leakage.

- Fold down the rear seat cushion.
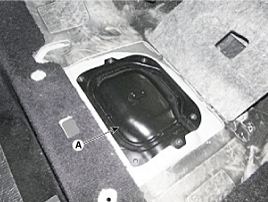
- Remove the fuel pump service cover (A) after loosening the screws.
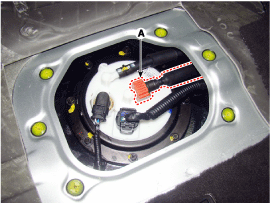
- Check the installation condition of the fuel feed quick-connect coupling (A) and check for fuel leakage.
- Raise the vehicle.
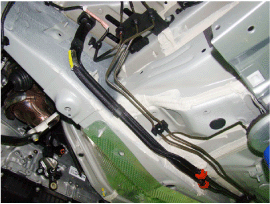
- Check for fuel leakage.

- Replace the fuel line if an abnormal condition is found during inspection. (Refer to Fuel System - "Fuel Line")
Test yourself
A quick Hyundai Genesis DH quiz: every answer comes with an explanation and a link to the manual page.
Was this page helpful?