Braking System
Stop Lamp Switch Repair Procedures
In this manual: Braking System
19steps
~114min
4/5difficulty
Done 0 of 19
ITEM
- Turn the ignition key to the OFF position and disconnect the negative (-) battery cable.
- Remove the lower crash pad. (Refer to Body - Instrument Panel.)
- Remove the knee airbag. (Refer to Retainer - Airbag Module.)
- Check the clearance between the stop lamp switch and the bracket.
Brake light switch clearance: 1.0 ~ 2.0 mm (0.04 ~ 0.08 in.)
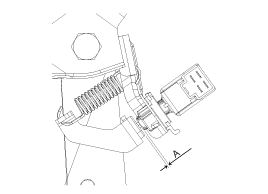
- If the clearance between the brake light switch and the bracket is not 1.0 ~ 2.0 mm (0.04 ~ 0.08 in.), check the retaining clip and other parts near the brake light switch.
- If everything is normal, remove the brake light switch and install it again.
Inspection
1. Check the fuses. Install a test fuse on the fuse and check the fuse part to confirm normal sealing adjustment.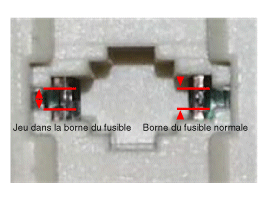
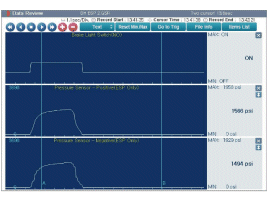
- Analyze GDS data and check if anything is wrong other than the brake light switch.
- Connect the GDS to the self-diagnosis connector.
- Turn the ignition on.
- Press the brake pedal.
- Check the "Brake Switch" category displayed on GDS. (Refer to "Data List".) Normal signal waveform: the sensor signal value changes according to the brake ON/OFF switch.
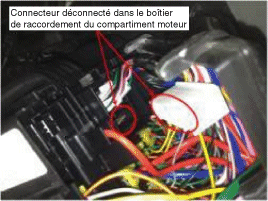
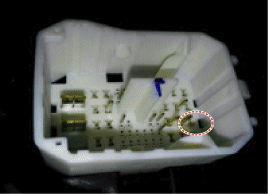
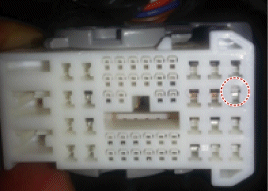
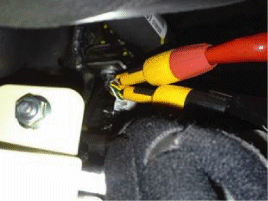
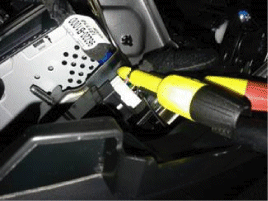
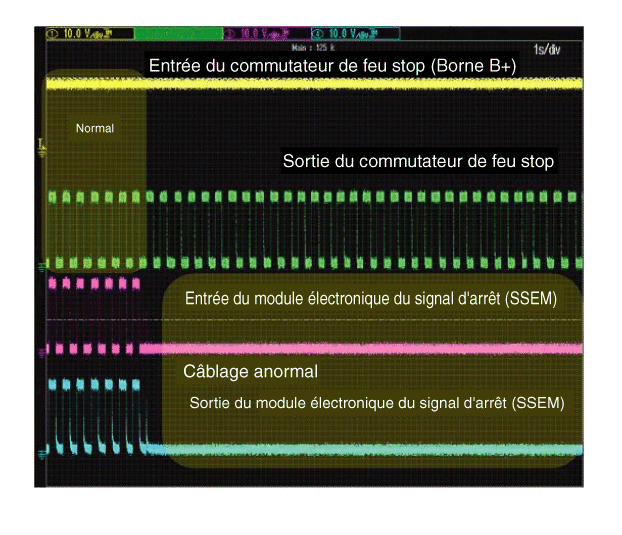
DEPOSIT
- Turn the ignition key to the OFF position and disconnect the negative (-) battery cable.
- Remove the lower crash pad. (Refer to Body - Instrument Panel.)
- Remove the knee airbag. (Refer to Retainer - Airbag Module.)
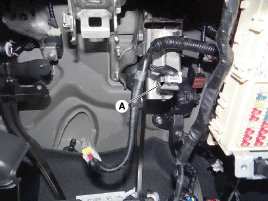
- Disconnect the brake light switch connector (A).
- Pull the lock plate (A) as shown by the arrow.
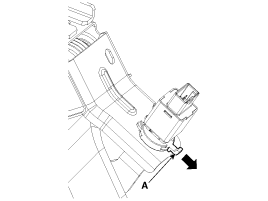
- Turn the brake light switch 45° counterclockwise and discard it.
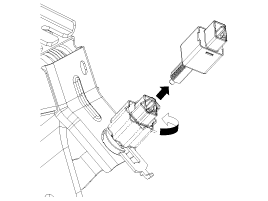
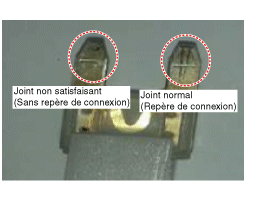
- Inspect the brake light switch removed according to the procedures described below.
- Check the terminal connection is normal.
- Check that the connector is securely attached and that the locking mark is visible.
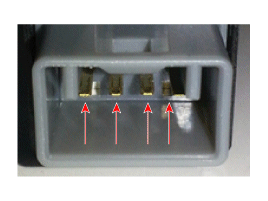
- Perform resistance inspection of the part.
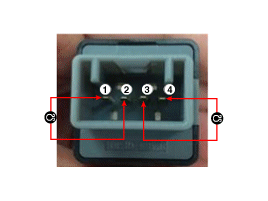
Resistance [Ω] 3-4 1/2 Plunger not protruding
(OFF)Infinity 0 Plunger protruding
(ON)0 Infinity
- Check the terminal connection is normal.
REMEDY
- Attach the brake pedal arm and fully insert the brake light switch as a hidden contact element.
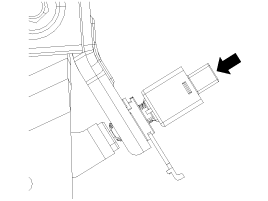
- After installation, turn the stop light switch (A) 45° clockwise and press the stopper plate (B).
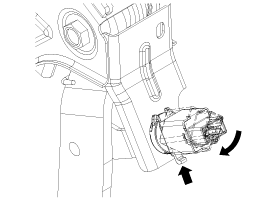
- Check the clearance between the stop lamp switch and the bracket.
Brake light switch clearance: 1.0 ~ 2.0 mm (0.04 ~ 0.08 in.)
- Connect the stop lamp switch connector.
- Install the knee airbag. (Refer to Restraint System - "Knee Airbag Module")
- Install the lower instrument panel. (Refer to Body - "Instrument Panel")
Test yourself
A quick Hyundai i20 quiz: every answer comes with an explanation and a link to the manual page.
Was this page helpful?