Condenser
Components and Component Location
Component Location
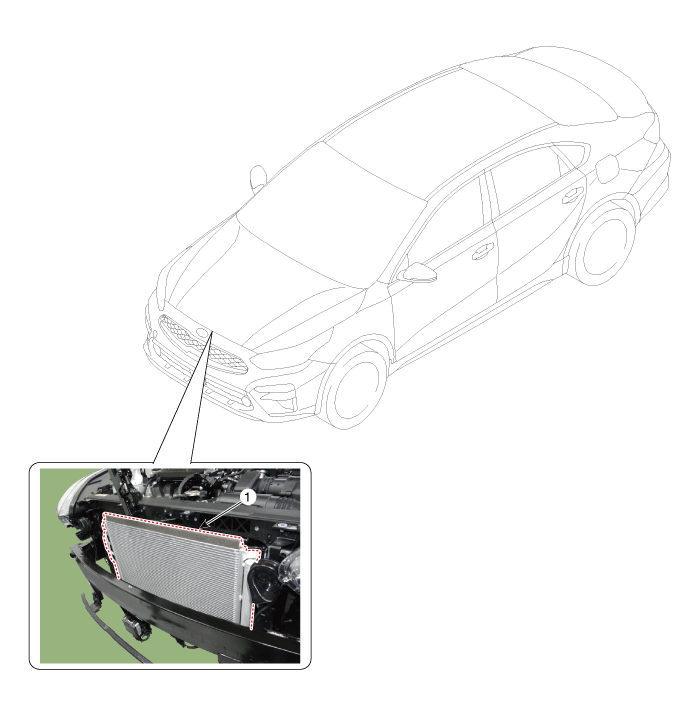
| 1. Condenser |
Repair Procedures
Inspection
Check the condenser fins for clogging and damage. If clogged, clean them with water and blow them off with compressed air. If bent, carefully straighten them using a screwdriver or pliers.
Check the condenser connections for leaks and repair or replace if necessary.
Replacement
Recover the refrigerant using a refrigerant recovery/recycling/recharging station.
Disconnect the negative (-) battery terminal.
Remove the hood latch assembly.
(Refer to Body - "Hood Latch")
Remove the front bumper.
(See Body - Front Bumper Cover)
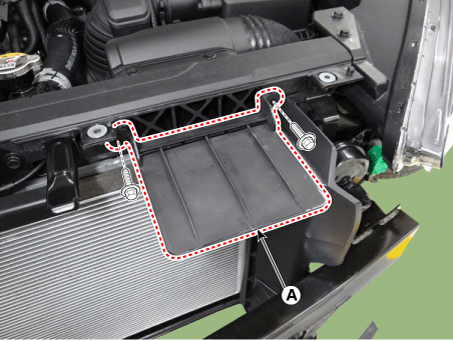
Remove the air duct extension (A).
Tightening torque: 3.9 ~ 5.9 N·m
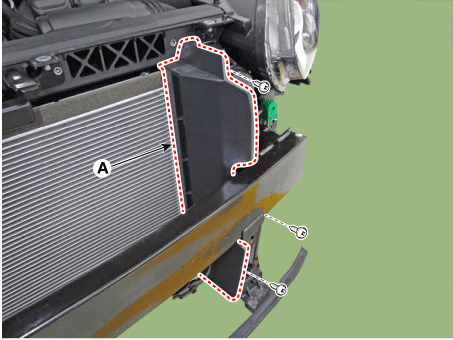
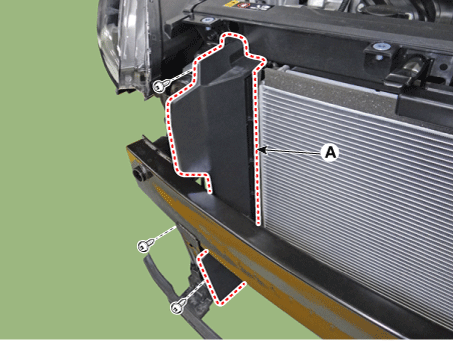
Loosen the mounting bolts and clips, then remove the side air duct (A).
Tightening torque: 3.9 ~ 5.9 N·m
[LH]
[RH]
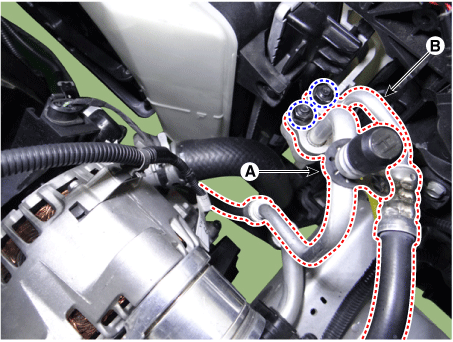
Remove the 2 nuts, then disconnect the discharge line (A) and liquid line (B) from the condenser.
Tightening torque: 8.8–13.7 N·m
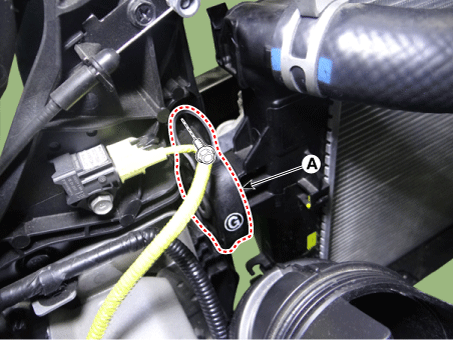
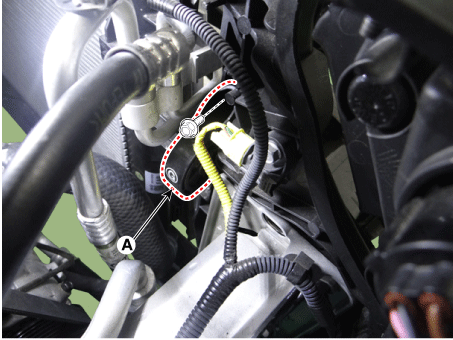
Remove the mounting bolts and remove the upper radiator mounting bracket (A).
Tightening torque: 7.8–11.8 N·m
[LH]
[RH]
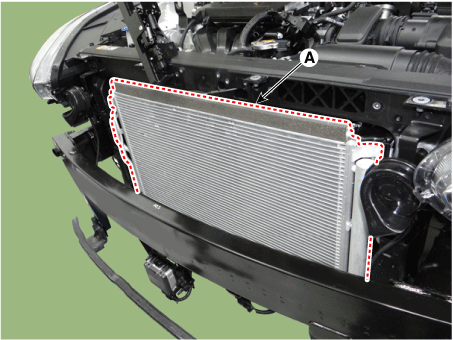
Press the stopper pins, then remove the condenser (A) in the direction of the arrow.
To install, reverse the removal procedure.
Test yourself
A quick Kia Forte BD quiz: every answer comes with an explanation and a link to the manual page.