Evaporator Core Repair procedures
Replacement
Disconnect the negative (-) battery terminal.
Remove the heater and blower assembly.
(Refer to Heater - "Heater Unit")
Remove the heater unit lower case (A) after loosening the mounting screws.
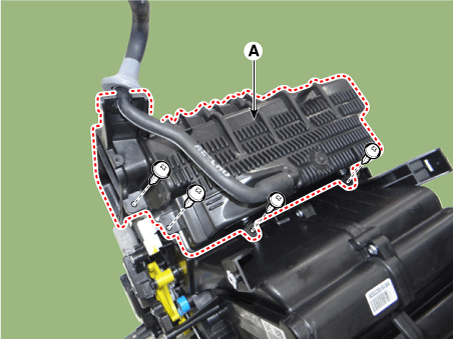
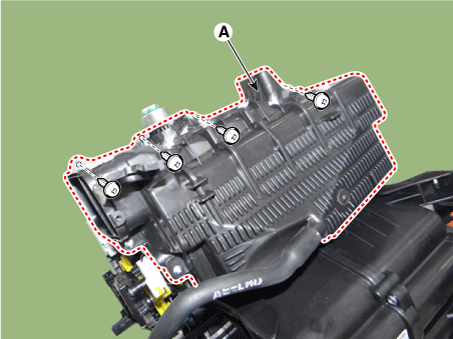

Hold the end of evaporator temperature sensor (A) and turn it by 90° in counterclockwise direction, and then pull out the sensor.
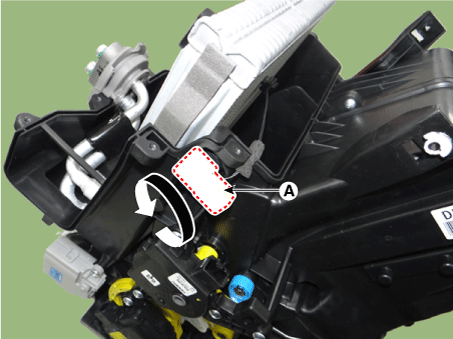
Remove the evaporator core (A) from the heater unit.

Install in the reverse order of removal.
When installing a new heater core, add refrigerant oil (POE OIL).
Replace the O-rings with new ones at each fitting, and apply a thin coat of refrigerant oil before installing them. Be sure to use the right O-rings for R-134a to avoid leakage.
Immediately after using the oil, replace the cap on the container, and seal it to avoid moisture absorption.
Do not spill the refrigerant oil on the vehicle; it may damage the paint; if the refrigerant oil contacts the paint, wash it off immediately.
Apply sealant to the grommets.
Make sure that there is no air leakage.
Charge the system and test its performance.
Install the hose clamps securely without interchanging the inlet and outlet heater hoses.