Rear Subframe
Repair Procedures
Removal
Disconnect the negative (-) battery cable.
Remove the rear wheel and tire.
(Refer to Tires/Wheels — "Wheel")
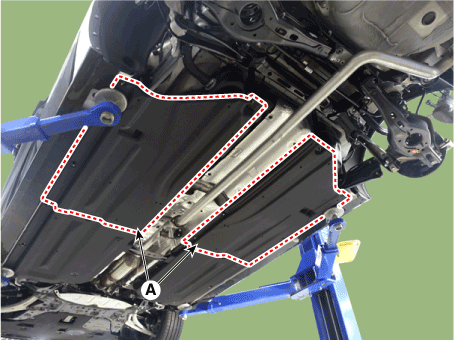
Remove the lower cover (A).
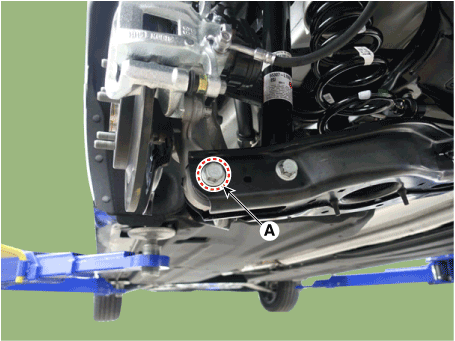
Loosen the bolt and nut (A), then remove the rear lower arm from the rear axle.
Tightening torque: 137.3–157 N·m
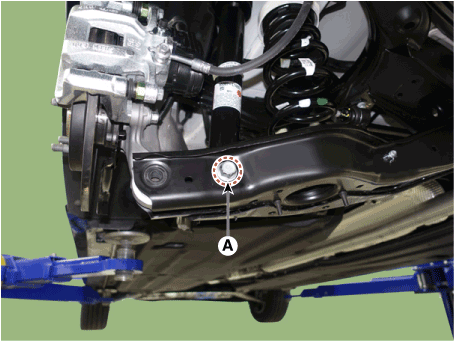
Loosen the bolt and nut (A) and remove the rear shock absorber from the rear lower arm.
Tightening torque: 137.3–157 N·m
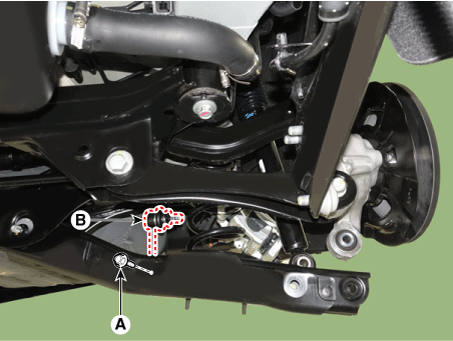
Loosen the bolt and nut (A), then disconnect the rear stabilizer link from the rear lower arm.
Tightening torque: 58.8–69 N·m
Remove the rear coil spring (A).
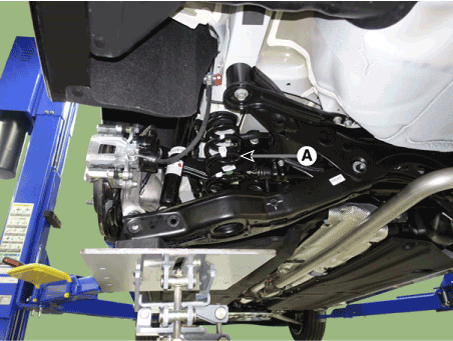
Remove the rear axle assembly.
(Refer to Driveshaft and Axle — Rear Hub — Carrier)
Remove the rear muffler.
G 2.0 NU MPI (Refer to Engine Mechanical System — Muffler)
G 2.5 GDI THETA II (Refer to Engine Mechanical System — Muffler)
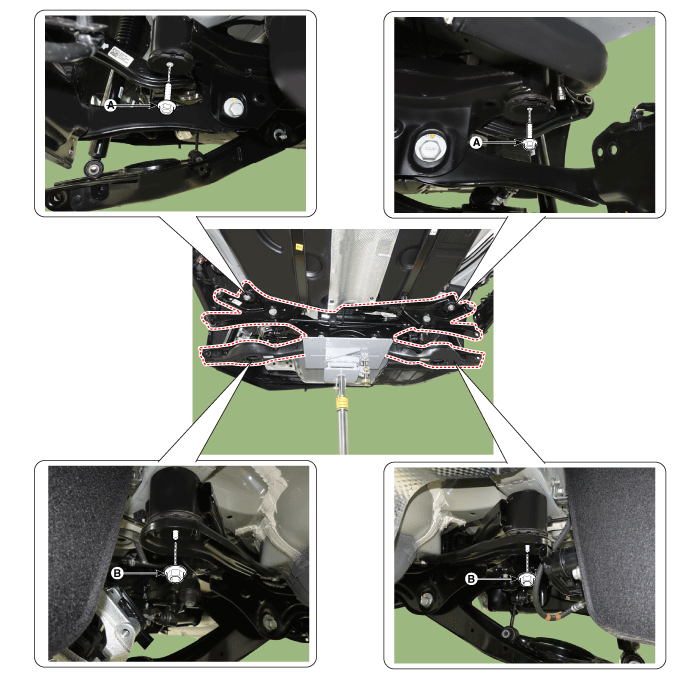
Support the jack and loosen the subframe bolts and nuts.
Tightening Torque
Bolt (A): 176.5 – 196 N·m lb·ft)
Nut (B): 176.5 – 196 N·m lb·ft)
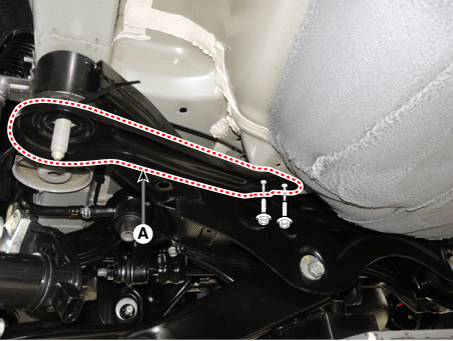
Loosen the bolts and remove the rear subframe support (A).
Tightening Torque: 44.1–59 N·m
Slowly lower the jack to remove the rear subframe.
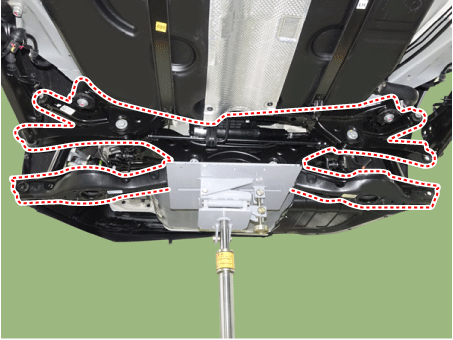
Loosen the bolt and nut and remove the rear upper arm (A) from the rear subframe.
Tightening torque: 137.3–157 N·m
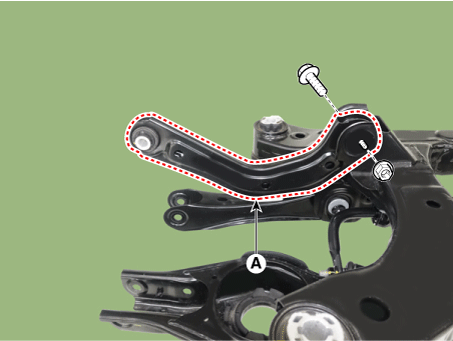
Loosen the bolt and nut and remove the rear auxiliary arm (A) from the rear subframe.
Tightening torque: 107.8–118 N·m
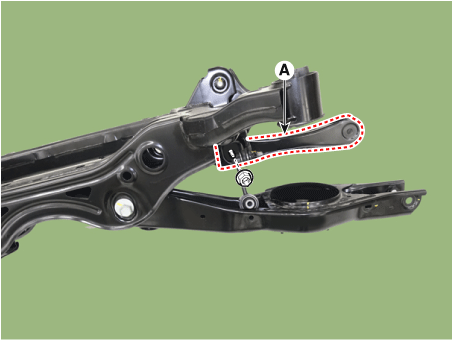
Loosen the bolts and nuts and remove the rear lower arm (A) from the rear subframe.
Tightening torque: 107.8–118 N·m
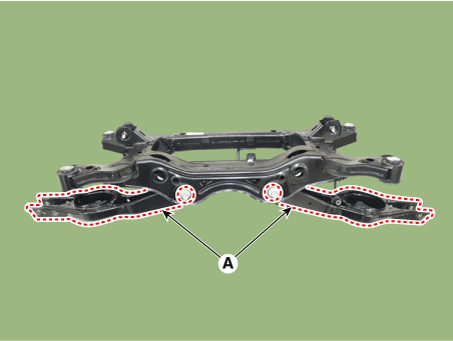
Remove the bolts securing the stabilizer bar bracket and remove the rear stabilizer bar (A).
Tightening Torque: 44.1–54 N·m
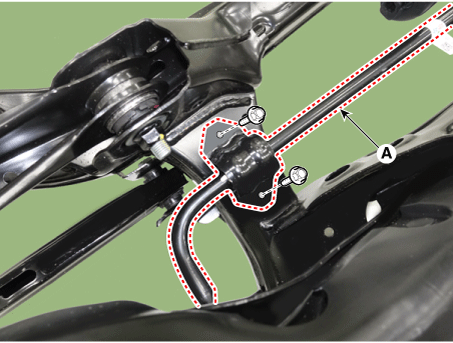
Inspection
Inspect the bushing for wear and damage.
Check that all bolts and nuts are present.
Installation
Install in the reverse order of removal.
Check the alignment.
(See Suspension System - Alignment)
Test yourself
A quick Kia Optima DL3 quiz: every answer comes with an explanation and a link to the manual page.