Throttle Cable
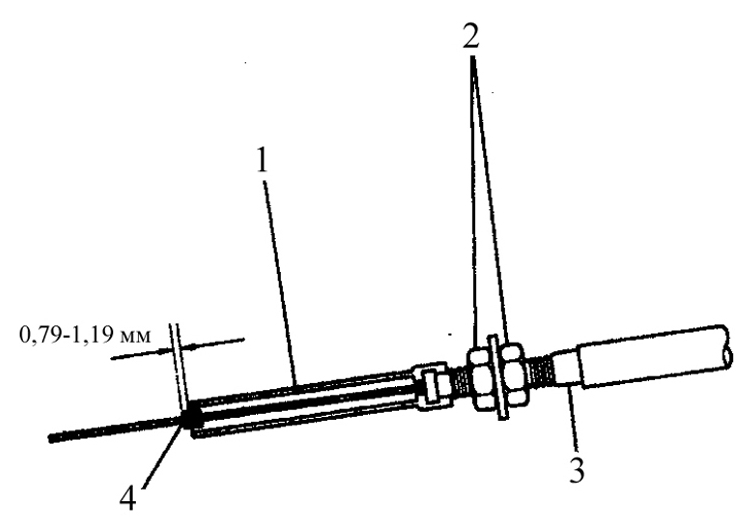
Throttle cable adjusting mechanism 1. Rubber boot
2. Adjusting nut
3. Cable sheath
4. Stopper
Inspection and Adjustment
PROCEDURE
1. Remove the air duct between the air cleaner and the throttle body (see sub-section 5.9).
2. Ask an assistant to fully depress the accelerator pedal and hold it in that position while you measure the distance between the end of the cable sheath and the stopper on the cable.
3. If the distance is as specified in the Throttle cable adjusting mechanism illustration, the cable is correctly adjusted. If not, adjust the cable as follows.
4. Ask your assistant to hold the accelerator pedal fully depressed to the floor, then loosen the adjusting nuts and adjust the position of the sheath so that its end is at the distance from the cable stopper specified in the Throttle cable adjusting mechanism illustration.
5. Tighten the adjusting nuts securely, then recheck the distance between the end of the sheath and the stopper. Make sure the throttle valve opens fully when the accelerator pedal is fully depressed.
Replacement
PROCEDURE
1. Remove the cable retaining nuts and disconnect the cable from the bracket on the throttle body.
2. Disconnect the cable from the throttle linkage.
3. Remove the cable from the bracket on the transaxle.
4. Follow the cable along the transaxle to the point where it enters the transaxle, just beyond the park/neutral position switch. Remove the mounting bolt.
5. Remove the oil pan (see sub-section 3.1.1.12), drain the transmission fluid, and remove the filter (see sub-section 5.9).
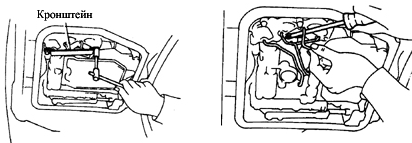
6. Remove the two bolts securing the bracket, remove the bracket (illustration on the left), and carefully remove both ends of the oil tubes. Try not to bend or pinch the tubes (illustration on the right).
7. On the A240L transaxle, disconnect the solenoid connectors.
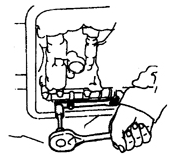
8. Remove the retaining spring.
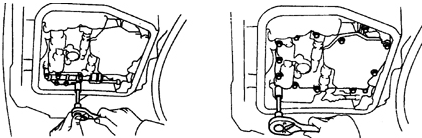
9. Remove the manual valve on the A132L transaxle (illustration on the left), then, on all models, remove the valve body (illustration on the right). On the A132L transaxle the valve body is secured with 14 bolts, and on the A240L transaxle with 12 bolts. Note the different bolt lengths and their installation locations.
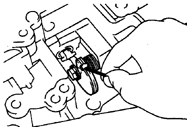
10. Disconnect the cable end fitting at the lower end of the throttle cable from the cam on top of the valve body.
11. Installation is the reverse of removal. Be sure to tighten the valve body bolts, manual valve bolts, and retaining springs to the specified torque, given in sub-section 7.2.1. Tighten the oil pan bolts to the specified torque given in the appropriate chapter. Fill the transaxle to the required level with the specified type of fluid.
Test yourself
A quick Toyota Corolla quiz: every answer comes with an explanation and a link to the manual page.