Front lower arm
Repair Procedures
Removal and Installation
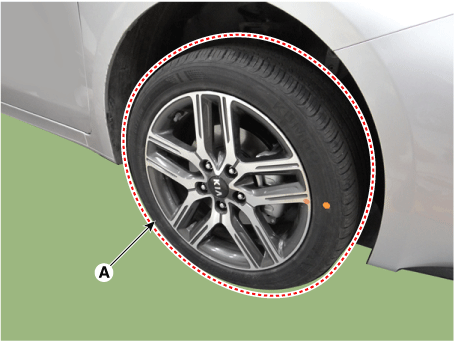
Remove the front wheel and tire (A).
Tightening torque: 107.9–128 N·m
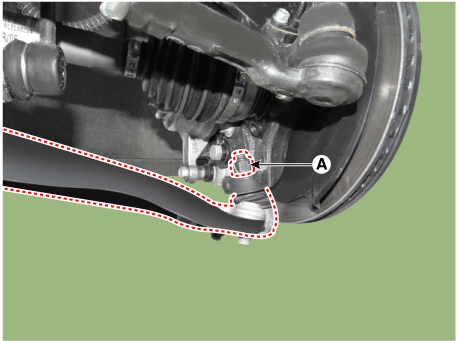
Remove the lower arm nut (A).
Tightening torque: 58.8–71 N·m
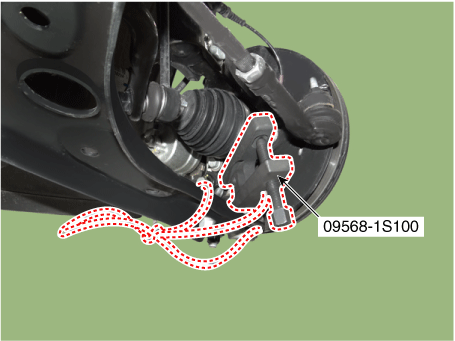
Disconnect the front lower arm from the front steering knuckle using SST (09568-1S100).
Remove the lower arm (A) from the sub frame.
Tightening torque:
Bolt (B): 117.7–137 N·m lb·ft
Bolt (C): 156.9–176 N·m lb·ft
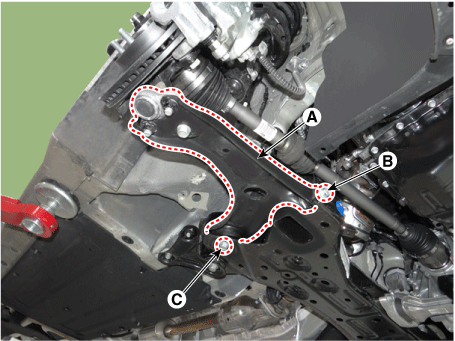
Install in the reverse order of removal.
Check the wheel alignment.
(Refer to Front Suspension System — "Front Wheel Alignment")
Disassembly
Disconnect the ball joint after loosening the nut (A).
Tightening torque: 117.7–137 N·m
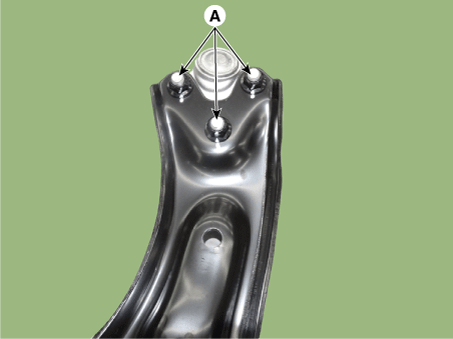
Install a new ball joint and tighten the nut (A).
Tightening torque: 117.7–137 N·m
Inspection
Inspect the bushing for wear and damage.
Inspect the lower arm for bending or cracks.
Inspect the lower arm for deformation.
Check all bolts and nuts.
Check the ball joint rotating torque.
If out of specification, replace the ball joint.
Standard value: 9.8 - 29 N·m
Move the ball stud (A) back and forth 5 times and rotate 5 times to evenly distribute the grease. Hold the ball stud in the center for 24 hours, then rotate it back and forth 3 times and rotate 3 times before measuring the torque.
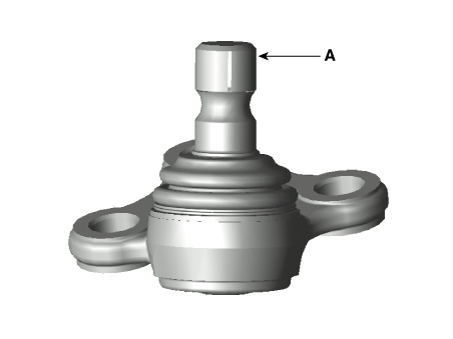
Read the constant torque value within 180° while rotating at approximately 12°/s.
Standard value: 9.8 - 29 N·m
Make sure the ball stud rotates smoothly.
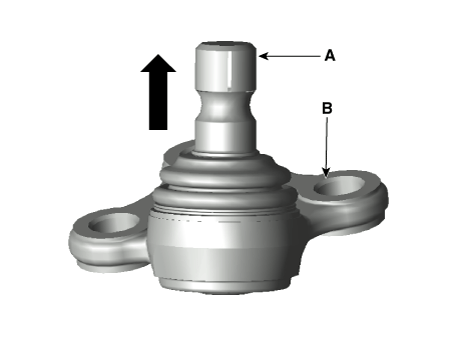
Check the axial play of the ball stud (A). If there is any play, replace the ball joint (B).
Test yourself
A quick Kia Forte BD quiz: every answer comes with an explanation and a link to the manual page.