Oil Seal
REMOVAL
Turn crankshaft until the cylinder requiring new oil seals is at TDC. This will prevent valve from dropping into cylinder.
Remove camshaft relating to valve oil seal to be removed. Refer to Removal and Installation.
Remove valve lifters.
Remove valve collet, valve spring retainer and valve spring using suitable tool (A).
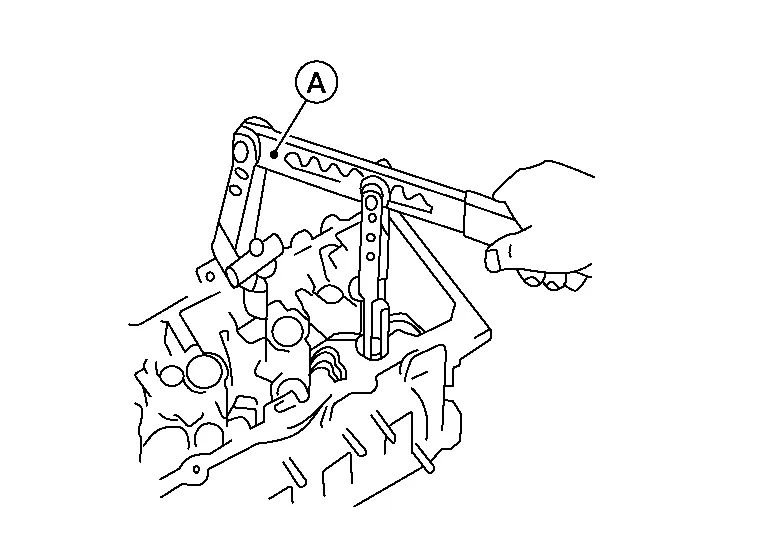
Compress valve spring using suitable tool, attachment and adapter. Remove valve collet with magnet hand.
Remove valve oil seal using suitable tool (A).
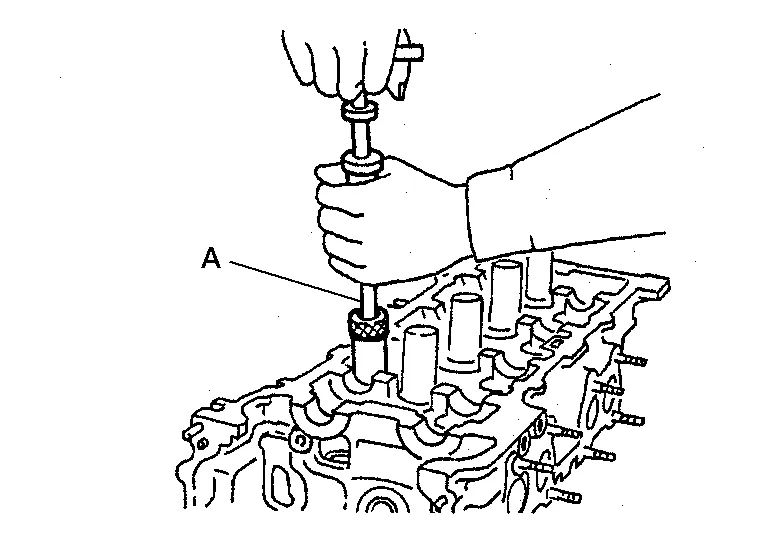
INSTALLATION
Apply new engine oil to new valve oil seal joint surface and seal lip.
Press in valve oil seal to height (H) using suitable tool (A).

| Intake and exhaust (H) | : 14.3 - 14.9 mm (0.563 - 0.587 in) |
Installation of the remaining components is in the reverse order of removal.
REMOVAL
Remove drive belt. Refer to Removal and Installation.
Lock the drive plate using Tool.
| Tool number | : — (J-50288) |
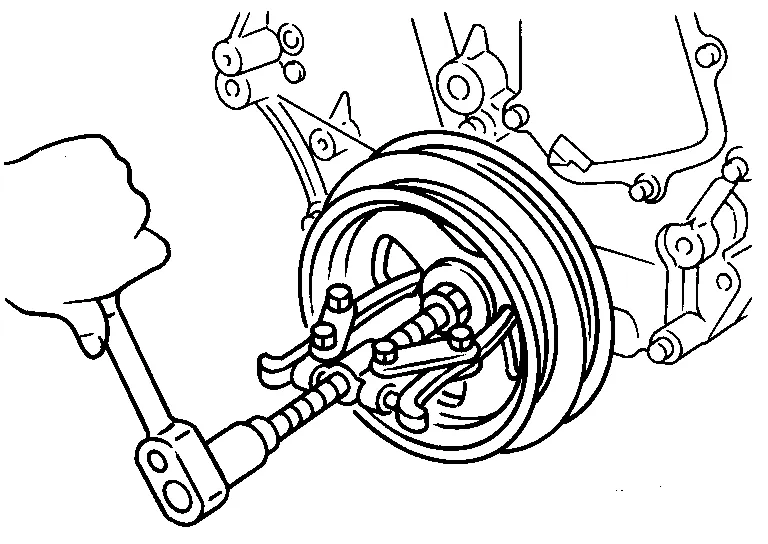
Remove the crankshaft pulley as follows:Loosen crankshaft pulley and locate bolt seating surface at 10 mm (0.39 in) from its original position. Position a pulley puller at recess hole of crankshaft pulley to remove crankshaft pulley.
Remove front oil seal from front cover using a suitable tool.
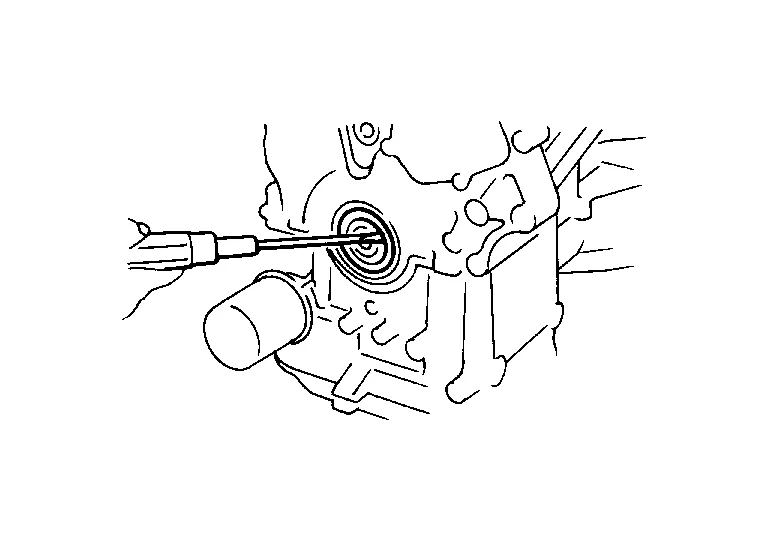
INSTALLATION
Apply new engine oil to oil seal lip (C) and dust seal (D) and install.
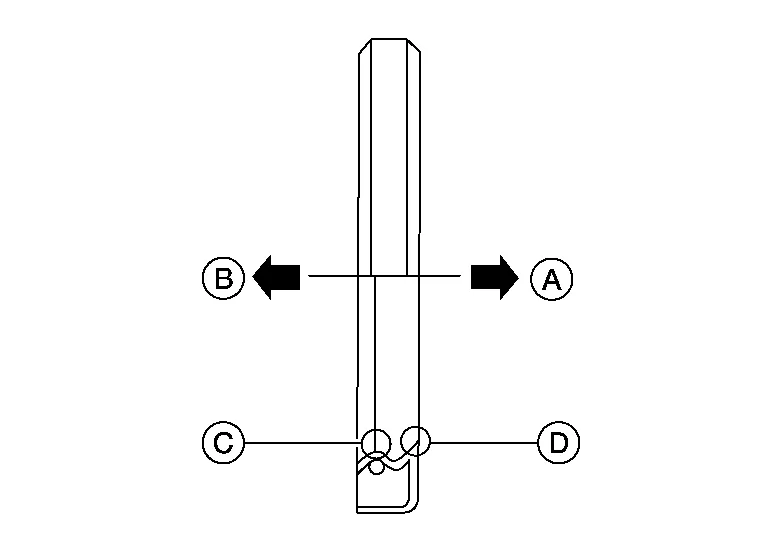
Install new oil seal towards the engine inside (B) as shown.
Press-fit oil seal until it becomes flush with the timing chain case end face, using Tool (A).
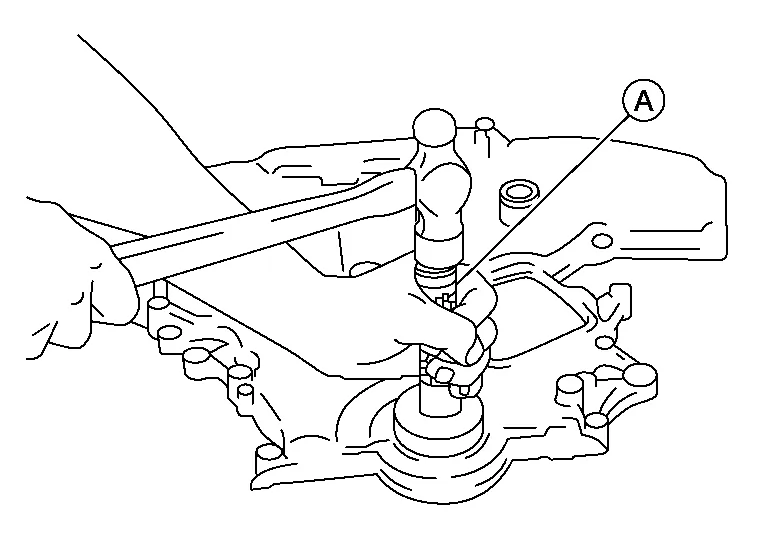
Tool number (A) : — (J-37066) Make sure the garter spring in the oil seal is in position and seal lip is not inverted.
Install crankshaft pulley and tighten the bolt in two steps.
Lubricate thread and seat surface of the bolt with new engine oil.
For the second step angle tighten using Tool.
| Step 1 | : 44 N·m |
| Step 2 | : 90°(+0°/-6°) degrees clockwise |
| Tool number | : KV10112100 (BT-8653-A) |
Remove the Tool to unlock the drive plate.
| Tool number | : — (J-50288) |
Installation of the remaining components is in the reverse order of removal.
REMOVAL
Remove the upper oil pan. Refer to Removal and Installation (Upper Oil Pan).
Remove drive plate. Refer to Exploded View.
Remove rear oil seal retainer using Tool (A).
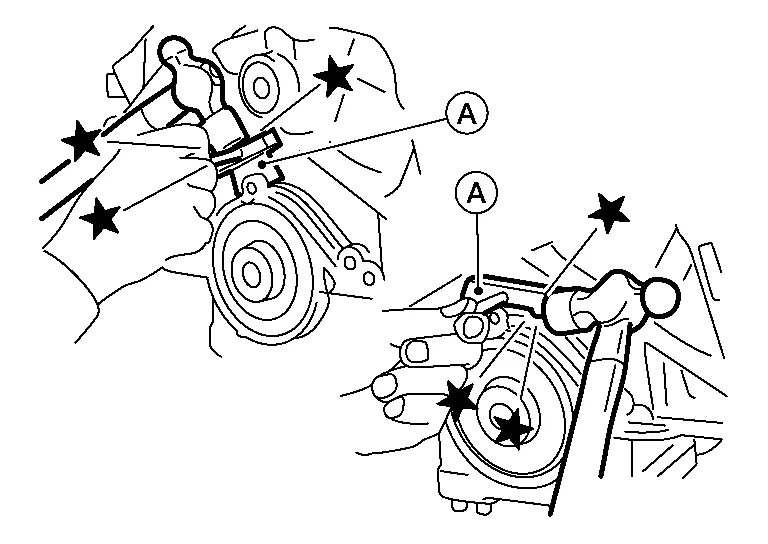
| Tool Number (A) | : KV10111100 (J-37228) |
INSTALLATION
Remove old liquid gasket material from mating surface of cylinder block and oil pan using a suitable scraper.
Install the rear oil seal using Tool (A).
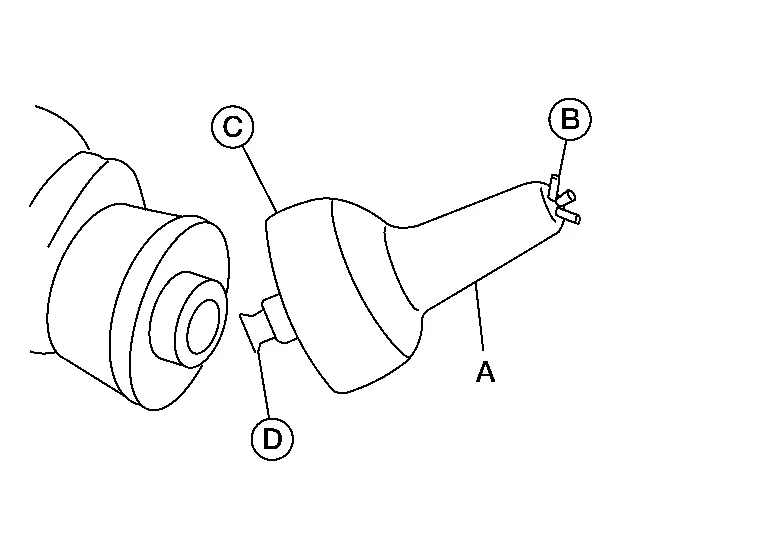
| Tool number (A) | : — (J-47128) |
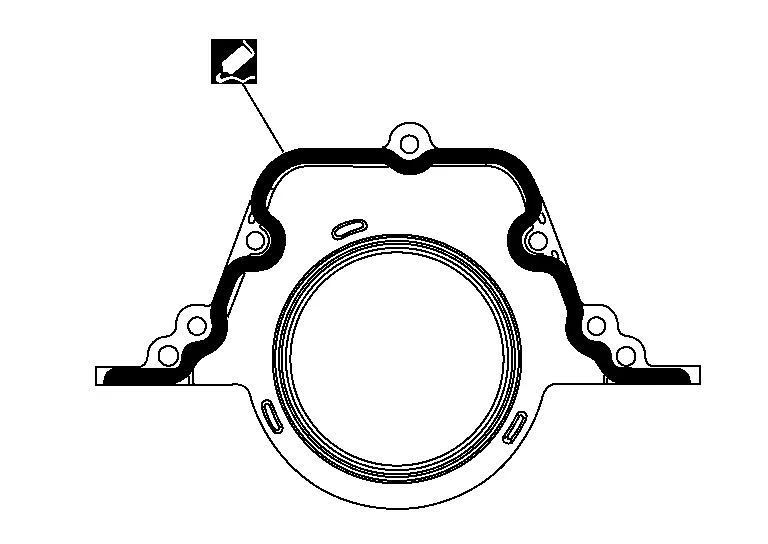
Use Genuine Silicone RTV Sealant or equivalent. Refer to Recommended Chemical Products and Sealants.
Lubricate the sealing surface of the new rear main seal with new engine oil. Slide the new rear main seal (1) over the Tool (A) and onto the crankshaft.
| Rear oil seal retainer bolts | : 8,8 N·m |
Installation of the remaining components is in the reverse order of removal.