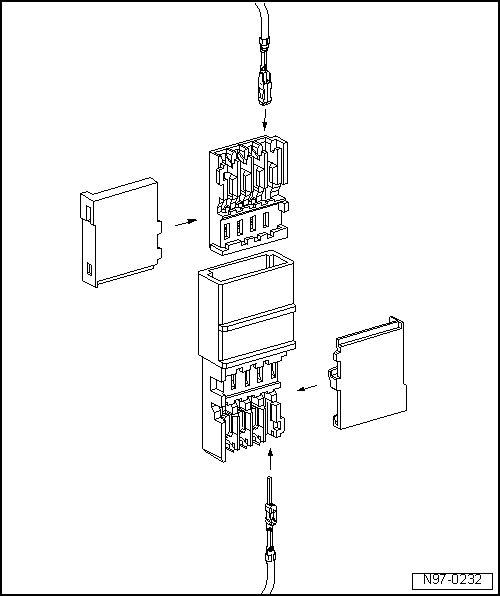
Repair of Contact Housings and Connectors
Notes on Repairing Contact Housings and Connectors

Note
- Observe the general notes on repairing the vehicle electrical system.
- The matching crimp contacts for the contact housings are identified by the part number embossed on the contact housing. On illustration panel 198 (electrical connecting elements) in the → Electronic Parts Catalog (ETKA), the part numbers of the contact housings are listed together with the matching crimp contacts.
- Damaged contact housings must always be replaced.
- New contact housings can be ordered through OTC-Kassel.
Repair of Contacts in Contact Housings
- If necessary, first open or unlock the secondary lock of the contact housing.
- Release the contact (primary lock) using the matching release tool.
- Pull the contact out of the contact housing by the individual wire.
- Remove the yellow repair wire with the correct contact from the wiring harness repair kit.
- Expose the repair area of the vehicle wiring harness (approx. 20 cm on both sides of the repair area).
- If necessary, remove the wrapping from the wiring harness using the folding knife.
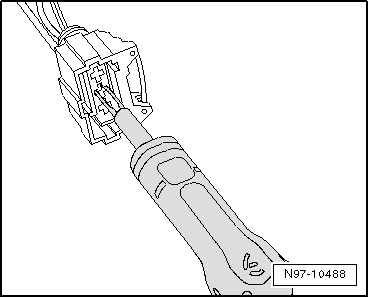
- Insert the new contact of the repair wire into the contact housing until it locks into place.
- Slide an individual wire seal onto the repair wire.

Note
The small diameter of the individual wire seal must point toward the contact housing.
- Insert the individual wire seal into the contact housing using the correct installation tool.
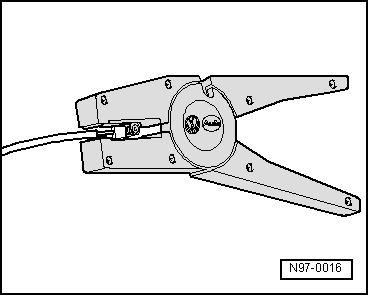
- Cut the repair wire and the individual wire of the vehicle wiring harness to length as required, using wire stripper -VAS 1978/3-.
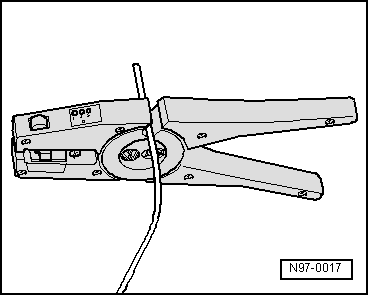
- Strip the wire ends of the repair wire and the vehicle individual wire to 6 - 7 mm using the wire stripper.
- Crimp the stripped ends of the repair wire and the vehicle wiring harness individual wire with the crimping pliers and a splice connector, as described in the chapter "Wire Breaks with a Single Repair Point".

Note
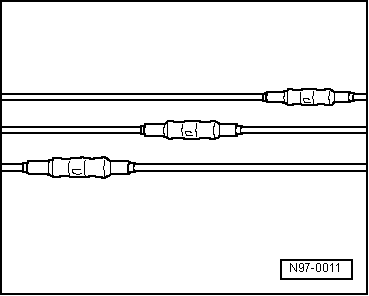
- If several wires are to be repaired, make sure the crimp connectors are not directly next to each other. To keep the wiring harness from becoming too thick, arrange the crimp connectors slightly offset.
- If the repair point was previously wrapped, the area must be rewrapped with yellow insulating tape after the repair.
- If necessary, secure the repaired wiring harness with a cable tie to prevent rattling noises while driving.
Installing Individual Wire Seals

Note
- Individual wire seals prevent water and dirt from entering the contact housing. They are installed, for example, in the engine compartment, and must always be refitted after a repair.
- As standard, the individual wire seal is crimped onto the wire together with the contact; this is not the case with repair wires. Therefore, you must first slide the individual wire seal onto the wire before crimping the repair wire.
- Individual wire seals must match the wire cross-section of the repair wire used. The outer diameter of the individual wire seal depends on the chamber diameter of the contact housing. Only carry out installation with the matching installation tool.
Installing the individual wire seal:
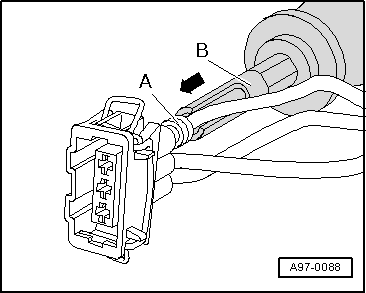
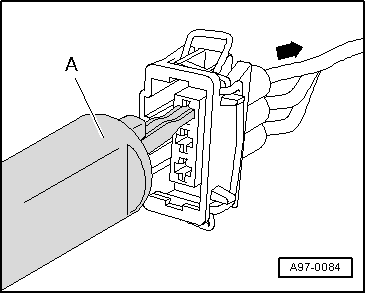
- Using the correct release tool -A-, release the contact lock, then pull the wire with the individual wire seal out of the contact housing toward the rear -arrow-.
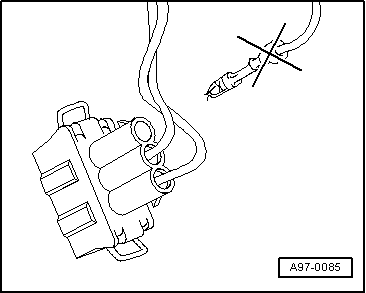
- Cut the old contact with the individual wire seal off the vehicle wiring harness.
- Push the repair wire with the new contact into the corresponding chamber of the contact housing until it locks into place.
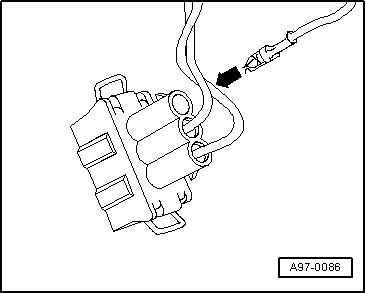
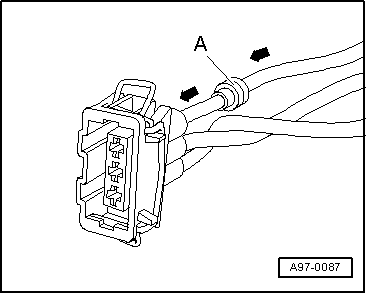
- Slide individual wire seal -A- onto the free end of the repair wire.

Note
The small diameter of the individual wire seal must point toward the contact housing.
- Slide individual wire seal -A- along the repair wire up to the contact housing.
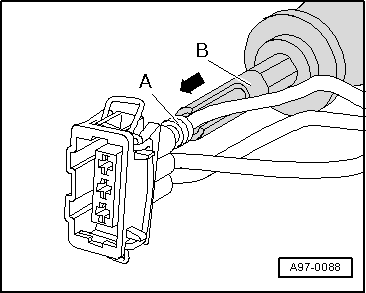
- Using the corresponding installation tool -B-, push individual wire seal -A- into the contact housing as far as it will go.
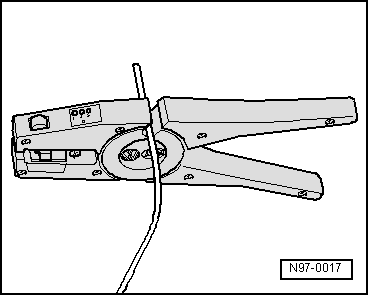
- Cut the repair wire and the individual wire of the vehicle wiring harness to length as required, using wire stripper -VAS 1978/3-.
- Crimp the stripped ends of the repair wire and the vehicle wiring harness individual wire with the crimping pliers and a splice connector, as described in the chapter "Wire Breaks with a Single Repair Point".
Repair of Contact Housings with Insulation Displacement Technology

Note
- For technical reasons, contact housings for insulation displacement technology are supplied only with insulation displacement contacts already inserted.
- If you do not need these contacts, you can remove them as you would from any other contact housing.
- Repair wires are available that already have the matching contacts crimped on → Electronic Parts Catalog (ETKA).