Distributor Removal
REMOVAL
PROCEDURE
1. Disconnect the negative battery cable.
If the vehicle's audio system is equipped with an anti-theft code, make sure you have the correct code to reactivate the audio system before disconnecting the battery!
2. Label the wires and hoses, then disconnect them from the distributor.
3. Locate the raised mark (number or letter) on the distributor cap that indicates the position of the No. 1 cylinder spark plug wire terminal. If the cap has no such marking, trace the No. 1 cylinder spark plug wire to its terminal and mark the position yourself.
4. Remove the distributor cap (refer to the Maintenance and Tune-Up chapter) and rotate the crankshaft so the rotor points toward the No. 1 cylinder spark plug terminal on the cap (refer to the Engine chapter for the procedure to set the engine to TDC).
5. Make an alignment mark on the edge of the distributor housing directly opposite the rotor tip and parallel to the rotor axis (if the rotor has more than one tip, use the center one). Also mark the distributor base position on the engine block.
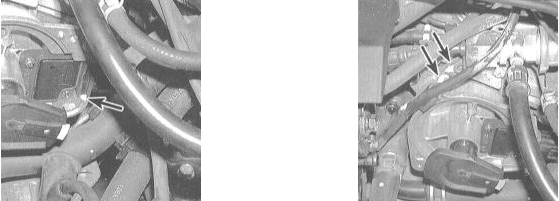
6. Remove the hold-down bolt(s) and pull the distributor straight up out of the engine.
To avoid losing the alignment marks, do not rotate the crankshaft after the distributor has been removed from the engine!
Test yourself
A quick Honda Accord quiz: every answer comes with an explanation and a link to the manual page.