Crash Pad Main Assembly
Components and Component Location
Component Location
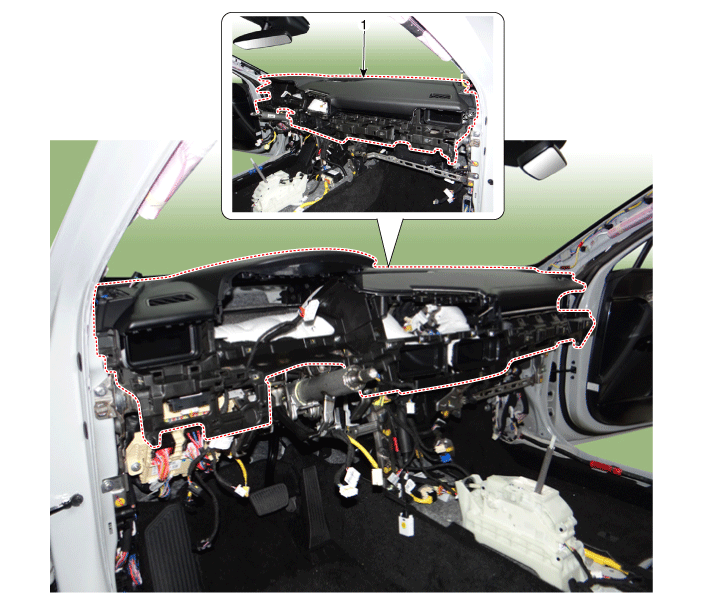
| 1. Main Crash Pad Assembly |
Repair Procedures
Replacement
Disconnect the negative (-) battery terminal.
Remove the front seat assembly (both sides).
(Refer to Front Seat - "Front Seat Assembly")
Remove the floor console assembly.
(Refer to Floor Console - "Floor Console Assembly")
Remove the front pillar garnish.
(Refer to Interior Trim - "Front Pillar Trim")
Remove the hood side trim.
(See Body Trim — "Hood Side Trim")
Remove the cluster fascia.
(Refer to Cluster Pad - "Cluster Fascia Panel")
Remove the audio/video navigation.
(Refer to Body Electrical System - "A/V Navigation")
Remove the instrument cluster.
(Refer to Body Electrical System - "Instrument Cluster")
Remove the air bag center panel.
(Refer to Crash Pad - "Crash Pad Center Panel")
Remove the steering wheel.
(Refer to Steering System - "Steering Wheel")
Remove the multifunction switch assembly.
(Refer to Body Electrical System - "Multifunction Switch")
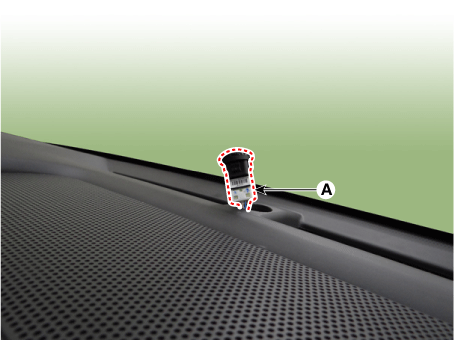
Press the stopper pin and disconnect the photo sensor connector (A).
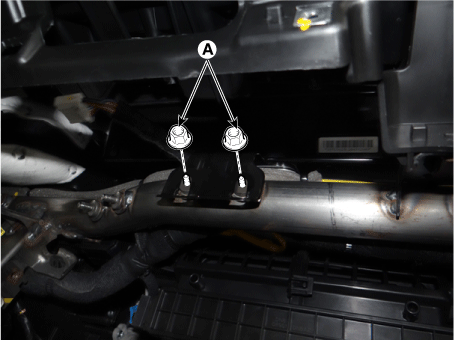
Loosen the mounting nuts (A).
Tightening torque: 7.8–11.8 N·m
Remove the center speaker and side speakers [LH, RH].
(Refer to Body Electrical System - "Speaker")
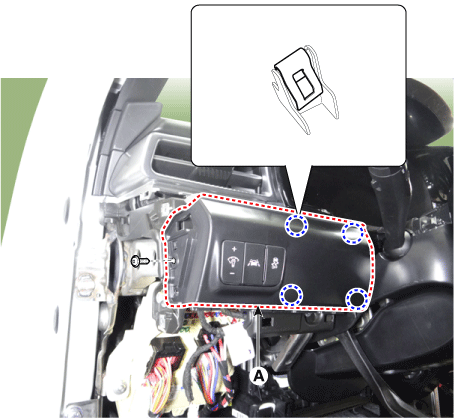
Loosen the mounting screw and remove the lower crash pad trim [DR] (A).
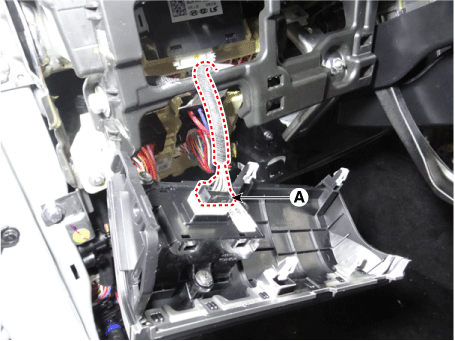
Disconnect the connector (A).
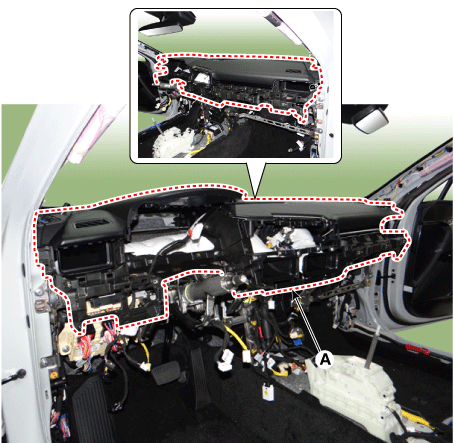
Loosen the mounting bolts and nuts, then remove the main airbag assembly (A).
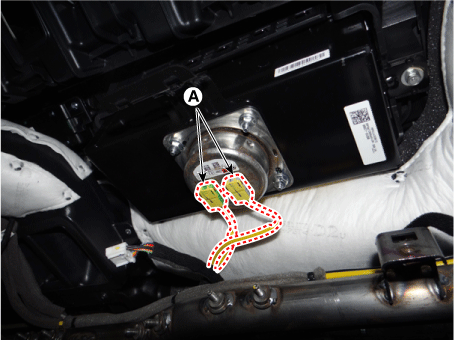
Disconnect the passenger airbag connectors (A).
To install, reverse the removal procedure.
Test yourself
A quick Kia Optima DL3 quiz: every answer comes with an explanation and a link to the manual page.