DCT (Dual Clutch Transmission) System
Gear Actuator Assembly Repair Procedures
In this manual: DCT (Dual Clutch Transmission) System
4steps
~24min
2/5difficulty
Done 0 of 4
Removal
|

- Remove the air cleaner assembly and air duct. (Refer to Engine Mechanical System - "Air Cleaner")
- Remove the battery and tray. (Refer to Engine Electrical System — "Battery")
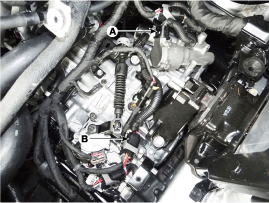
- Disconnect the gear reducer motor connector (A) and the solenoid valve connector (B).
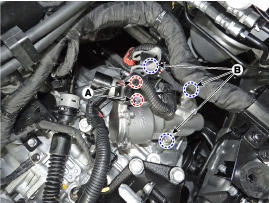
- Remove the reducer actuator from the transmission after loosening the bolts (A-2ea, B-3ea). Tightening torque: (A): 9.8 ~ 11.8 N·m (B): 19.6 ~ 26 N·m
Installation
- Install in the reverse order of removal.

- Before installing the reducer actuator assembly, inspect the components listed below.
- Make sure the gear actuator is in the "neutral" state.
- Check the installed condition of the O-rings (A).
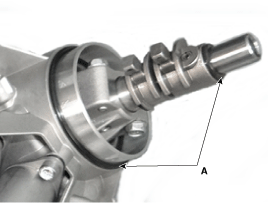
- Apply transmission fluid to the surfaces of the O-rings.
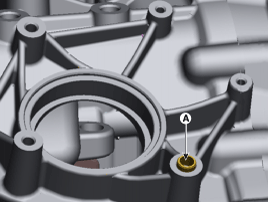
- Check the installed condition of the locating pins (A).
- After replacing the transmission actuator assembly, perform the clutch touch point learning procedure using GDS.

Test yourself
A quick Hyundai Sonata LF quiz: every answer comes with an explanation and a link to the manual page.
Was this page helpful?