Removal
REMOVAL
PRECAUTION / NOTICE / HINT
Necessary procedures (adjustment, calibration and initialization or registration) must be performed once the parts are removed and installed or replaced when removing and installing the stop light switch assembly are shown below.
Necessary Procedures After Parts Removal / Installation / ReplacementReplaced Part or Performed Procedure | Required Procedure | Effect/Inoperative Function When Required Procedure Is Not Performed | Link |
|---|---|---|---|
Disconnect the cable from the negative (-) auxiliary battery terminal. |
Initialize Back Door Lock |
Door Lock Control System |
 |
Memorize Steering Angle Neutral Point |
Lane Departure Alert System (with Steering Control) |
|
|
Pre-Collision System |
PROCEDURE
1. REMOVE LH FRONT DOOR SILL PLATE
Click here
2. REMOVE LH FENDER APRON SIDE PANEL
Click here
3. REMOVE NO. 1 INSTRUMENT PANEL LOWER COVER SUB-ASSEMBLY
Click here
4. REMOVE NO. 1 AIR DUCT
Click here
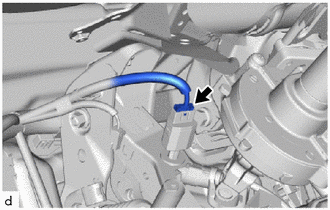
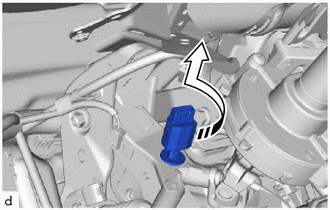
5. REMOVE STOP LIGHT SWITCH ASSEMBLY
(a) Disconnect the connector. |
 |
(b) Turn the stop light switch assembly counterclockwise and remove it as shown in the illustration.
 |
Remove in this direction |