Master Cylinder
Components and Component Location
Components
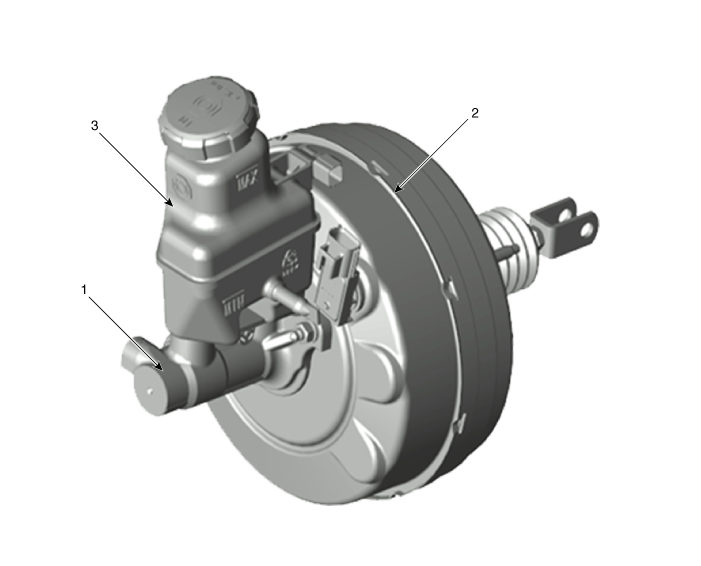
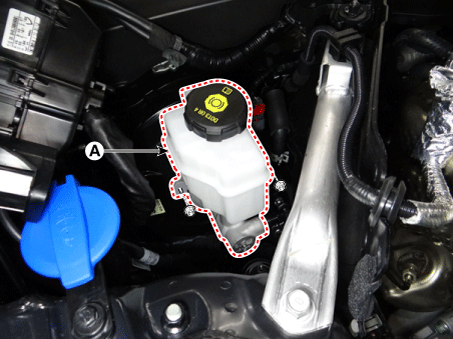
| 1. Master Cylinder 2. Brake Booster |
3. Brake Fluid Reservoir |
Repair Procedures
Removal
[Left-hand drive]
Turn the ignition switch OFF and disconnect the negative (-) battery cable.
Remove the brake fluid from the master cylinder reservoir using a syringe.
Remove the hood seal cover.
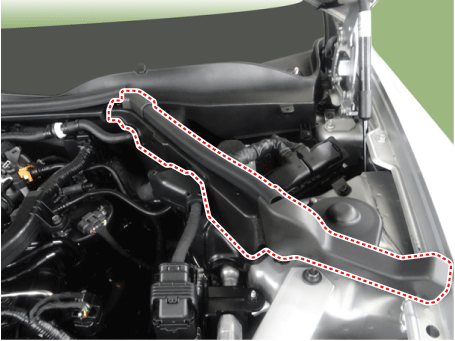
Remove the engine control module (ECM).
D 2.2 R VGT (Refer to Engine Control/Fuel System - "Engine Control Module (ECM)").
D 2.2 R VGT (Enhanced Euro 6) (Refer to Engine Control/Fuel System - "Engine Control Module (ECM)")
G 2.0 T-GDI (Refer to Engine Control/Fuel System - "Engine Control Module (ECM)").
G 3.3 T-GDI (Refer to Engine Control/Fuel System - "Engine Control Module (ECM)").
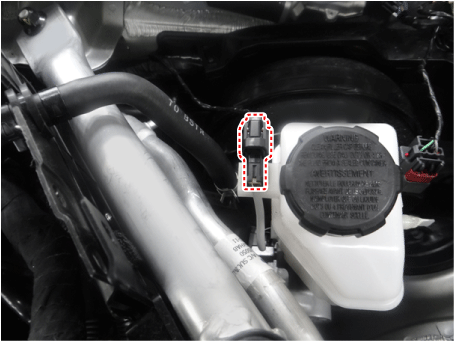
Disconnect the brake fluid level sensor connector.
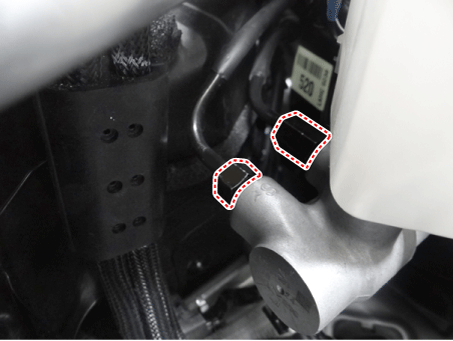
Loosen the master cylinder flare nuts.
Tightening torque: 18.6–22 N·m
Remove the master cylinder from the brake booster after loosening the mounting nuts.
Tightening torque: 12.7 - 16.7 N·m
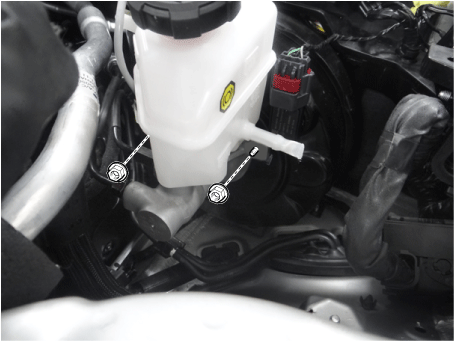
[Right-hand drive]
Turn the ignition switch OFF and disconnect the negative (-) battery cable.
Remove the brake fluid from the master cylinder reservoir using a syringe.
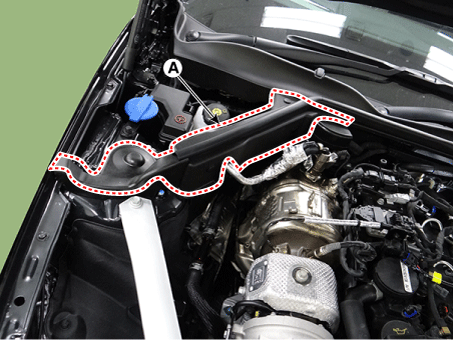
Remove the right hood seal cover (A).
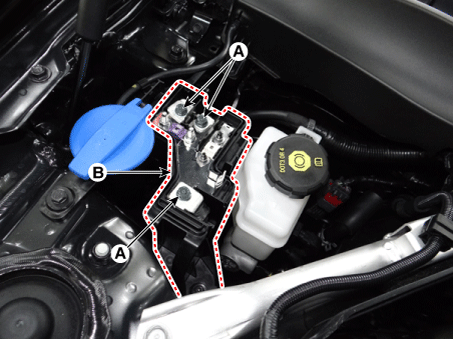
Disconnect the wires (A) from the junction block.
Disconnect the junction block (B).
Tightening torque: 10.8 - 13.7 N·m
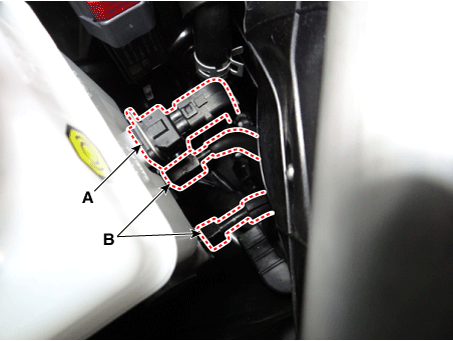
Disconnect the brake fluid level sensor connector (A).
Loosen the master cylinder flare nuts (B).
Tightening torque: 18.6–22 N·m
Remove the master cylinder (A) from the brake booster after loosening the mounting nuts.
Tightening torque: 12.7 - 16.7 N·m
Installation
Install in the reverse order of removal.
After installation, bleed the brake system.
(Refer to Brake System - "Brake Bleeding Procedures")
Test yourself
A quick Kia Stinger CK quiz: every answer comes with an explanation and a link to the manual page.