Front Spring Strut
Components and Components Location
COMPONENT LOCATION
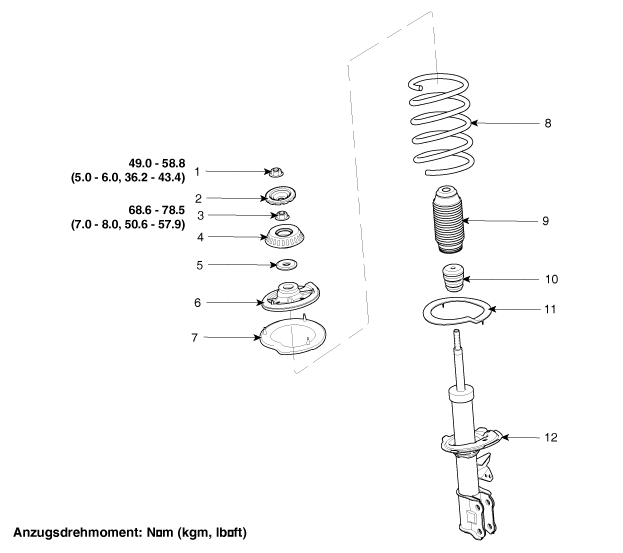
| 1. Lock Nut 2. Dust Cover 3. Self-locking Nut 4. Strut Bearing 5. Strut Bearing 6. Upper Spring Seat |
7. Upper Spring Seat 8. Coil Spring 9. Dust Cover 10. Bump Stopper Rubber 11. Lower Spring Seat Ring 12. Shock Absorber |
repair procedures
expansion
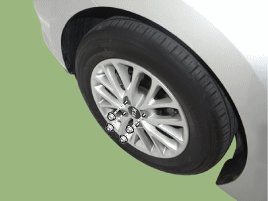
Remove the wheel nuts, front wheel and tire from the front wheel hub.
Tightening torque: 107.9 ~ 128 N·m
Remove the hood upper panel.
(Refer to Body — Hood Upper Trim)
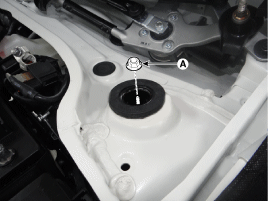
Loosen the strut lock nuts (A).
Tightening torque: 58.8 ~ 49 N·m
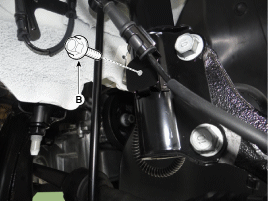
Remove the caliper hose bracket bolt (A) and the wheel speed sensor bracket bolt (B).
Tightening torque. A: 8.8~13.7 N·m B: 7.8~11.8 N·m
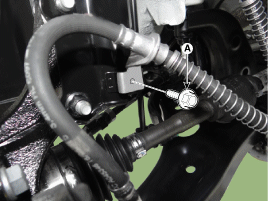
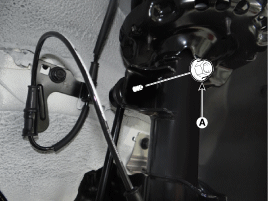
Remove the stabilizer bar link nut (A).
Tightening torque. 98.0~118 N·m
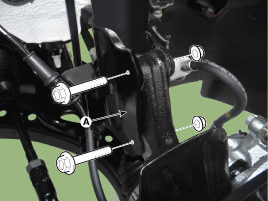
Loosen the bolts and remove the strut assembly (A) from the steering knuckle.
Tightening torque. 98.0~118 N·m
Installation is the reverse of removal.
DISASSEMBLY
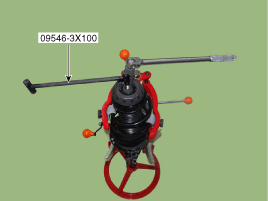
Compress the coil spring using a spring compressor.
Use the special service tool (09546-3X100) to loosen the self-locking nut.
Tightening torque. 68.6~78 N·m
Remove the strut bearing, upper spring seat, coil spring, and strut dust cover.
Installation is performed in the reverse order of removal.
TEST
Inspect the upper strut bearing for wear and damage.
Inspect the rubber components for damage and wear.
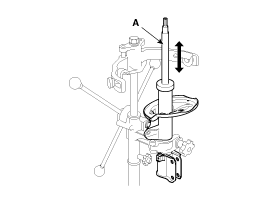
Push and pull the piston rod (A) while checking for roughness. Check the resistance and for abnormal noise.
Correct
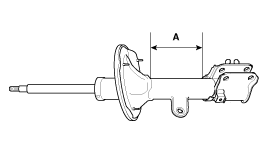
Fully extend the piston rod.
Drill a hole in the strut body at area "A" to release the gas from the cylinder. Allow the gas to escape.
Test yourself
A quick Kia Stonic quiz: every answer comes with an explanation and a link to the manual page.