Blower unit
Components and Components Location
COMPONENTS LOCATION
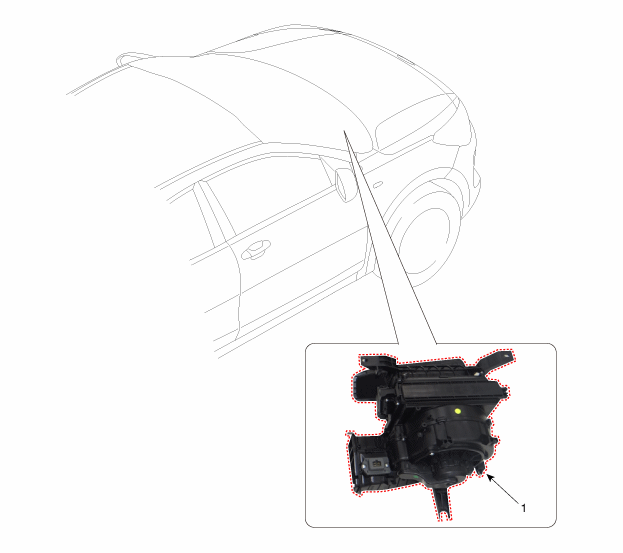
| 1. Blower Unit |
COMPONENTS LOCATION
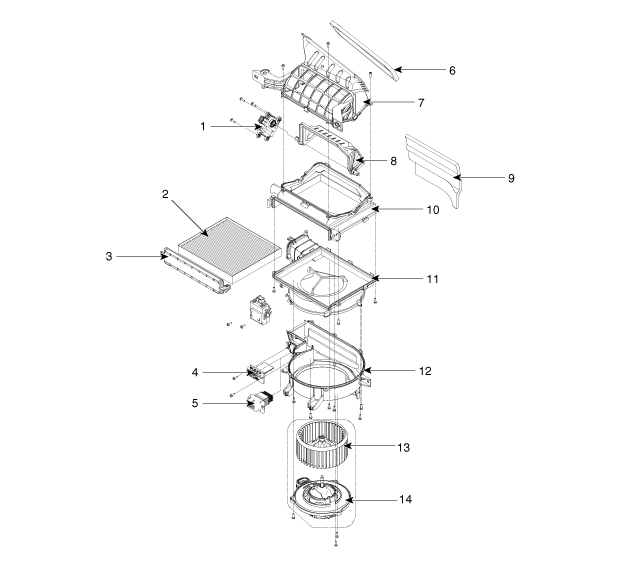
| 1. Fresh/recirculation air actuator 2. Air filter 3. Air filter housing 4. Resistor 5. MOSFET 6. Intake gasket 7. Upper intake cover |
8. Intake door 9. NVH pad 10. Lower intake cover 11. Upper blower cover 12. Lower blower cover 13. Blower 14. Blower motor |
repair procedures
REMOVAL AND INSTALLATION
Disconnect the battery ground cable.
Discharge the refrigerant at a service station.
Drain the engine coolant.
D 1.6 U2 TCI (Refer to Engine Mechanical — "Coolant")
G 1.0 T-GDI-KAPPA (Refer to Engine Mechanical — "Coolant")
G 1.2 MPI KAPPA (Refer to Engine Mechanical — "Coolant")
G 1.4 MPI KAPPA (Refer to Engine Mechanical — "Coolant")
Remove the hood upper panel.
(Refer to Body — Hood Upper Trim)
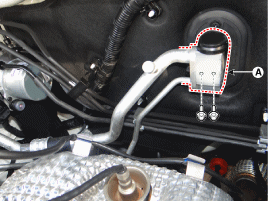
Remove the expansion valve (A) from the evaporator core.
Tightening torque: 8.8~13.7 N·m
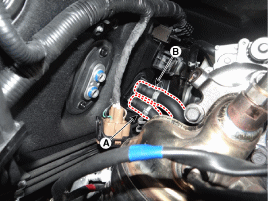
Disconnect the heater hoses (A and B) from the heater unit.
Remove the front seat.
(Refer to Body — "Front Seat")
| 8th. | Remove the lower instrument panel trim. (Refer to Body — "Center Panel") |
Remove the front pillar garnish trim on both sides.
(Refer to Body — "Pillar Trim")
Remove the hood side trim on both sides.
(Refer to Body — "Hood Side Trim Panel")
Remove the lower steering column cover.
(Refer to Body – "Steering Column Cover")
Remove the steering wheel.
(Refer to Steering - "Steering Wheel")
Remove the multifunction switch.
(Refer to Body Electrical System — "Combination Switch").
Loosen the mounting bolts and lower the steering column.
(Refer to Steering System - Steering Column and Steering Shaft)
Remove the switch assembly.
(Refer to Manual Transaxle — "Shift Lever")
Disconnect the connector (A) of the SRS control module (SRSCM).
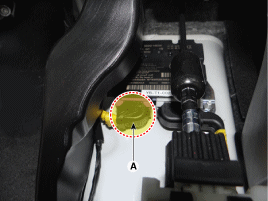
Remove the floor mat (A).
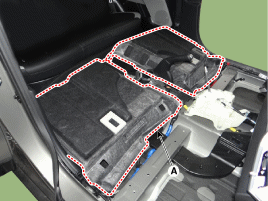
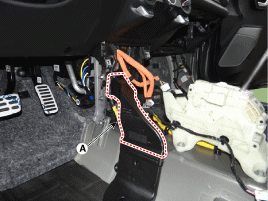
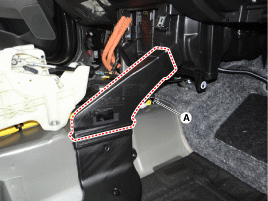
Remove the mounting screw and remove the rear heater ducts (A).
[DRIVER SIDE]
[PASSENGER SIDE]
Disconnect the fuse block connector in the passenger foot space (A).
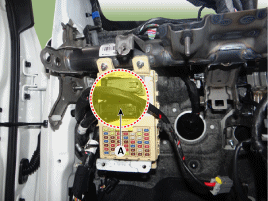
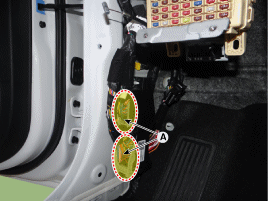
Disconnect the multi-box connector (A).
(LH)
(RH)
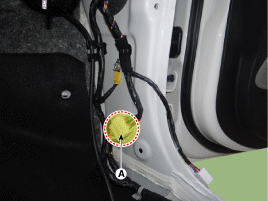
Release the connector (A) and the clips in the front pillar.
(LH)
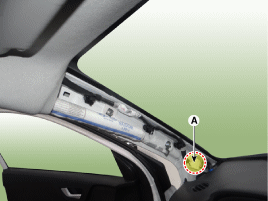
(RH)
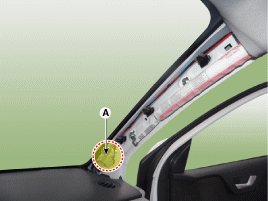
Disconnect the drain hose (A).
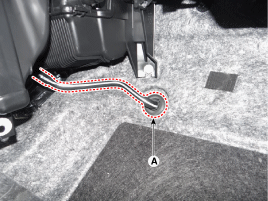
Disconnect the PTC heater connector (A).
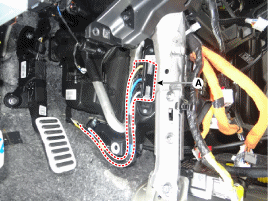
Loosen the screws, then remove the instrument panel and instrument panel support (A) together.
(LH)
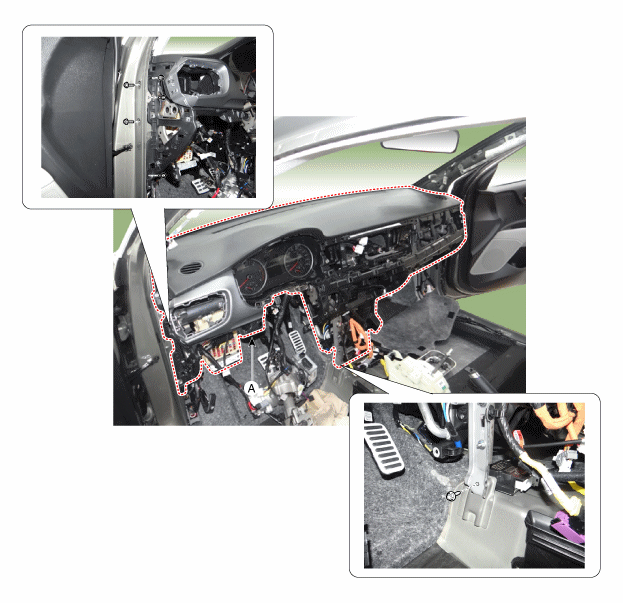
(RH)
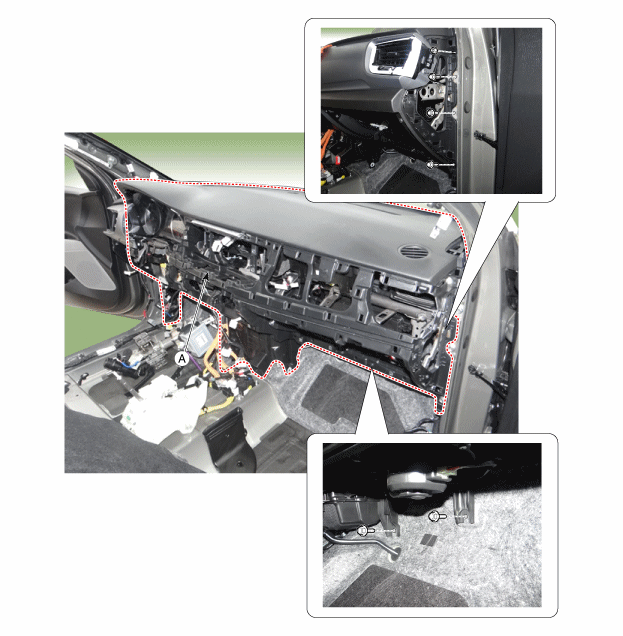
Remove the BCM.
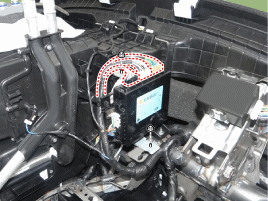
Disconnect the connectors of the heater and blower unit.
Disconnect the photo sensor connector (A).
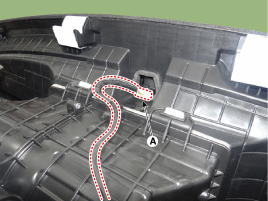
Disconnect the intake actuator connector (A) and the auto defog actuator connector (B), then release the wiring clips.
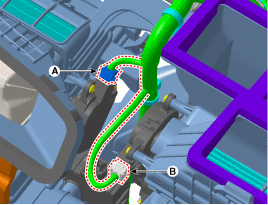
Disconnect the blower motor connector (A), blower resistor connector (B), and remove the temperature control (C), then release the wiring mounting clips.
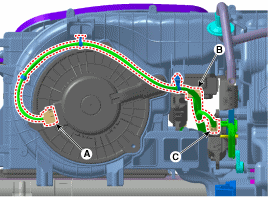
Disconnect the mode actuator connector (A), then release the cable clips.
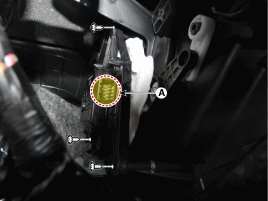
Loosen the heater and blower unit mounting bolt (A).
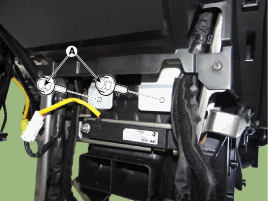
Loosen the mounting nuts and remove the heater and blower units (A). Remove the instrument panel.
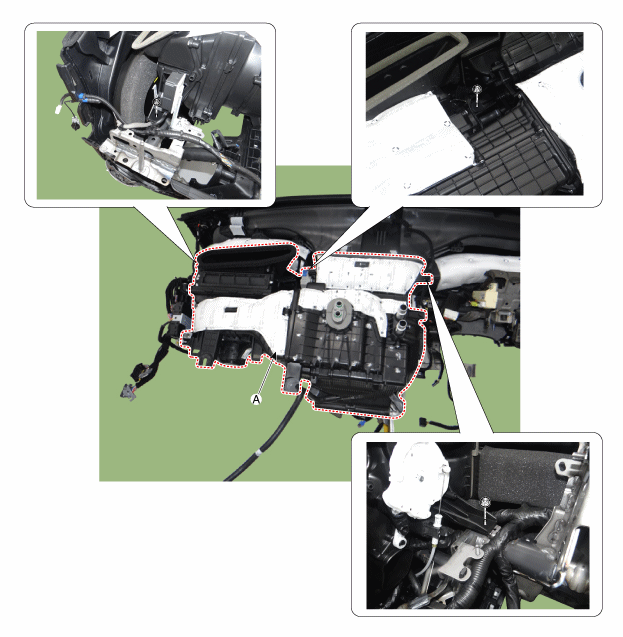
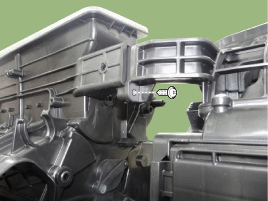
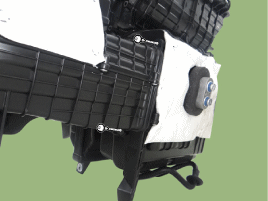
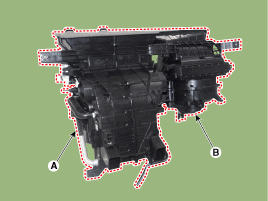
Loosen the screws, then separate the blower unit (B) from the heater unit. Remove (A).
Installation is the reverse of removal.
Test yourself
A quick Kia Stonic quiz: every answer comes with an explanation and a link to the manual page.