In this manual: Heating, Ventilation, and Air Conditioning
21steps
~126min
4/5difficulty
Tightening torque found on this page
Done 0 of 21
Inspection
Check the condenser fins for blockage and damage. If blocked, wash them with water and blow out with compressed air. If bent, carefully straighten them using a screwdriver or pliers.
Check the condenser connections for leaks and repair or replace them as necessary.
Replacement
[Theta 2.4 GDI]
Charge the refrigerant using the refrigerant recovery/recycling/charging station.
Disconnect the negative (-) battery terminal.
Remove the front bumper. (Refer to Body - "Front Bumper Cover")
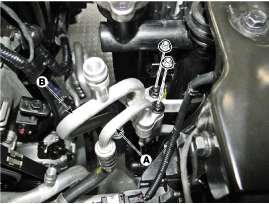
Remove the 2 nuts, then disconnect the discharge line (A) and liquid line (B) from the condenser.
Tightening torque: 8.8 ~ 11.8 N·m
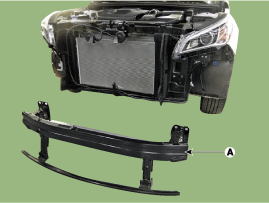
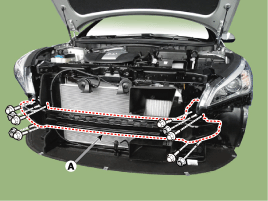
Loosen the mounting bolts and nuts, then remove the front bumper retainer (A).
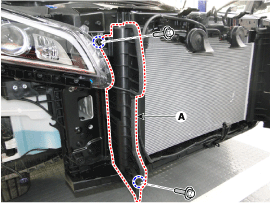
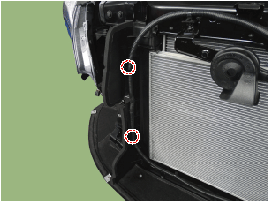
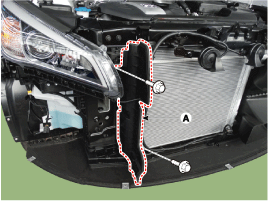
Loosen the mounting bolts and remove the side air guard (A). [LH][RH]
Remove the hood latch (A).
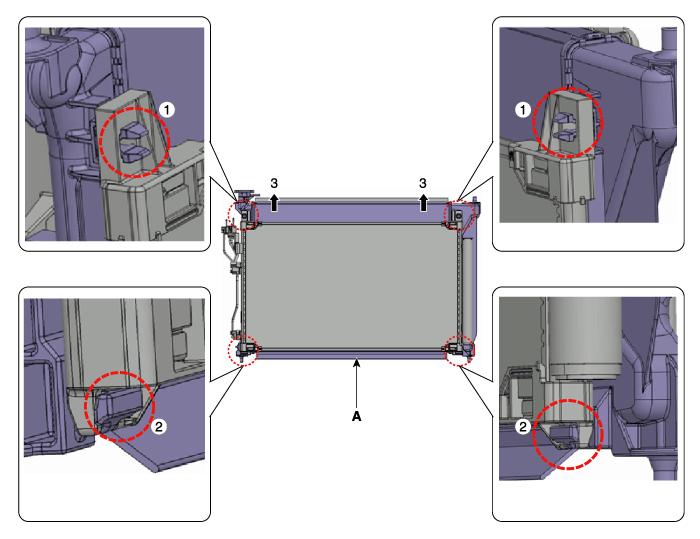
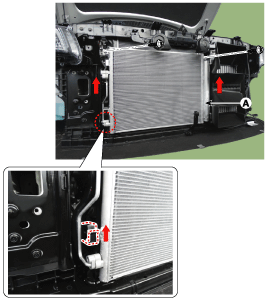
Remove the condenser (A) from the radiator.
Install in the reverse order of removal.
If installing a new condenser, add refrigerant oil.
Replace the O-rings with new ones at each fitting and apply a thin coat of refrigerant oil before installation. Be sure to use the correct O-rings for R-134a to prevent leakage.
Be careful not to damage the radiator and condenser fins when installing the condenser.
Charge the system and check that it operates properly.
Recover the refrigerant using a refrigerant recovery/recycling/recharging station.
Disconnect the negative (-) battery terminal.
Remove the front bumper. (Refer to Body - "Front Bumper Cover")
Remove the 2 nuts, then disconnect the discharge line (A) and liquid line (B) from the condenser.
Tightening torque: 8.8 ~ 11.8 N·m
Loosen the mounting bolts and nuts, then remove the front bumper retainer (A).
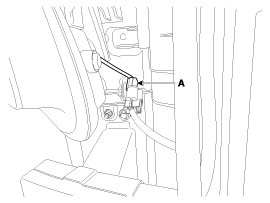
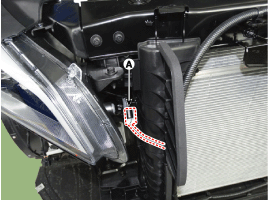
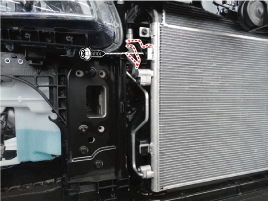
Disconnect the hood lock connector (A) and remove the wiring harness clips.
Loosen the mounting bolts and remove the side air guard (A).
If installing a new condenser, add refrigerant oil.
B.
Replace the O-rings with new ones at each fitting and apply a thin coat of refrigerant oil before installation. Be sure to use the correct O-rings for R-134a to prevent leakage.
C.
Be careful not to damage the radiator and condenser fins when installing the condenser.
D.
Charge the system and check that it operates properly.
[Gamma 1.6 T-GDI / Theta 2.0 T-GDI]
?
Test yourself
A quick Hyundai Sonata LF quiz: every answer comes with an explanation and a link to the manual page.