Condenser
Components and Component Location
Components
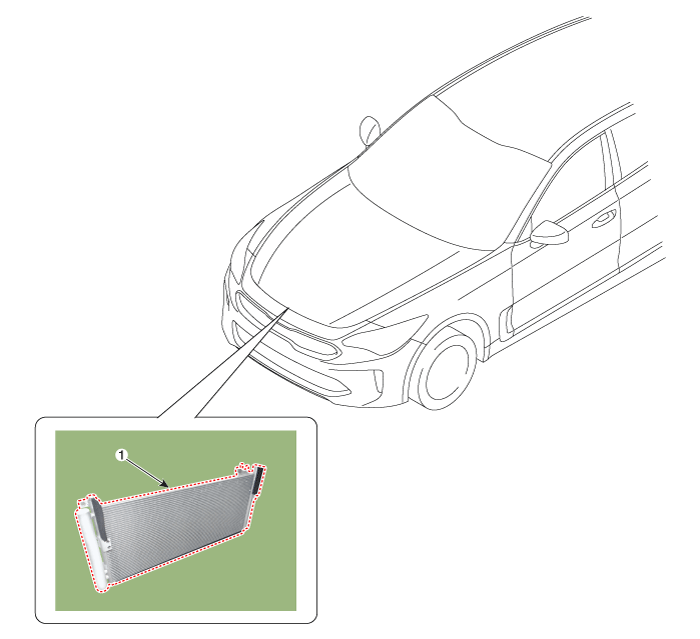
| 1. Condenser |
Repair Procedures
Inspection
Inspect the condenser fins for blockage and damage. If blocked, clean with water and dry with compressed air. If bent, carefully straighten them using a screwdriver or pliers.
Check the condenser connections for leaks and repair or replace if necessary.
Replacement
Recover the refrigerant using a recovery/recycling/charging station.
Disconnect the negative (-) battery terminal.
Remove the front bumper assembly.
(Refer to Body - "Front Bumper Assembly")
Disconnect the air duct (A).
Tightening torque: 3.9 - 5.8 N·m
[LH]
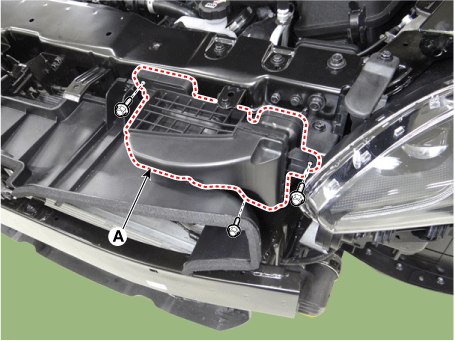
[RH]
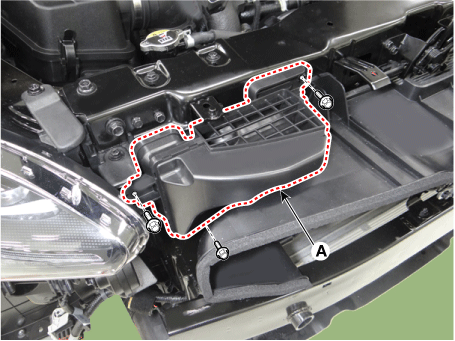
Remove the air damper (A) after loosening the mounting bolt and nut.
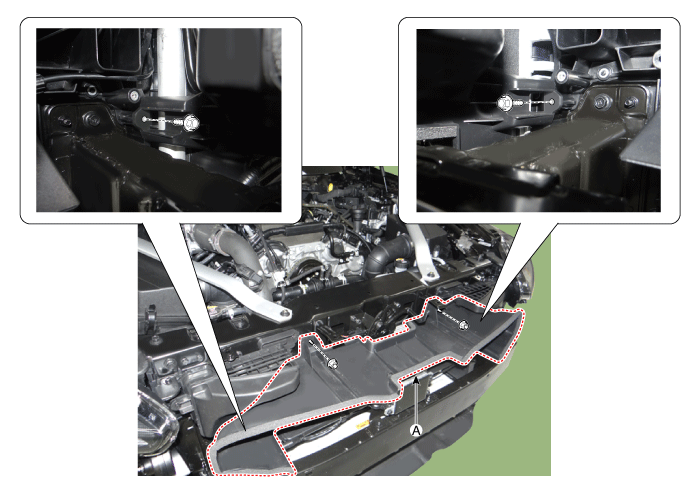
Remove the [LH], [RH] headlamp.
(Refer to Body Electrical System - Headlamps)
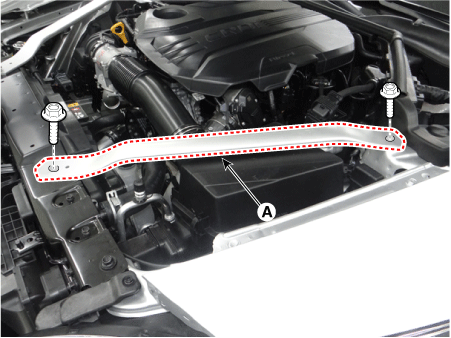
Remove the strut (A).
[LH]
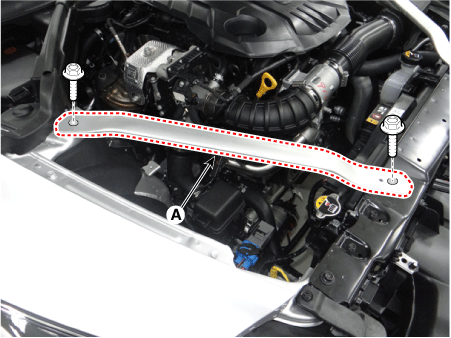
[RH]
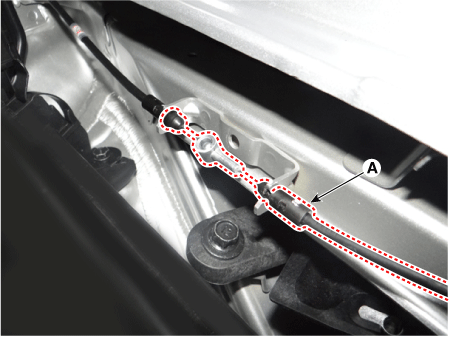
Disconnect the hood lock connector (A).
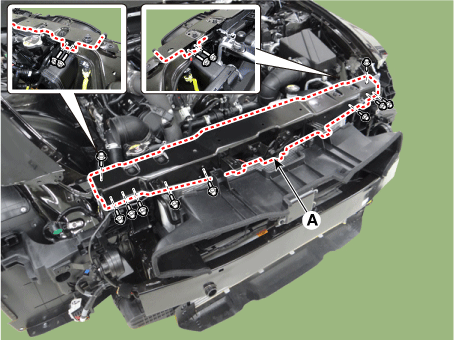
Remove the radiator support upper member (A).
Disconnect the discharge line (A) and the liquid line (B) from the condenser after loosening the nuts.
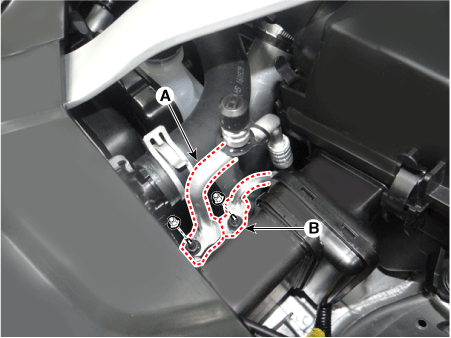
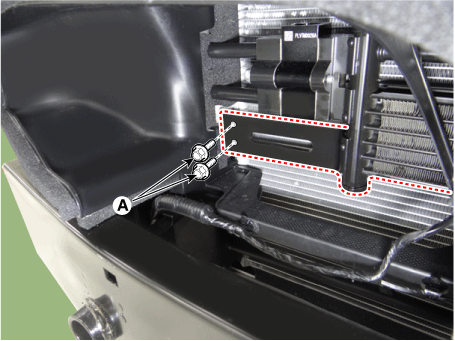
Remove the transmission oil cooler mounting bolts (A).
Tightening torque: 4.9 - 7.8 N·m (0.5 - 0.8 kgf·m, 3.6 - 5.8 ft-lbf, 43.4 - 69.4 in-lbf)
[LH]
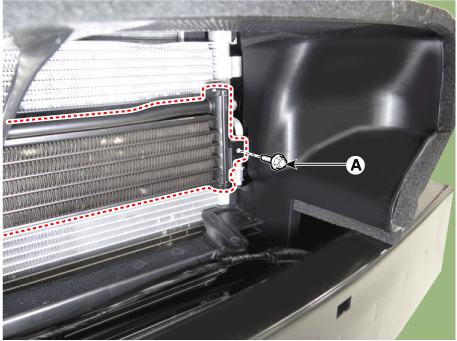
[RH]
Remove the condenser (A) after loosening the mounting bolts.
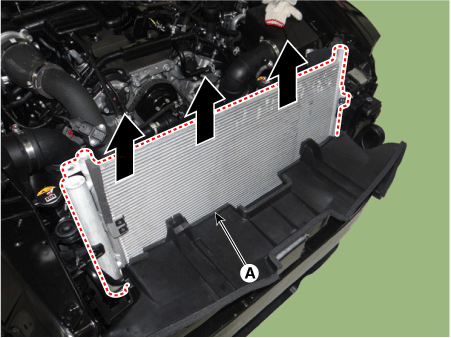
Install in the reverse order of removal.
Test yourself
A quick Kia Stinger CK quiz: every answer comes with an explanation and a link to the manual page.