Switches
GENERAL INFORMATION
WARNING: When removing any switch, disconnect the battery earth (ground) lead.Removal and installation
PROCEDURE
Ignition Switch and Steering Lock1. Refer to subsection 12.10.
Steering Column Switch Assembly
2. Remove the steering column covers.
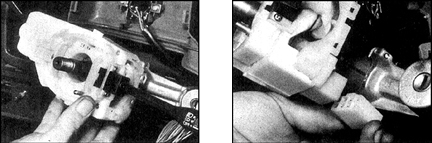
3. Remove the required switch from the bracket (left photo) by pulling it towards you and disconnect the connector (right photo).
4. Install the switch in the reverse order of removal.
Push-Button Switches in the Centre of the Instrument Panel
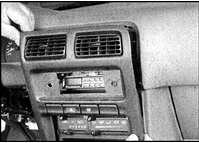
5. Remove the centre panel.
6. Disconnect the connectors from the switches.
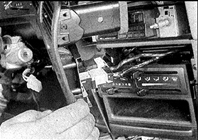
7. Push the switch forward and remove it.
8. Install in the reverse order of removal.
Heater Fan Switch
9. Remove the heater control panel (see subsection 5.1.1).
10. Remove the fan control knob.
11. Release the retaining clips (two at the bottom and one at the top) and remove the switch.
12. Install the switch in the reverse order of removal.
Driver's Side Switches
13. These switches include the mirror drive switch, the instrument panel illumination switch and the front fog light switch.
14. Remove the instrument panel cover with the ventilation nozzle.
15. Working under the panel, release the retaining clips and remove the switch. Disconnect the connector.
16. When installing, push the switch in until it clicks. Install the instrument panel cover with the ventilation nozzle.
Power Window Switch
17. Pry out the switch and disconnect the connector. The connector is secured by a clip from the inside, so it may be necessary to remove the door trim panel.
18. Install the door trim panel and push the switch in until it clicks.
Sunroof Switch
19. Carefully, after wrapping the blade of a thin screwdriver with PVC tape, pry out the switch located in the sunroof drive housing.
20. Disconnect the connector and remove the switch.
21. Installation is the reverse of removal.
Door Ajar Warning Switches / Door Courtesy Lamp Switches
22. Open the door. The switch is located on the front door pillar.
23. Unscrew the screws and remove the switch, then disconnect the connector.
24. Install the switch in the reverse order of removal. Check that the seal is correctly fitted.
Test yourself
A quick Nissan Sunny quiz: every answer comes with an explanation and a link to the manual page.