Wheel replacement
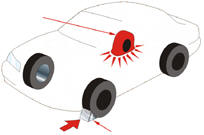
1. To prevent the lifted vehicle from moving, chock the wheel diagonally opposite the flat tire. Place wheel chocks in front of the front wheel and behind the rear wheel.
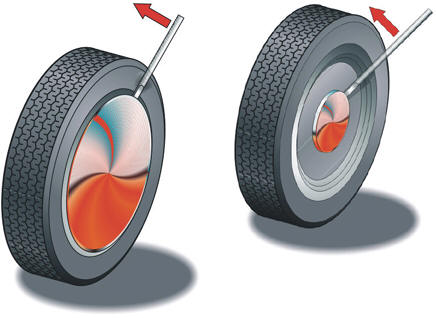
2. Pry off the wheel cover using the beveled end of the wheel cover remover.
On vehicles with a gasoline engine, the spark plug wrench handle can be used as the remover.
* Do not remove the wheel cover by hand. Handle the wheel cover with great care to avoid injury.
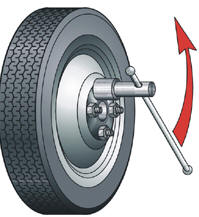
3. Before lifting the vehicle, loosen the wheel nuts. To do this, turn the nut counterclockwise. For maximum leverage, position the wrench so that the handle is on the right side.
When loosening, hold the end of the handle and make sure the wrench does not slip off the nut. Loosen the nuts by half a turn only; do not remove them completely.

4. Position the jack only under the locations shown in the illustration. The jack must be set on a level and firm surface.
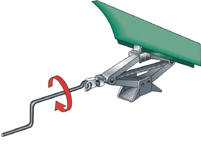
5. Make sure there are no passengers in the vehicle, and raise the vehicle so that the spare wheel can be installed. Note that the vehicle must be raised higher for installing the spare wheel than for removing the flat tire.
6. To raise the vehicle, insert the jack handle into the eye and turn clockwise. At the very beginning of lifting, check again that the jack is positioned correctly.
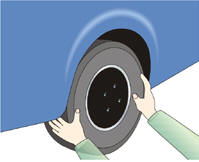
7. Loosen and remove the nuts, then remove the flat tire.
8. Roll the spare wheel over and align it so that the holes in the disc are opposite the studs.
9. Lift the wheel and place it onto the upper stud. Rock it slightly and fit it onto the remaining studs.
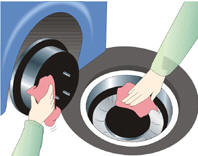
10. Before installing the wheel, remove any corrosion from the wheel mounting surfaces with a wire brush. Insufficient contact between the wheel and the hub may cause the nuts to loosen and the wheel to come off while driving. Therefore, check the tightness of the wheel nuts every 1600 km.
11. Install the wheel nuts (tapered end facing inward) and tighten them by hand. Push the wheel against the hub and, if possible, tighten the nuts further.
12. Lower the vehicle and tighten the nuts. To do this, turn the jack handle counterclockwise. Use only the wheel nut wrench to tighten the nuts. Tighten the nuts manually. Do not use other tools or objects that change the tightening torque (hammer, pipe, etc.), and do not pull the nuts tight by pressing on the wrench with your foot.
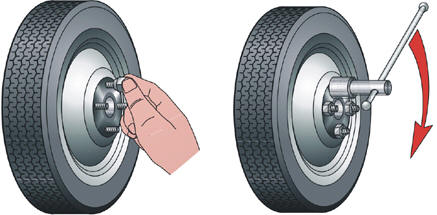
13. Make sure the wrench is securely engaged with the nut. Tighten the nuts gradually in the order shown in the illustration. Repeat the tightening sequence to finally tighten the nuts.
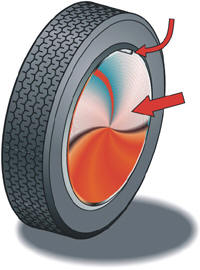
14. Install the wheel cover in place and tap it lightly with your foot until it clicks.
15. After changing the wheel, check the tire pressure of the installed wheel. Adjust the pressure to the specifications given in Section 8.
16. If the pressure is below the specified value, drive at low speed to the nearest workshop and inflate the tire. Be sure to install the valve cap; otherwise, dirt may enter the valve core and cause a leak. If the valve cap is lost, purchase and install a new one as soon as possible.
17. Return the jack, the damaged wheel and the tools to their proper places. At the first opportunity, tighten the wheel nuts to the specified torque with a torque wrench and repair the damaged tire.
Test yourself
A quick Toyota Corolla quiz: every answer comes with an explanation and a link to the manual page.