Parking Brake Shoe Removal and Installation

Parking Brake
1 — parking brake lever
2 — cover
3 — lock nut
4 — adjusting nut
5 — bolt
6 — parking brake switch
7 — cable
8 — clamp
9 — cable bracket
10 — bushing
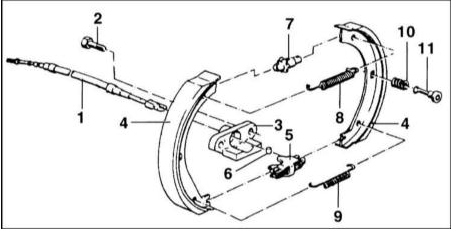
1 — cable
2 — bolt
3 — support
4 — brake shoe
5 — lock
6 — pin
7 — adjusting screw
8 — lower return spring
9 — upper return spring
10 — compression spring
11 — pin
REMOVAL
1. Remove the rear brake disc.
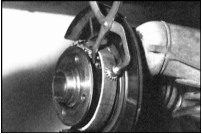
2. Disconnect the front return spring. Inspect the spring. Replace any spring showing signs of rust.
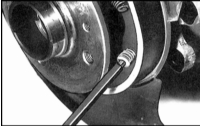
3. Slightly compress the compression spring with a 5 mm socket wrench, turn it 90°, and remove the spring from the shoe.
4. Remove the springs from the other brake shoes in the same way.
5. Spread the shoes at the top and remove them downward.

Installation
Always replace brake shoes on both wheels at the same time.
INSTALLATION
1. Apply a thin layer of “Molykote-Paste G” grease to the sliding surfaces and the lock pin.
2. Insert the lock with pin (2) into the parking brake cable.
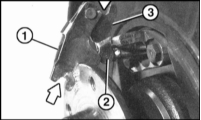
3. Expand the brake shoe adjuster (1). Lightly lubricate the thread with “Molykote” and screw it back in.
4. Install the brake shoe adjuster from below between the shoes. Connect the lower return spring (2) (smaller diameter spring) at the bottom.
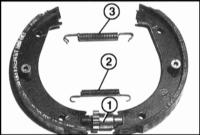
5. Insert the brake shoes. At the top they must engage the slots of the lock.
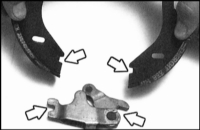
6. Compress the two brake shoe springs with a 5 mm socket wrench while turning them 90°. In the locked position, the marking is on the bolt head, as shown in the accompanying illustration.

7. Hook the upper return spring with pliers.
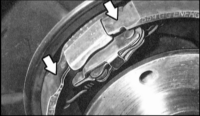
8. The brake shoes (arrows in the accompanying illustration) must rest against the backing plate support.
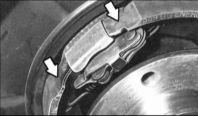
9. Install the brake disc and the rear wheel.
10. Adjust the parking brake. Refer to Parking Brake Adjustment.
* If the parking brake shoes have been replaced, they must be bedded in on a road with light traffic as follows:
From a speed of 40 km/h, gently apply the parking brake so that braking begins. Maintaining speed, apply the brake by one notch and drive approximately 400 m further. Release the brake and allow it to cool. This bedding-in procedure is recommended every quarter, regardless of whether the shoes have been replaced, because it removes rust and accumulated wear products from the braking surfaces.
Test yourself
A quick BMW 1 quiz: every answer comes with an explanation and a link to the manual page.