Disassembly
PROCEDURE
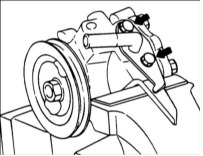
1. Remove the suction pipe and O-ring from the pump.
2. Remove the rear cover with the gasket and pins.
3. Remove the cam ring.
4. Remove the rotor and vanes.

5. Remove the front side plate.
6. Remove the inner and outer O-rings.
7. Remove the spring.
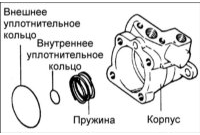
When assembling, a new gasket and O-ring must be used.
8. Remove the pulley nut and spring washer.
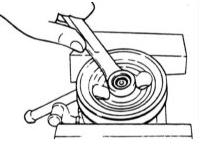
9. Remove the pulley and woodruff key.
10. Using special pliers, remove the snap ring.
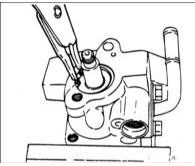
11. Press out the pulley shaft with bearing. If necessary, use a nylon hammer.
12. Remove the O-ring from the pump housing.
When assembling, a new O-ring must be used.
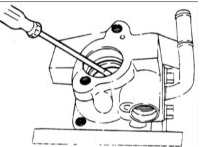
13. Remove the guide bracket and unscrew the nuts.
14. Disconnect the connector from the pump housing and remove the throttle and spring.
15. Remove the O-ring from the connector.
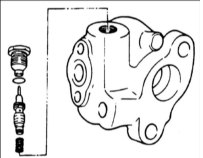
Do not disassemble the throttle.
Inspection
PROCEDURE
1. Clean all pump components with a suitable solvent.
2. If any pump components are damaged, replace the pump assembly.
3. If the pulley is damaged or deformed, replace it.
4. If fluid leaks are found around the O-ring, replace it.
5. If the shaft or pulley splines are damaged or worn, replace the relevant parts.
Assembly
PROCEDURE
1. Install the pump switch.
2. Install the flow control spring, valve and connector in the pump housing.
Apply a thin coat of ATF DEXRON II to all replaced parts, including the oil seal and O-ring.
3. Install the guide bracket and tighten the nuts.
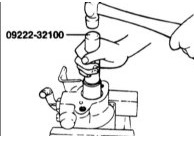
4. Using special service tool 09222–32100, install the oil seal into the pump housing.
5. Gently insert the shaft assembly and install the snap ring.
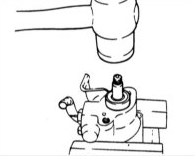
6. Install the pump pulley with the woodruff key.
7. Install the spring and the inner and outer O-rings.
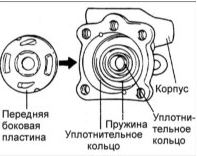
8. Install the front side plate.

9. Insert the dowel pins into the recesses of the front housing, then install the cam ring, paying attention to its installation direction.
10. Install the rotor so that the marks on the rotor face away from the front housing.
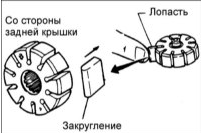
11. Install the vanes with the rounded ends facing outward.
12. Install the gasket and rear cover.
13. Tighten the suction connector.
Test yourself
A quick Hyundai Accent quiz: every answer comes with an explanation and a link to the manual page.