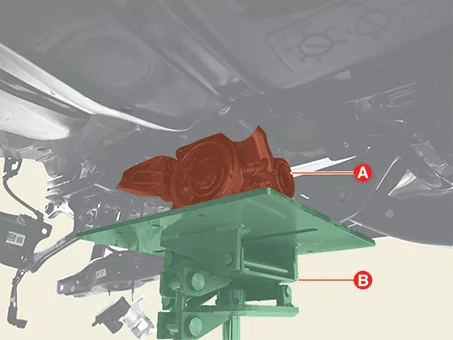
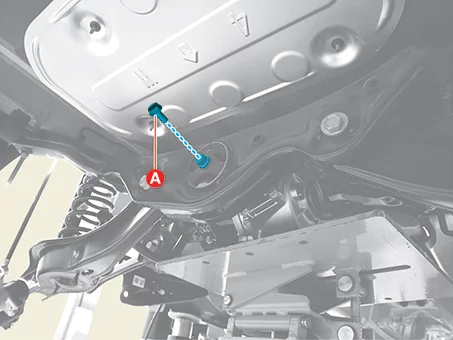
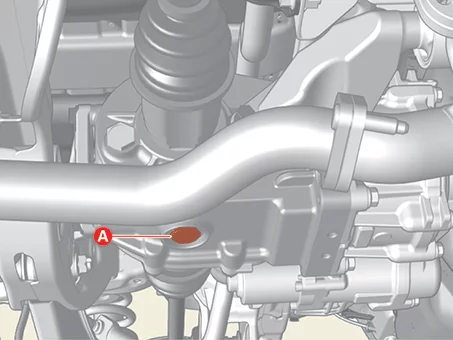
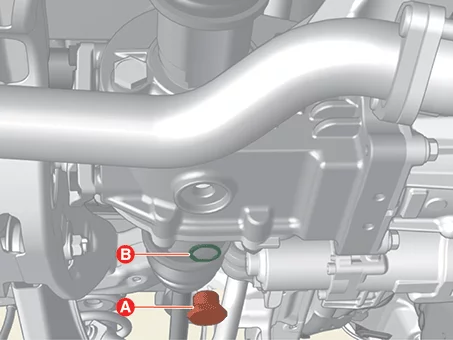
Support the rear differential carrier assembly (A) with a jack such as transmission jack (B).
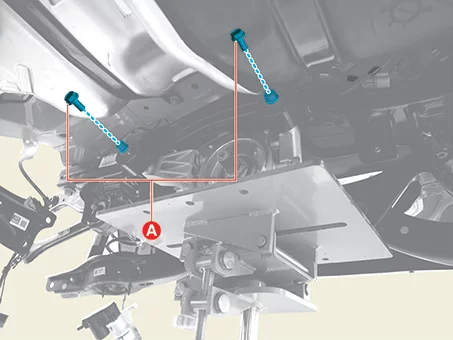
Remove the rear differential carrier assembly after removing the bolts (A).
Tightening torque : 68.6 - 88 N·m
[Front] [Rear]
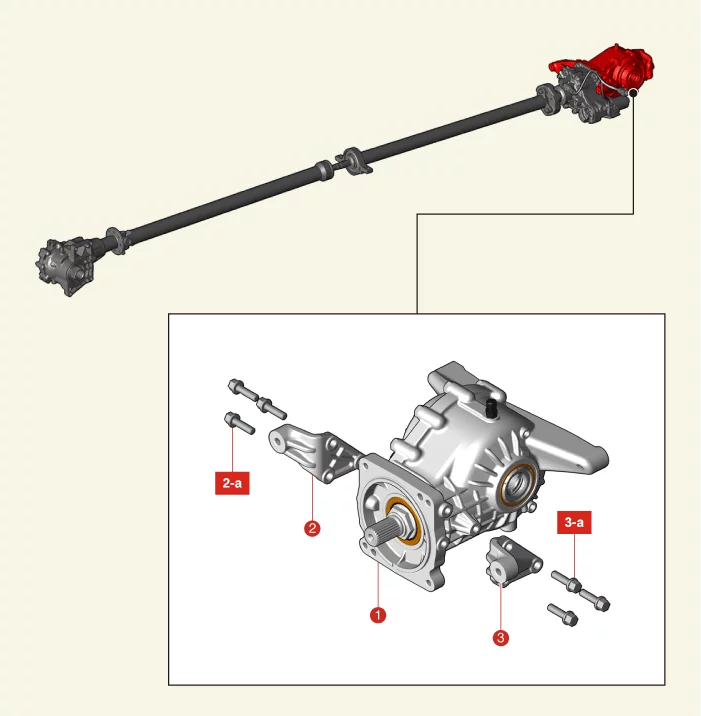
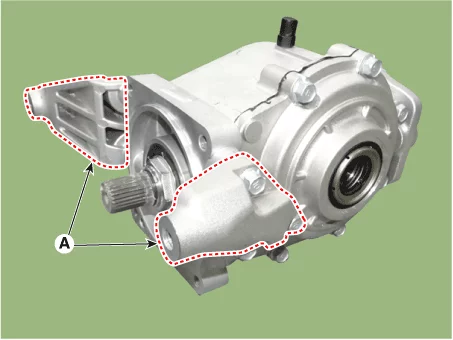
Remove the bolts, and then remove the rear differential carrier brackets (A).
Tightening torque : 56.9 - 65 N·m
Rear Differential Carrier Disassembly
Disassembly
[Differential Case Assembly]
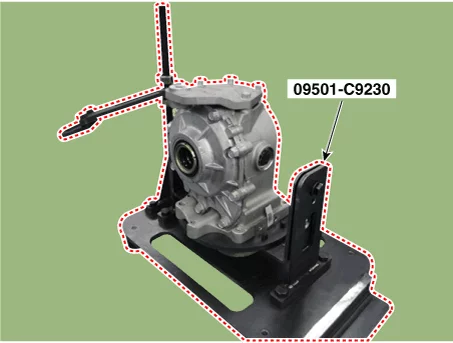
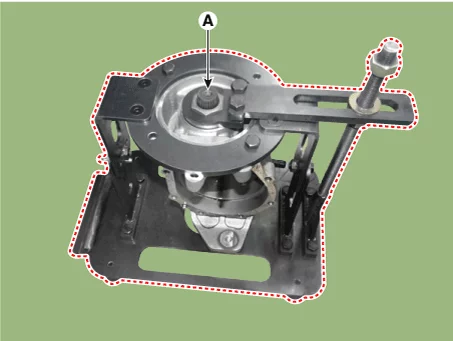
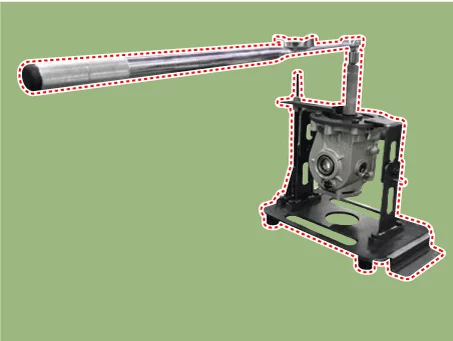
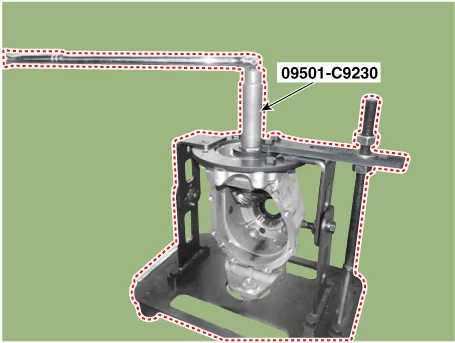
Using the SST (09501-C9230), hold the differential assembly safely.
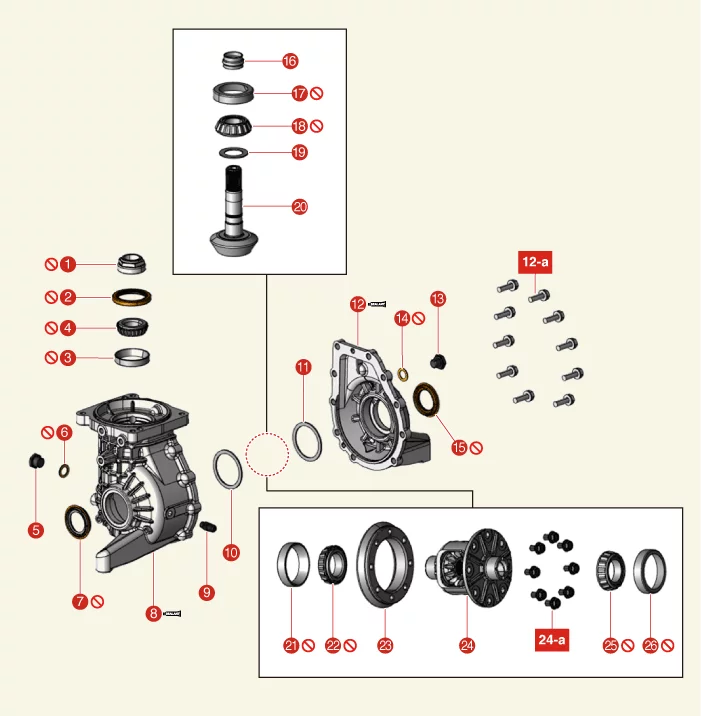
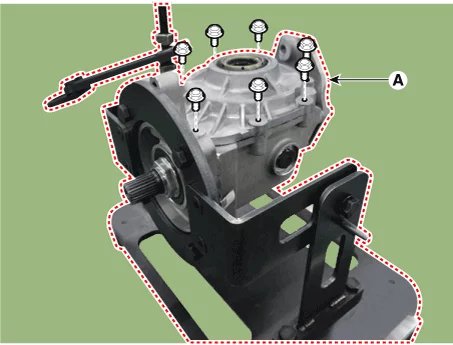
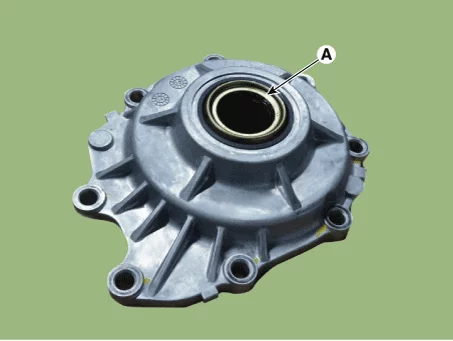
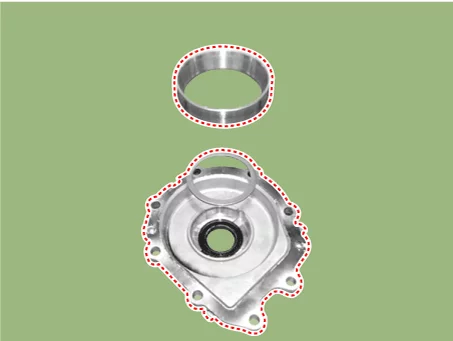
Loosen the cover bolts and then remove the cover (A).
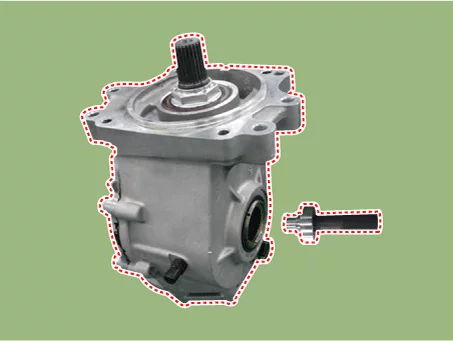
Remove the gear carrier assembly (A).
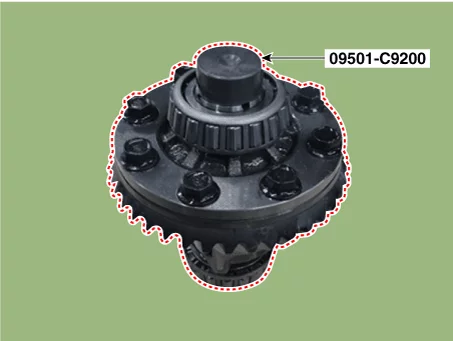
Using the SST (09501-C9200), remove the front / rear bearing.
Do not use the bearing again.
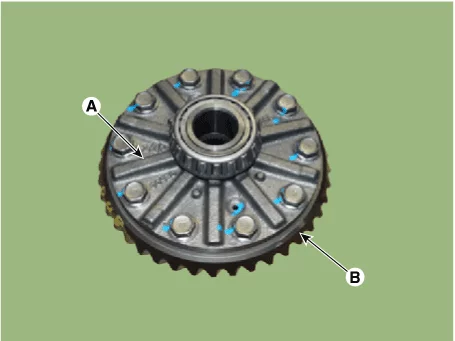
Loosen the seal bolts and then remove the gear carrier (A) and ring gear (B).
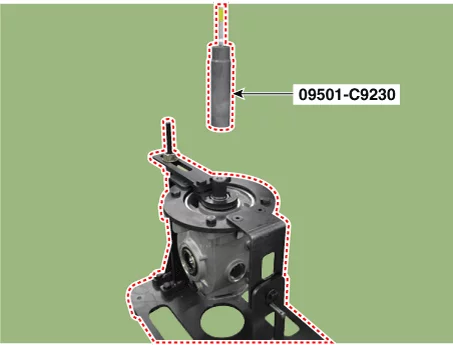
Using the SST (09501-C9230), remove the pinion gear lock nut (A).
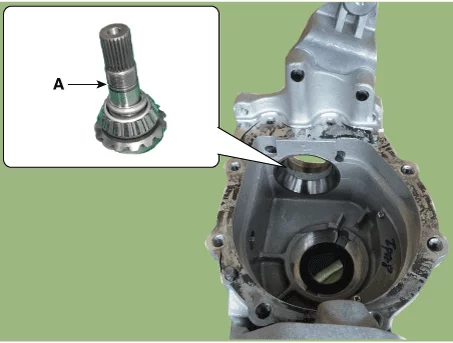
Using the press, remove the pinion drive gear (A).
Remove the spacer (A) from the pinion drive gear assembly.
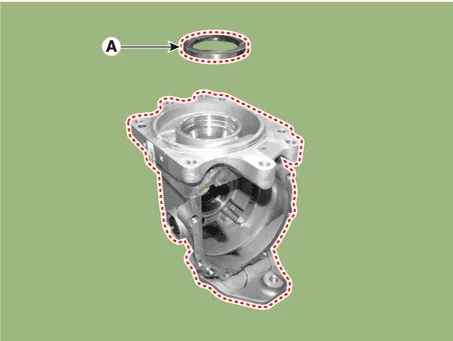
Remove the oil seal (A).
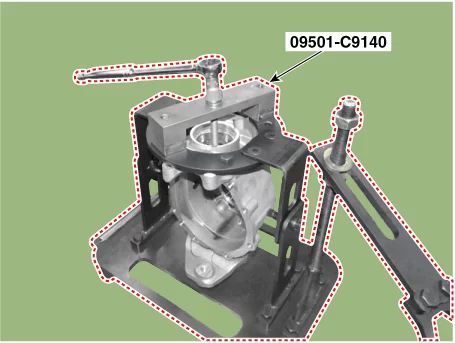
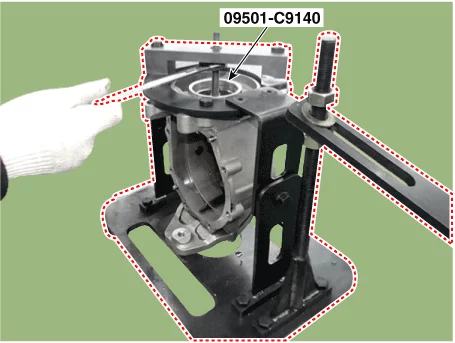
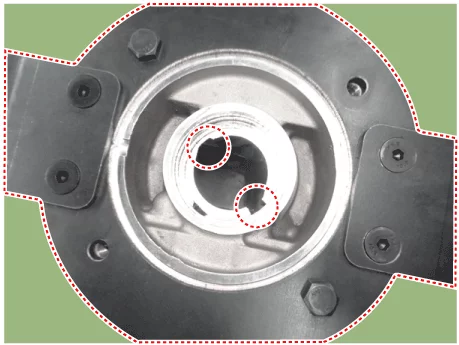
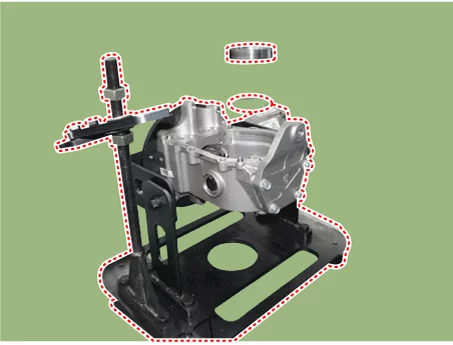
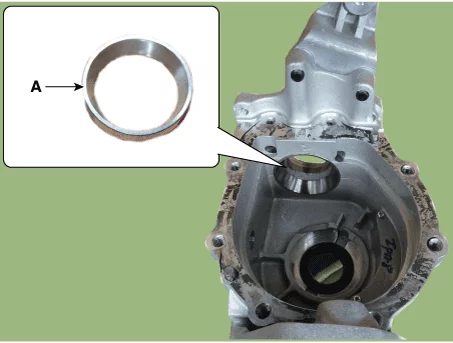
Using the SST (09501-C9140), remove the upper / lower race.
Using the SST (09501-C9140), install in the hole.
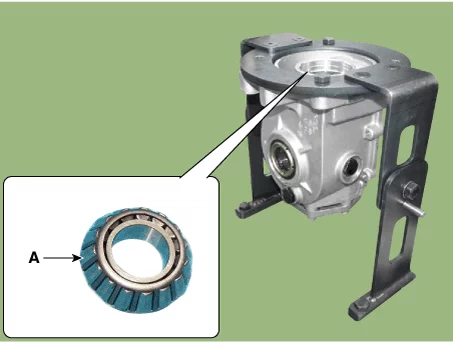
Using the press and SST (09501-C9120, 09452-2E000), remove the pinion bearing from the pinion drive gear.
Do not use the bearing again.
Remove the bearing adjust (A) from the pinion drive gear.
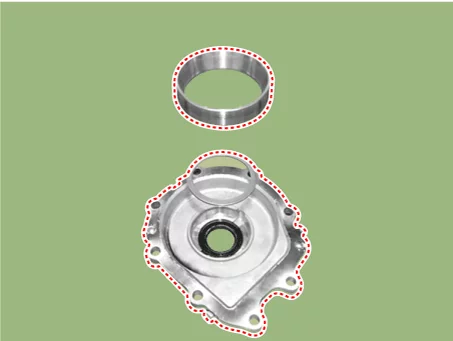
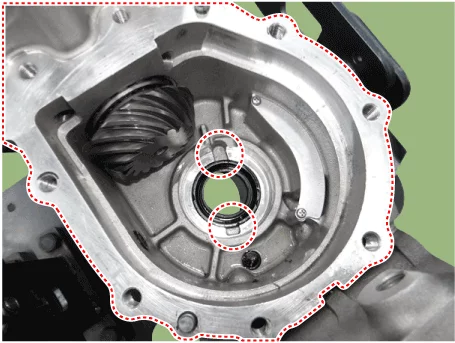
Using the (-) driver, remove the front / rear bearing race and spacer.
Put the (-) driver in the hole part, remove the front / rear bearing race and spacer.
Remove the differential carrier side oil seal (A).
[Pinion Drive Gear Assembly]
Rear Differential Carrier Inspection
Inspection
After cleaning the disassembled parts, visually check the degree of damage or wear on each part. In case of wear or damage to disassembled components, follow the following methods :
Parts
Inspection
Gear set (Pinion drive gear and Drive gear)
Replace with a new gear set if damaged (crack/dent etc.) on the gear teeth, surface.
Bearing
Replace bearing rollers or races with new bearings if damaged (scratches, dents, noise).
Oil seal
Replace the oil seal each time it is removed.
Differential Carrier Case
The carrier must be replaced with a new one if the inside of the carrier bearing is damaged (crack/pits/dents) or a crack is found inside/ouside.
Companion flange
The pinion oil seal must be replaced with a new one if the contact surface is damaged (crack/pits/dents).
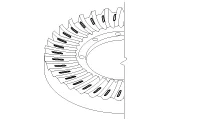
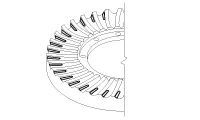
Check the tooth contact pattern.
Contact
Contact Location
Solution
Standard contact
1. Heel contact
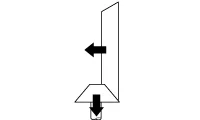
Increase the thickness of the pinion height adjusting shim, and position the drive pinion closer to the center of the drive gear. Also, for backlash adjustment, reposition the drive gear further from the drive pinion.
2. Face contact
3. Toe contact
Decrease the thickness of the pinion height adjusting shim, and position the drive pinion further from the center of the drive gear. Also, for backlash adjustment, reposition the drive gear closer to the drive pinion.
4. Crank contact
Tooth contact pattern is a method for judging the result of the adjustment of drive pinion height and final drive gear backlash. The adjustment of drive pinion height and final drive gear backlash should be repeated until the tooth contact patterns are similar to the standard tooth contact pattern.
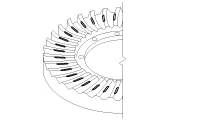
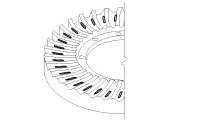
If obtaining a correct pattern is impossible, the drive gear and drive pinion have exceeded their limits. Both gears should be replaced as a set.
Rear Differential Carrier Reassembly
Reassembly
The already adopted seam for controlling the inner bearing on the front differential assembly is used. (Use the same thickness controlling seam in case of destruction)
The rear differential assembly shall be replaced with new one when the differential carrier or differential case assembly is failed.
The noise or vibration can be made due to the no matching of current inner bearing and gear control seam when the carrier or differential case assembly is exchanged as a unit.
Install the Inner bearing adjustment shim (A) to the pinion drive gear.
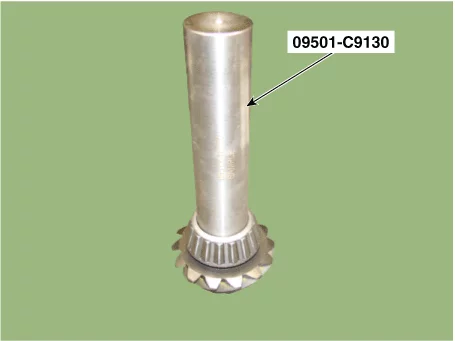
Using the press and SST (09501-C9130), install the pinion bearing.
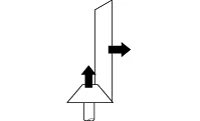
Install the spacer (A) from the pinion drive gear assembly.
Be careful not to deflect the spacer (A) when mounting it.
Normal mounting
Abnormal mounting
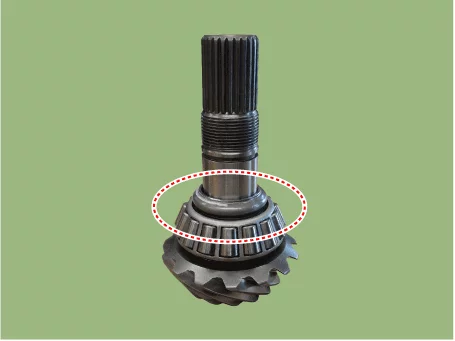
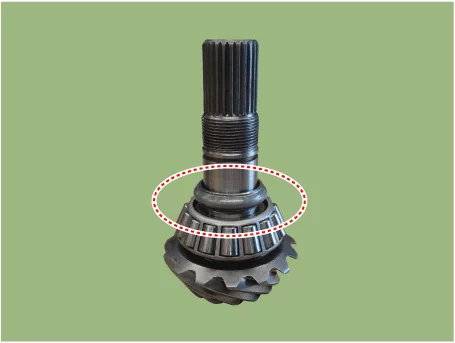
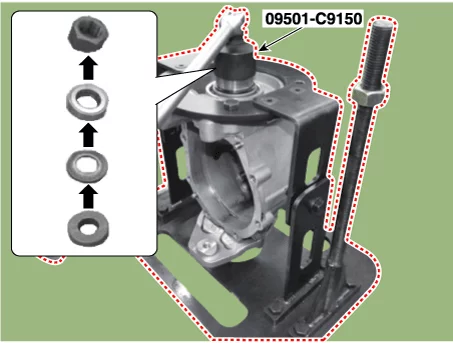
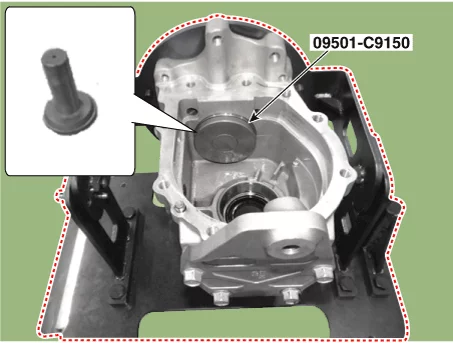
Using the SST (09501-C9150), install the upper outer race and bearing (A).
Using the SST (09501-C9150), install the lower outer race and bearing (A).
Install the upper bearing (A).
Using the press, install the pinion drive gear assembly (A).
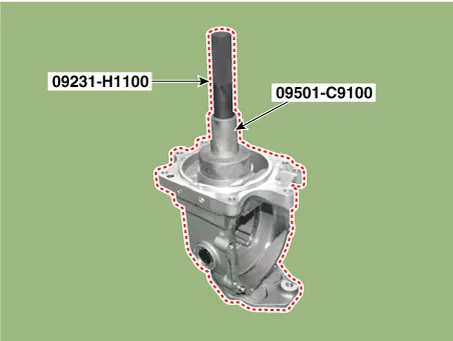
Using the SST (09501-C9100, 09231-H1100), install the pinion oil seal.
Using the SST (09501-C9230), install the pinion lock nut (A).
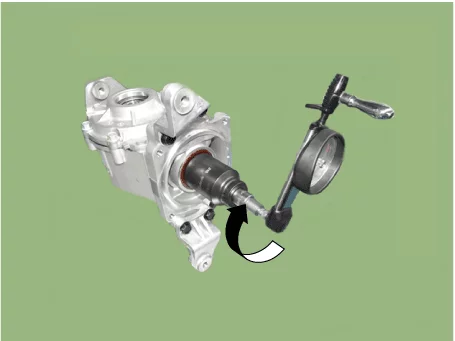
Measures the pinion freeroad.
Pinion preload : (9.2 - 18.3 kgf.m)
Maintain the constant speed rotation (60rpm).
If the measured value is exceeded the standard value, should be exchanged the spacer (A) with a new one. And then should be Rework.
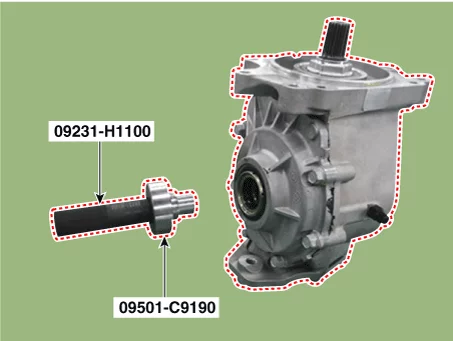
Using the SST (09231-H1100, 09501-C9190), install the side oil seal.
Install the side bearing race.
Install the differential case (A) and ring gear (B).
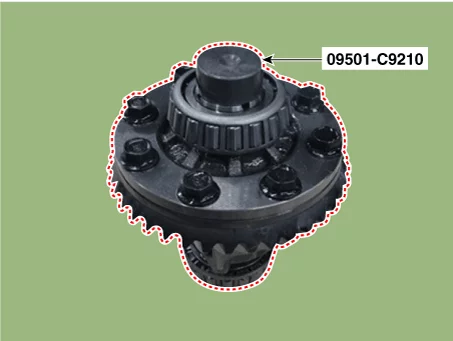
Using the SST (09501-C9210) and press, install the front / rear bearing.
Install the differential case (A).
Install the side cover.
Sealant : L5702
Remove the remaining sealant before coating.
Apply along the rear cover surface to the 2~3 mm of thickness evenly.
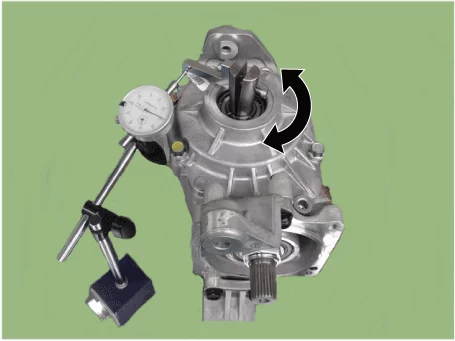
Measures the differential rear backlash.
Differential gear backlash : 0.01 - 0.06 mm
Measures the total preload. Standard : Pinion freeroad +0.24 - 0.83 N.m (+2.5 - 8.5 kgf.cm, 0.18 - 0.62 lb-ft)
Maintain the constant speed rotation (60rpm).
[Differential Case Assembly]
Rear Differential Carrier Installation
Installation
Install the differential carrier bracket (A).
Tightening torque : 56.9 - 65 N·m
Support the rear differential carrier assembly (A) with a jack such as transmission jack (B).
Install the rear differential carrier assembly after installing the bolts (A).
Tightening torque : 68.6 - 88 N·m
[Front] [Rear]
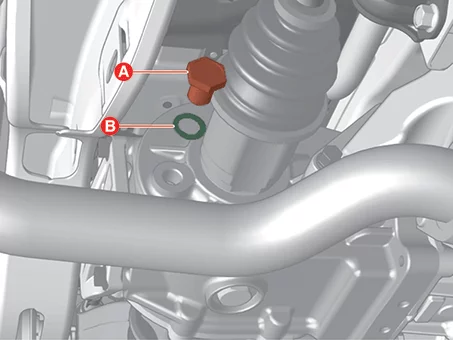
Add new gear oil through filler plug hole (A). Oil Type : Hypoid gear oil MS517-15 GTC 75W/85 (GL-5) (SK HCT-5 Gear Oil 75W/85 or equivalent) Oil Capacity (L) : About 0.58 ± 0.05 ℓ (0.15 U.S.gal., 0.52 U.S.qt., 0.51 Imp.qt.)
Install the filler plug (A) and filler gasket (B).
Tightening torque : 39.2 - 59 N·m
Do not reuse the filler plug gasket (B).
Install the coupling assembly. (Refer to Coupling Assembly - "Direct Electro Hydraulic Actuator Coupling" )
Install the rear driveshaft. (Refer to Rear Driveshaft Assembly - "Rear Driveshaft")
Connect the battery negative ( - ) terminal.
Start the vehicle and check for oil leaks from the differential carrier assembly.
If oil leaks, disassemble and reassemble the differential carrier assembly and re-inspect.
Check the alignment. (Refer to Suspension System - "Alignment")
Rear Differential Carrier Gear Oil Lubricant
Lubricant
Rear differential carrier (AWD)
Item
Lubricant
Capacity
Rear differential carrier oil
Hypoid gear oil SK HCT-5 gear oil 75W/85 or equivalent