Fuel line
Repair Procedures
Removal
Low Pressure Fuel Line [Engine Room <-> Fuel Line Extension]
Release the residual pressure in the fuel line.
(See Fuel System - "Relieve Fuel Line Residual Pressure")
Turn the ignition switch OFF and disconnect the negative (-) battery terminal.
Remove the hood upper cover assembly.
(Refer to Body (Interior and Exterior) - "Hood Panel")
Disconnect the quick connector (A) of the fuel feed tube connected to the high pressure fuel pump.
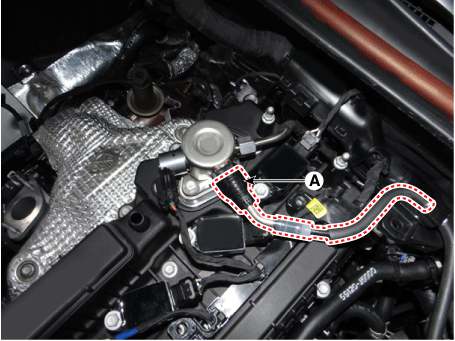
Disconnect the vapor hose (A) connected to the PCSV.
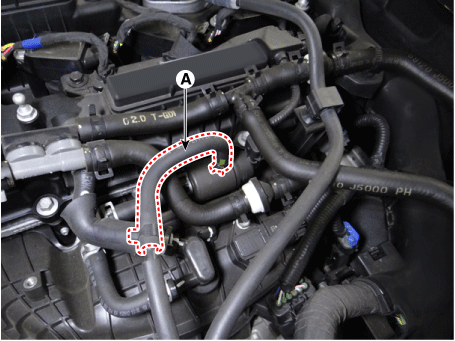
Remove the engine control module (ECM).
(Refer to Engine Control System - "Engine Control Module (ECM)").
Raise the vehicle.
Remove the front left wheel, tire and wheel arch cover.
Remove the side lower cover (A).
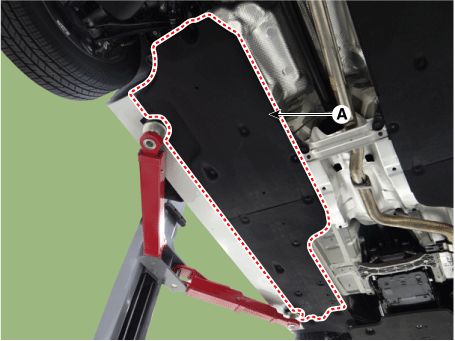
Remove the side cover (A).
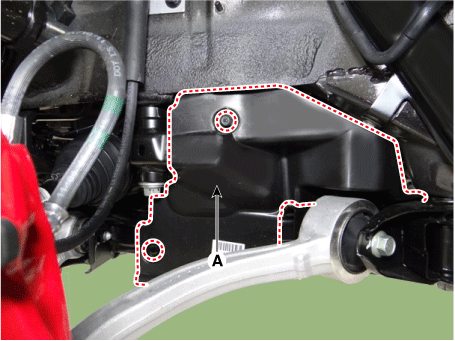
Remove the brake line bracket (A) after removing the mounting bolt.
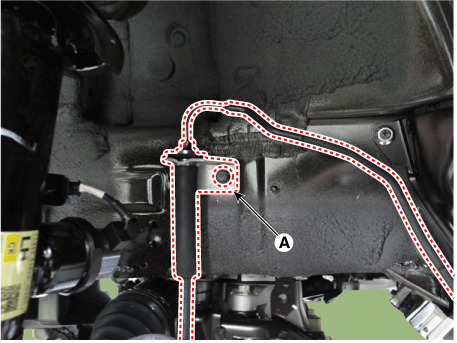
Remove the fuel line protector (A) after removing the mounting nuts.
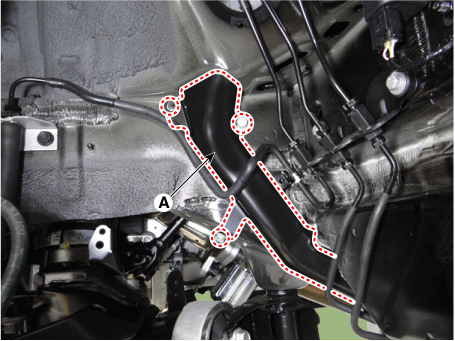
Disconnect the quick-connect coupling (A) of the front vapor and fuel line.
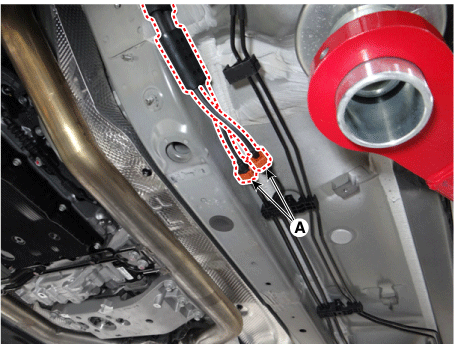
Lower the vehicle.
Remove the front vapor and fuel lines.
Low Pressure Fuel Line [Fuel Line Extension <-> Fuel Tank]
Release the residual pressure in the fuel line.
(See Fuel System - "Relieve Fuel Line Residual Pressure")
Turn the ignition switch OFF and disconnect the negative (-) battery terminal.
Remove the side lower cover (A).
Disconnect the quick-connect coupling (A) of the front vapor and fuel line.
Remove the fuel tank.
(Refer to Fuel System - "Fuel Tank")
Remove the retaining clips (A) of the vent tube and fuel feed tube using a common screwdriver.
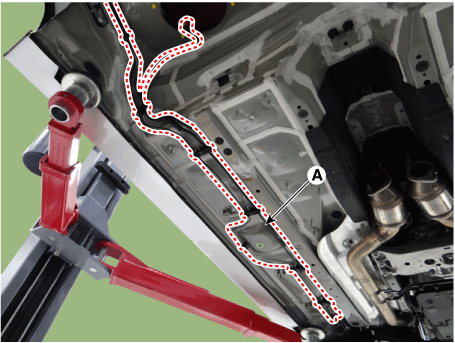
High Pressure Fuel Tube [Fuel Line Extension <-> Fuel Tank]
Release the residual pressure in the fuel line.
(See Fuel System - "Relieve Fuel Line Residual Pressure")
Turn the ignition switch OFF and disconnect the negative (-) battery terminal.
Remove the hood upper cover assembly.
(Refer to Body (Interior and Exterior) - Hood Upper Cover.)
Remove the engine cover (A).
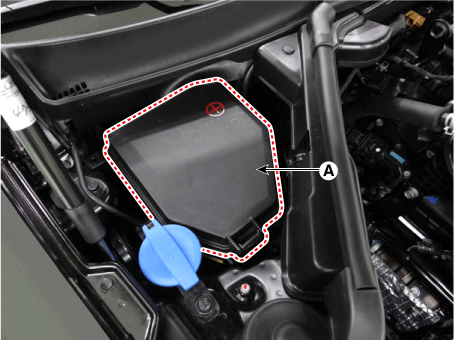
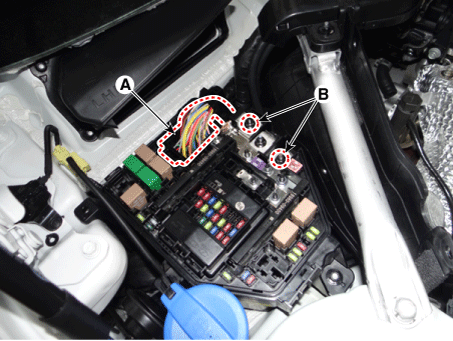
Disconnect the front control connector (A).
Remove the ground terminal nuts (B).
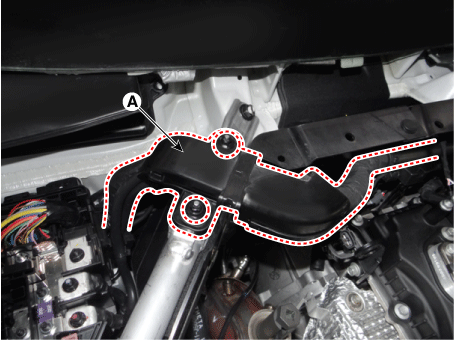
Remove the wiring protector (A).
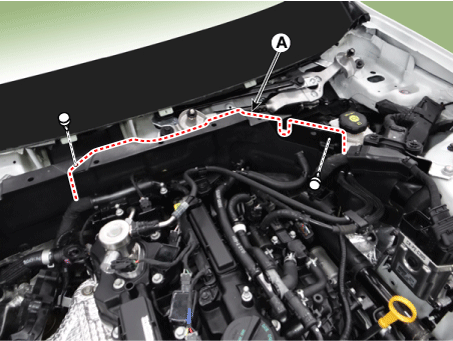
Remove the engine room panel (A).
Remove the high pressure fuel tube.
Remove the high-pressure fuel line mounting bolt (A).
High Pressure Fuel Line Functional Block Mounting Bolt:
7,8–11.8 N·m
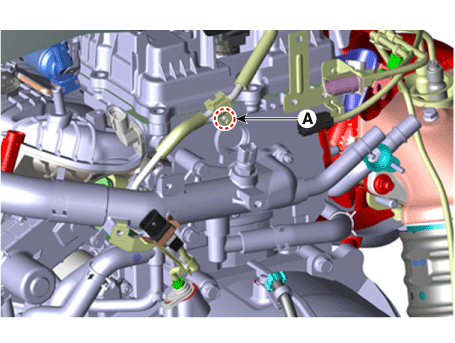
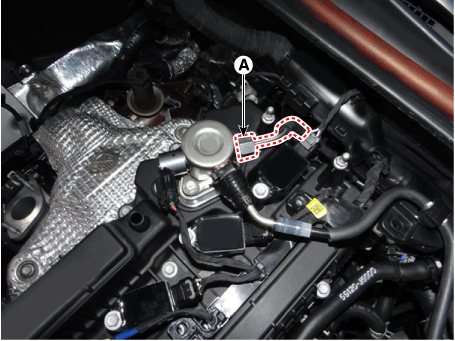
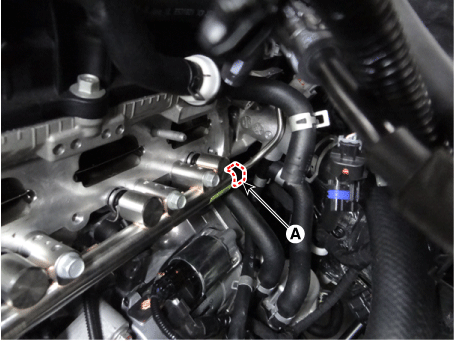
Remove the high-pressure fuel line flange nut (A).
High Pressure Fuel Line Flange Nut:
26,5–32 N·m
Installation
Install the fuel line in the reverse order of removal.
Install the high pressure fuel line as follows.
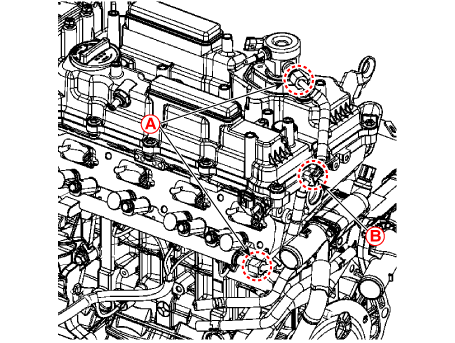
Pre-tighten both side nuts (A) on the high pressure valve fully, holding them in the vertical position at the high pressure fuel line tightening points.
Tighten the high pressure fuel line functional block mounting bolt (B).
Tightening torque: 7.8–11.8 N·m
Fully tighten both side nuts (A) on the high pressure fuel line area.
Tightening Torque: 26.5–32 N·m
Test yourself
A quick Kia Stinger CK quiz: every answer comes with an explanation and a link to the manual page.