Front Radar
Specifications
Specification
| Item | Specification | |
| Power Supply | 12 V | |
| Operating Voltage | 9 - 16 V | |
| Installation Angle | Horizontal | 0 ± 0,8° |
| Vertical | -1° ± 0,4° | |
Components and Component Location
Component Location
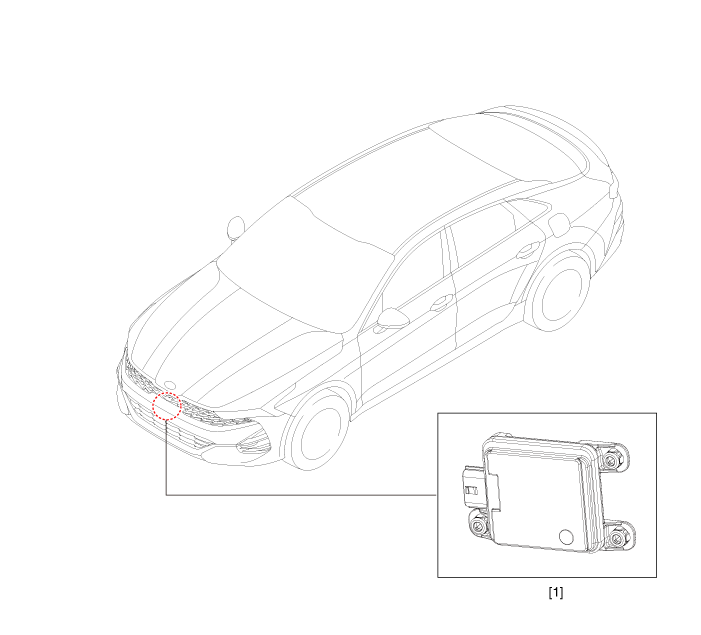
| 1. Front Radar Unit |
Circuit Diagrams
Wiring Diagram
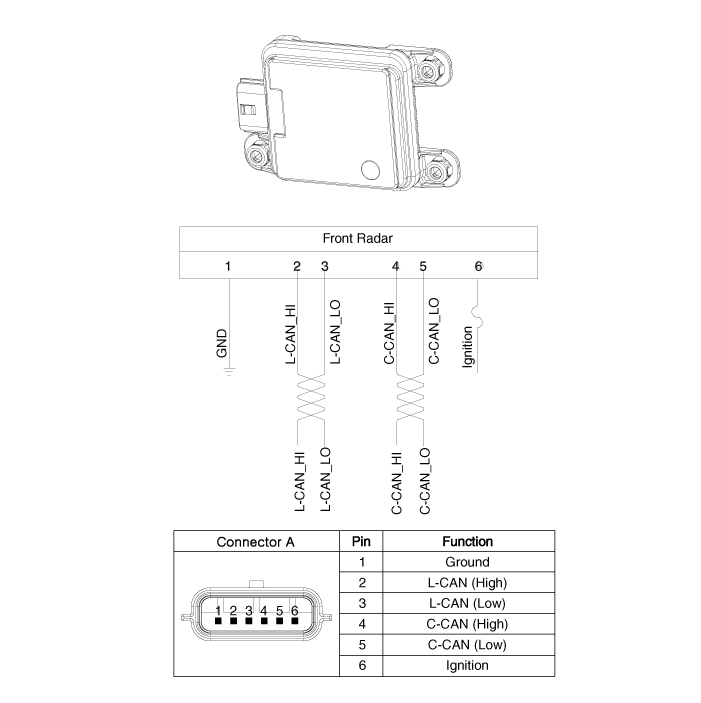
Repair Procedures
Inspection
Front Radar Inspection Procedures System Error:
Inspect the front bumper appearance and accident history (bumper appearance, vehicle service history, and bumper replacement history).
→ If the vehicle has been involved in an accident, the front radar unit mounting is likely to be twisted.
Check whether the radar cover on the bumper is contaminated.
After starting the engine, check the warning message on the cluster and the DTC.
Removal
Disconnect the negative (-) battery terminal.
Remove the front bumper assembly.
(Refer to Body - "Front Bumper Assembly")
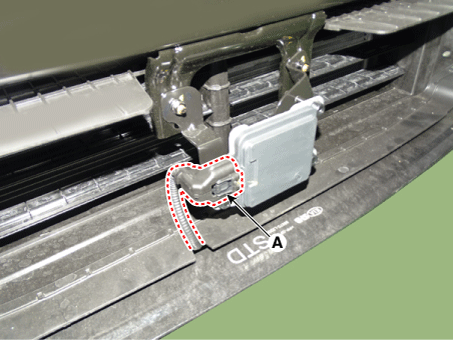
Disconnect the front radar connector (A).
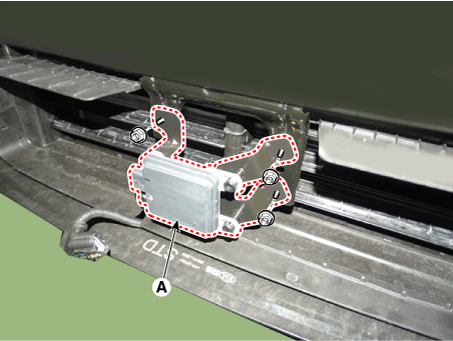
Remove the front radar (A) after loosening the nuts.
Installation
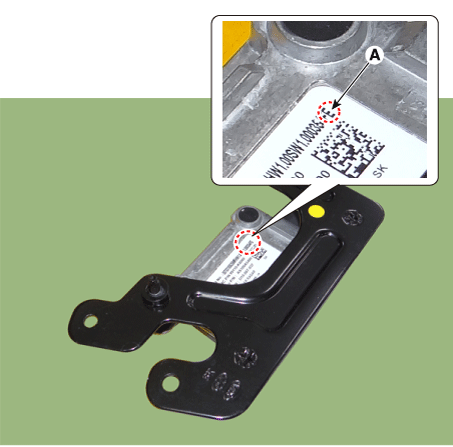
Check the last 2 digits of the lot number. Before installing the front radar, check the label (A) on the back.
Install the front radar (A), tightening the nuts.
Tightening torque: 7.3 – 8.3 N·m
Connect the front radar connector (A).
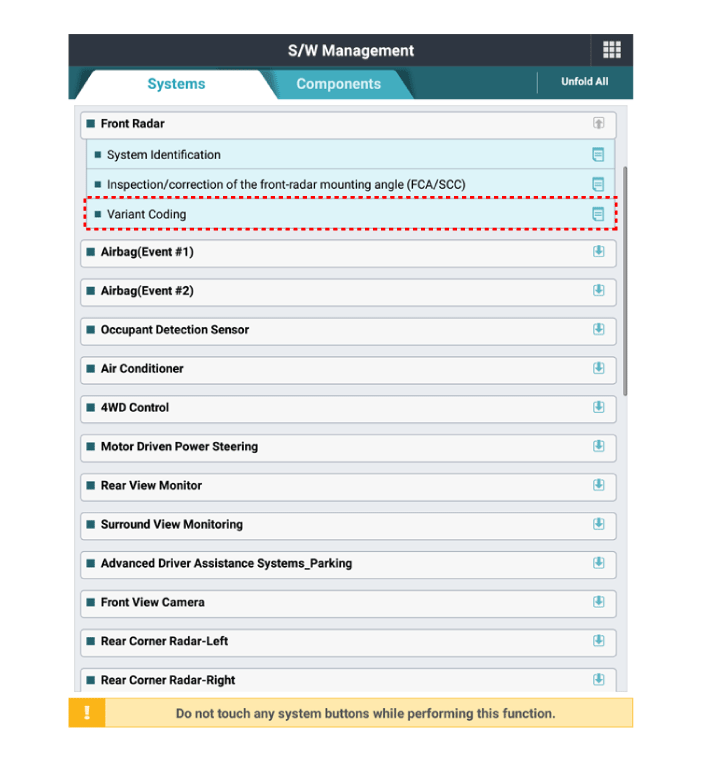
If the front radar has been replaced with a new one, perform the variant coding procedure using KDS.
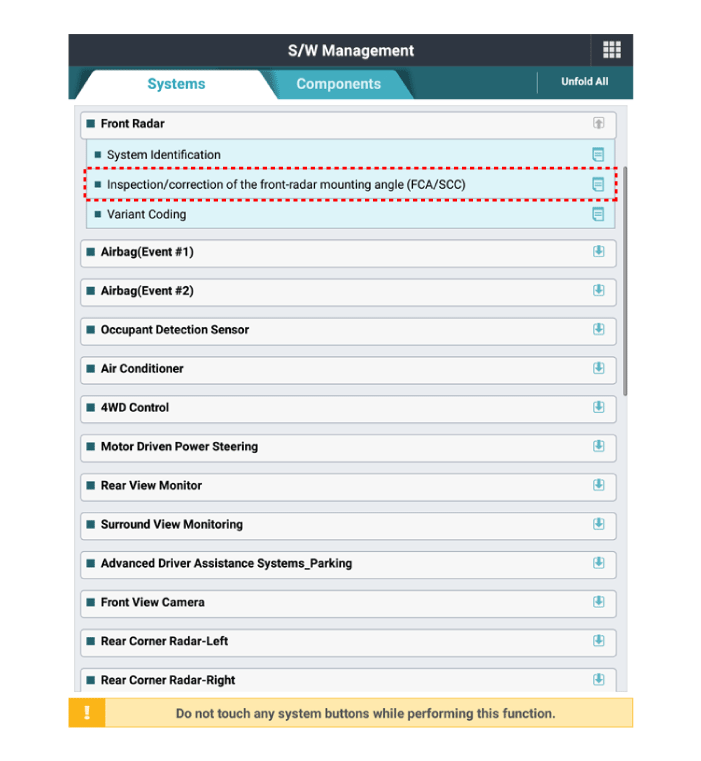
Check and adjust the front radar alignment angle.
Perform the "front radar mounting angle inspection/adjustment" using KDS.
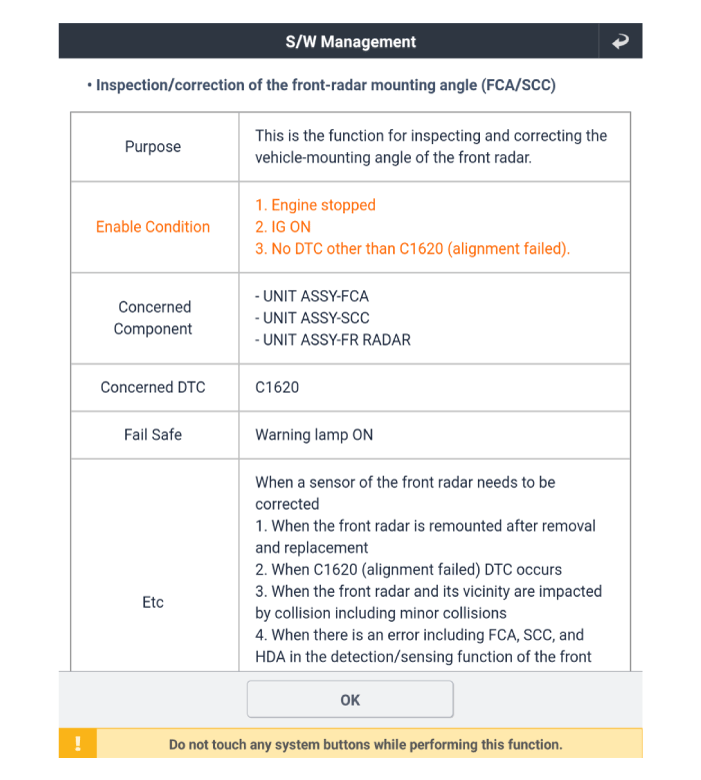
Enter the two-digit value in the code input field, then click "OK."
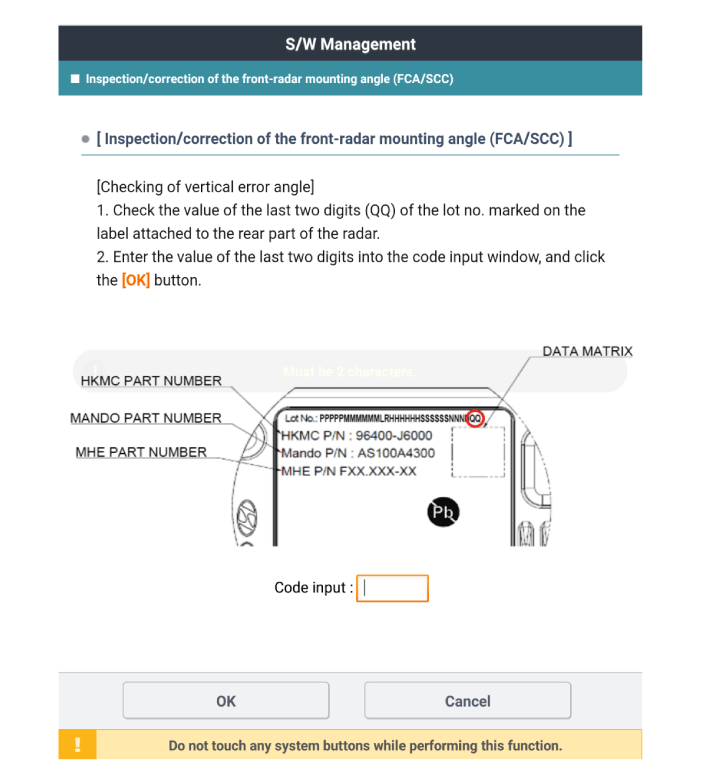
Check for compensated vertical angle errors in KDS.
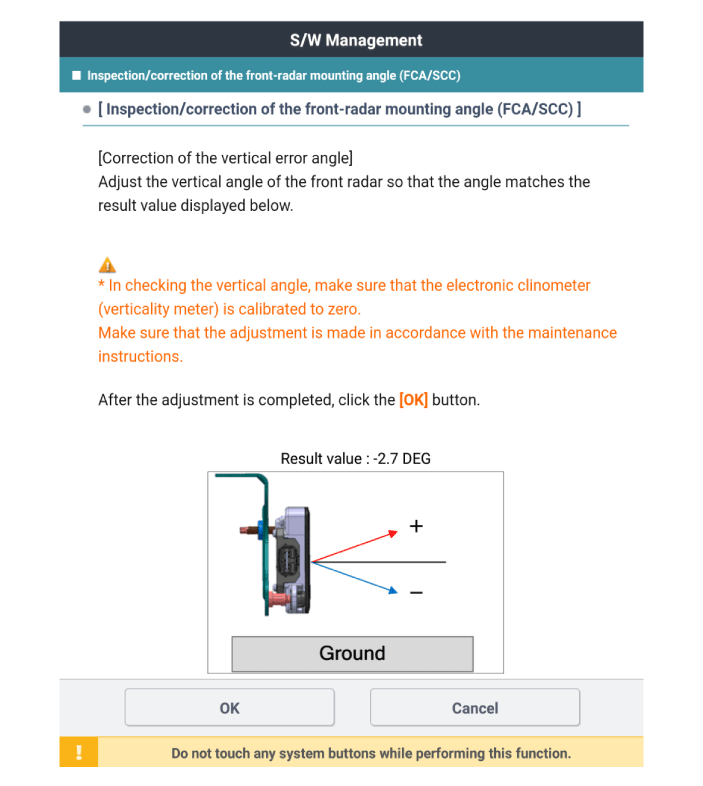
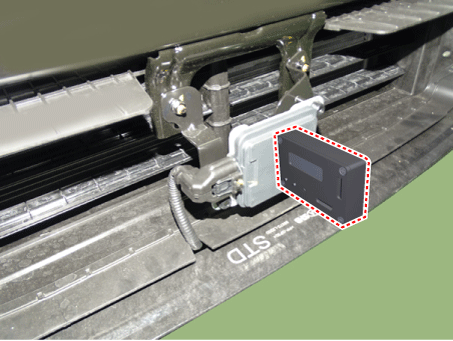
Check the front radar vertical angle using a vertical protractor (inclinometer).
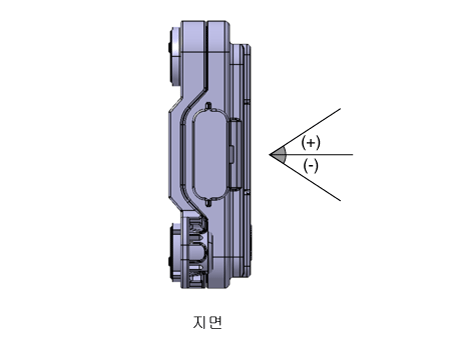
Adjust the "target vertical angle" by turning the adjusting screw (A) of the front radar.
Vertical angle: -1 ± 0.4°
Clockwise rotation: adjusts the angle (+)
Counterclockwise rotation: adjusts the angle (-)
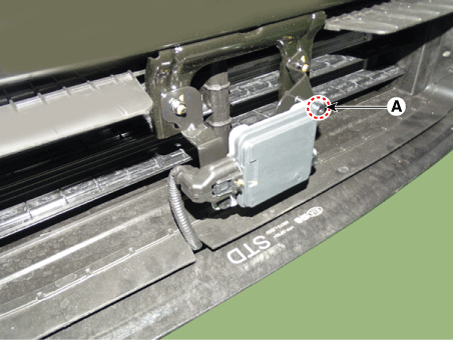
Number of turns of the adjusting screw Correction angle Clockwise Counterclockwise 0,5 + 0,5° - 0,5° 1 + 1,0° - 1,0° 1,5 + 1,5° - 1,5° 2 + 2,0° - 2,0° 2,5 + 2,5° - 2,5° 3 + 3,0° - 3,0° 3,5 + 3,5° - 3,5° 4 + 4,0° - 4,0° 4,5 + 4,5° - 4,5° 5 + 5,0° - 5,0°
Install the front bumper assembly.
(Refer to Body - "Front Bumper Assembly")
Perform the front radar inspection/adjustment procedure using SST.
(Refer to Front Radar Unit - "Adjustment")
Adjustment
Front Radar Mounting Angle Inspection/Adjustment Overview
The front radar detects objects in front of the vehicle and recognizes the distance to the object, relative speed, etc. For these reasons, the installation direction must be linear with the vehicle. Therefore, angle inspection and adjustment must be performed when the front radar is repaired due to an accident or malfunction, or when a new front radar is replaced.
The accuracy of the front radar cannot be guaranteed if inspection and adjustment have not been performed properly.
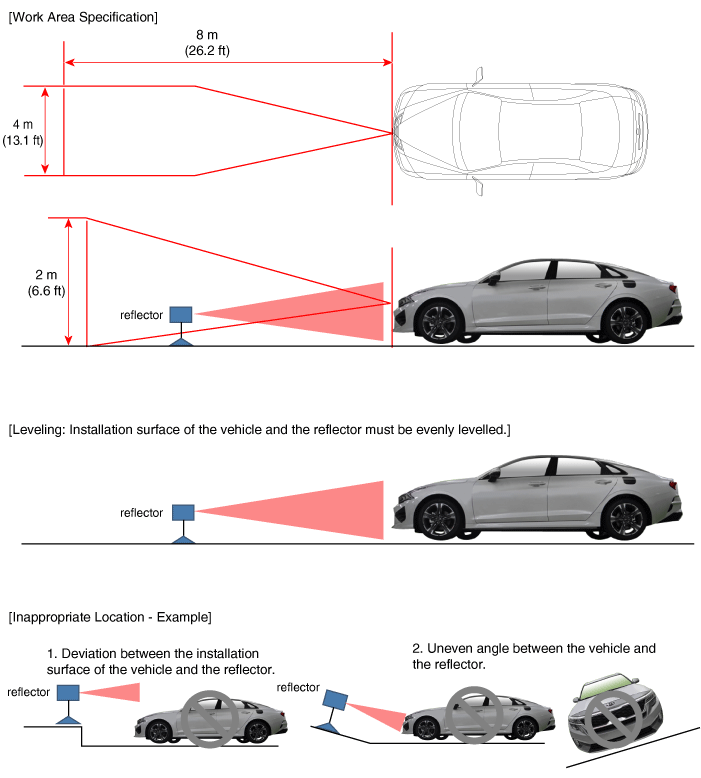
Perform the adjustment procedure with the exclusive adjustment reflector (SST) for the stop mode.
How to inspect/adjust the front radar mounting angle – Stop Mode
Park the vehicle on a level surface.
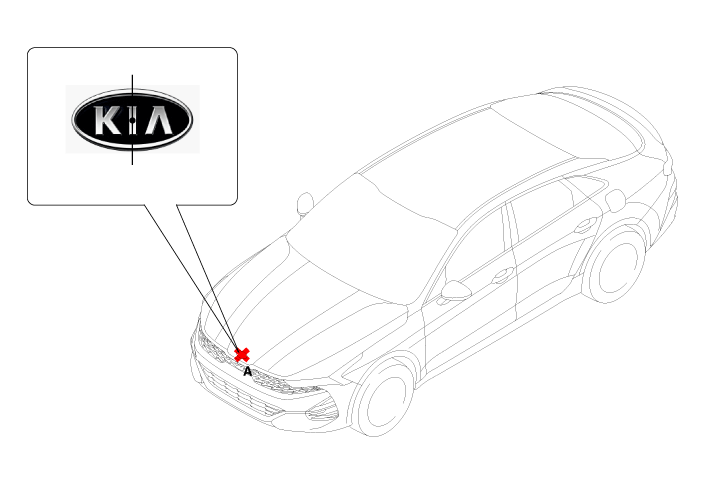
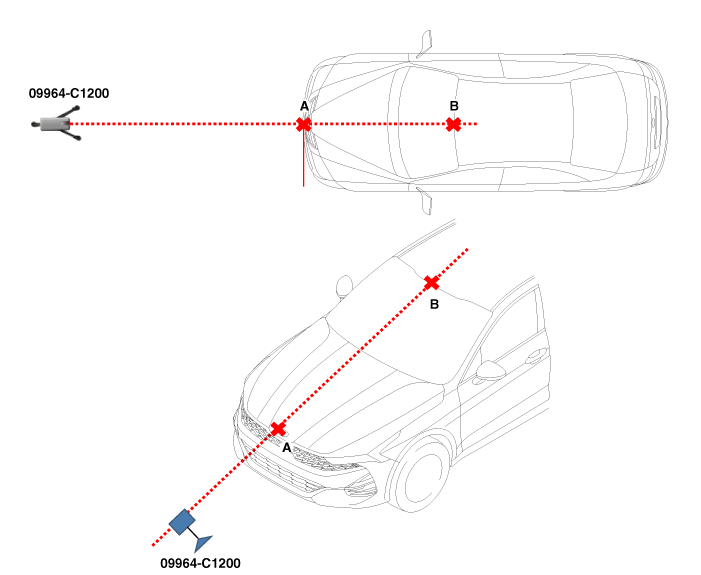
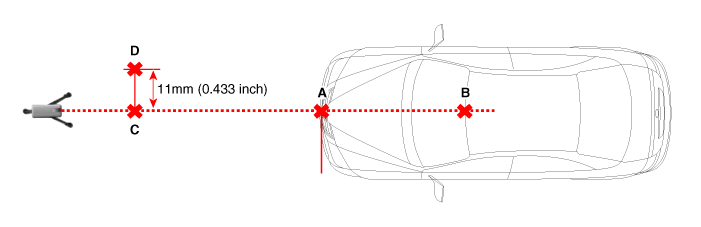
Mark the center point of the emblem (A).
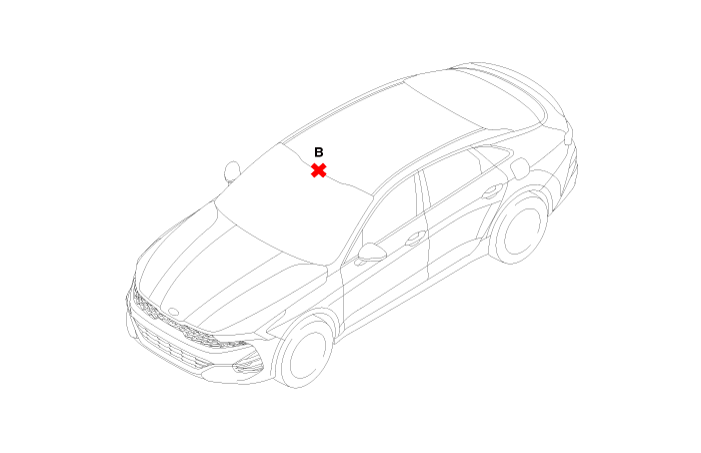
Mark the center point (B) after measuring the distance from the top of the windshield.
Install the laser (09964-C1200) on the tripod (09964-C1300).
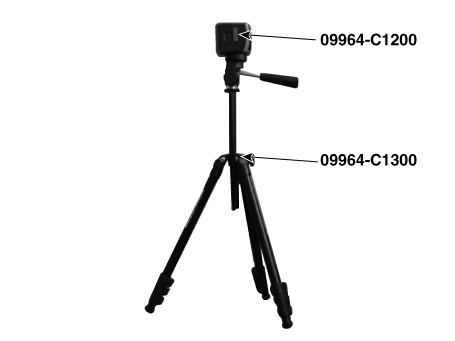
Place the laser (09964-C1200) 2.5 m (8.2 ft) from the front of the vehicle.
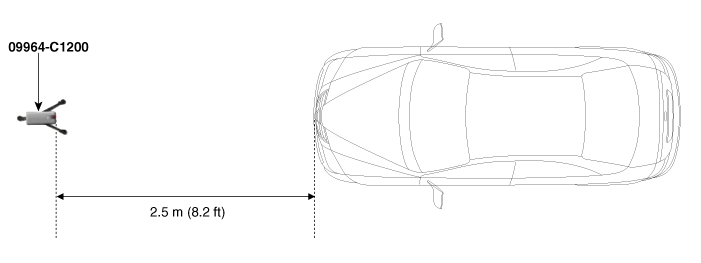
Align the vertical laser line with (A) and (B) using the laser (09964-C1200).
Mark position (C) at a distance of 2.5 m (8.2 ft) from (A) in front of the vehicle.
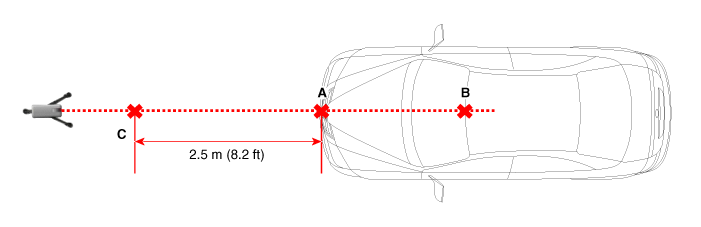
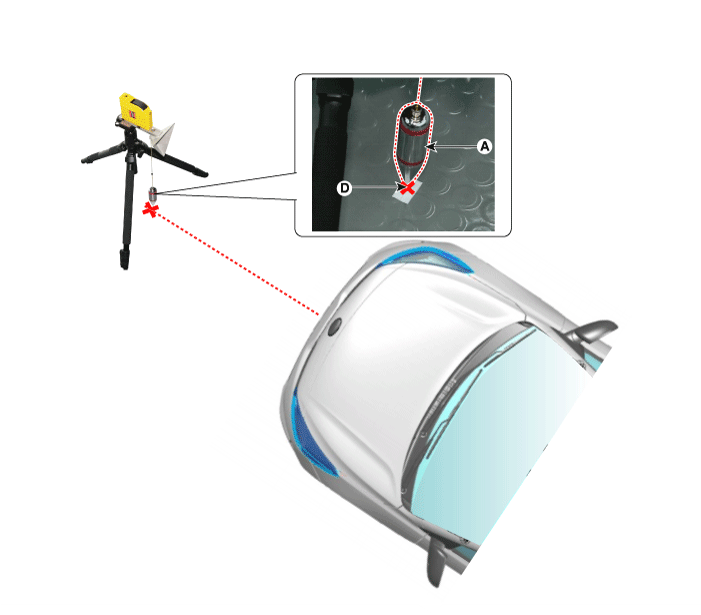
Mark position (D) as shown below, at a distance of 11 mm (0.433 in.) from (C) to the left (passenger) side of the vehicle.
Remove the laser (09964-C1200) from the tripod (09964-C1300).
Install the reflector (09964-C1100) on the tripod (09964-C1300).
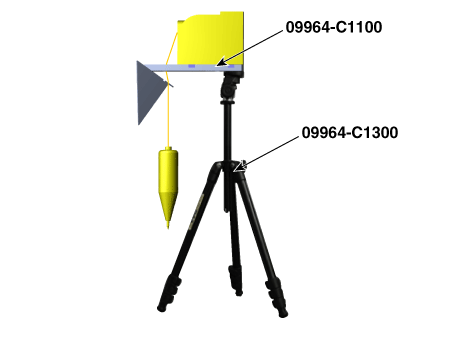
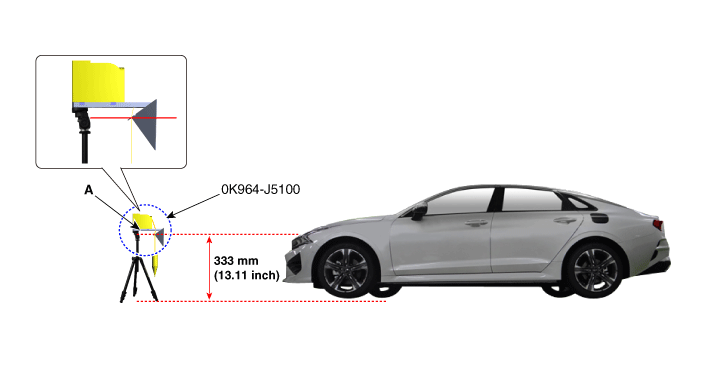
Install the reflector adapter (0K964-J5100) on the reflector (09964-C1100).
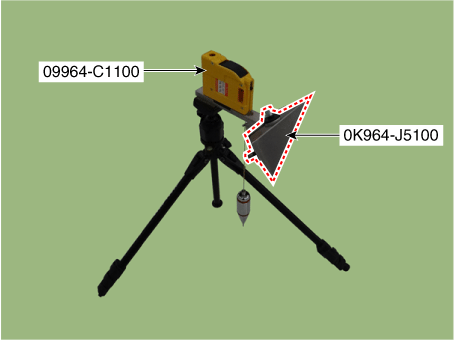
Set the reflector to a horizontal position using the leveler (A) built into the tripod (09964-C1300).
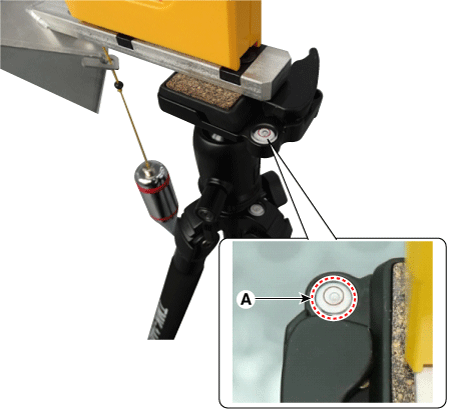
Align the vertical weight (A) of the reflector (09964-C1100) with point (D).
Set the height of the reflector adapter (0K964-J5100) to 333 mm (13.11 in.).
Remove the vertical weight from the reflector (09964-C1100).
Inspect the front radar and the front bumper surface again for the following: objects with eyes.
Check and adjust the front radar installation angle by following the procedure on the KDS screen.
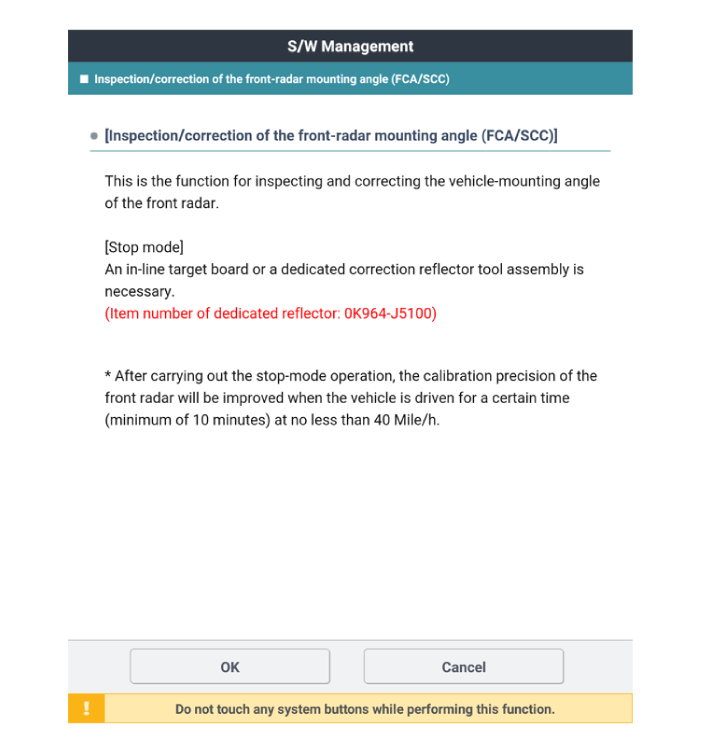
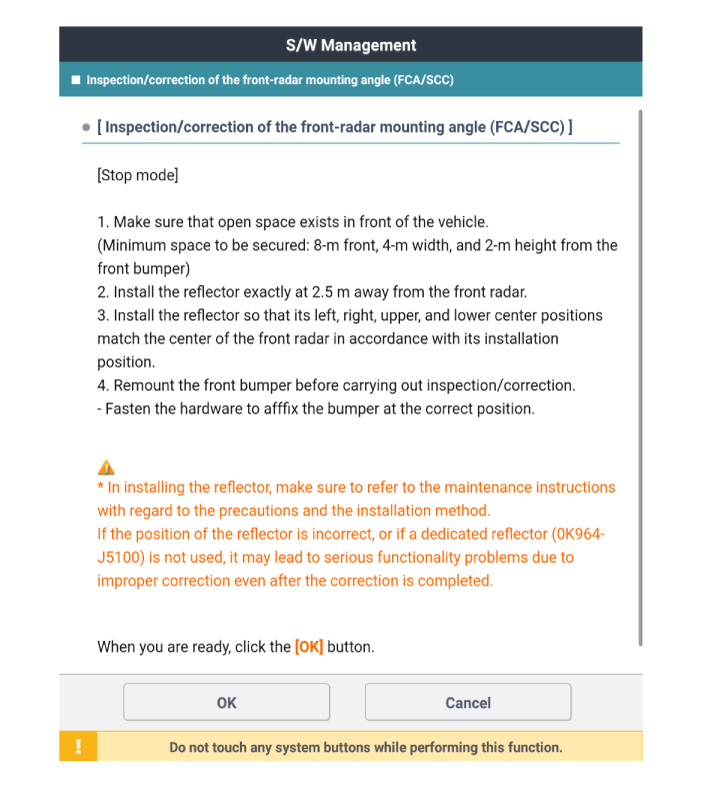
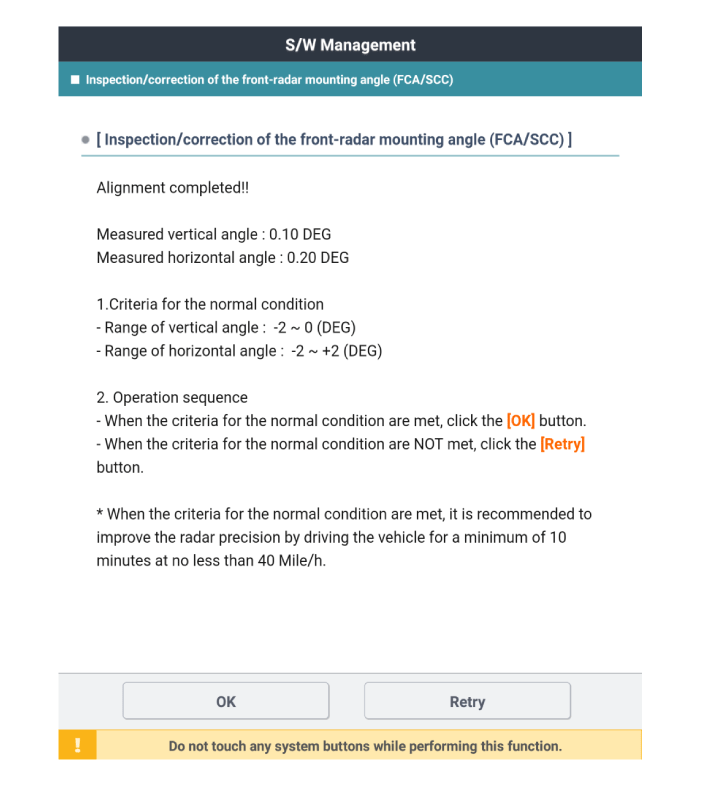
If the front radar inspection/adjustment fails, check the inspection/adjustment conditions.
Test yourself
A quick Kia Optima DL3 quiz: every answer comes with an explanation and a link to the manual page.