Powertrain
Removal and Installation — Oil Pan
In this manual: Powertrain
33steps
~198min
4/5difficulty
Done 0 of 33
Special Service Tools / General Equipment
| Plastic Scraper | |
| Oil Drain Equipment |
Materials
| Name | Specification |
|---|---|
| Motorcraft® High Performance Engine RTV Silicone TA-357 |
ALL-M4G323-A6 |
Removal
- Refer to: Jacking and Lifting – Overview (100-02 Jacking and Lifting, Description and Operation).
- Remove the hood panel grille.
Refer to Hood Panel Grille (501-02 Front End Body Panels, Removal and Installation).
LHD FWD/RHD FWD
- Refer to: Catalytic Converter (309-00C Exhaust System, Removal and Installation).
LH All-Wheel Drive/RH All-Wheel Drive
- Refer to: Catalytic Converter (309-00C Exhaust System, Removal and Installation).
All vehicles
- Remove the oil level indicator.
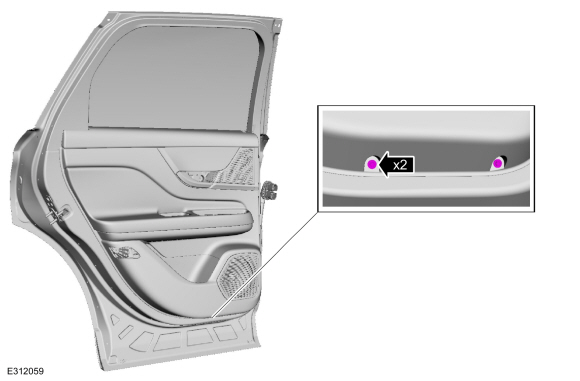
- Remove the oil drain plug and drain the engine oil.
Use the general equipment: oil draining equipment
- Install the oil drain plug.
Torque: 21 lb-ft (28 N·m)
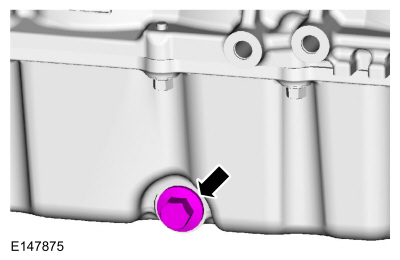
- Remove the oil drain plug and drain the engine oil.
- Remove the coolant pump.
Refer to: Coolant Pump (303-03C Engine Cooling, Removal and Installation). - Disconnect the A/C compressor electrical connectors and pin-type retainers.
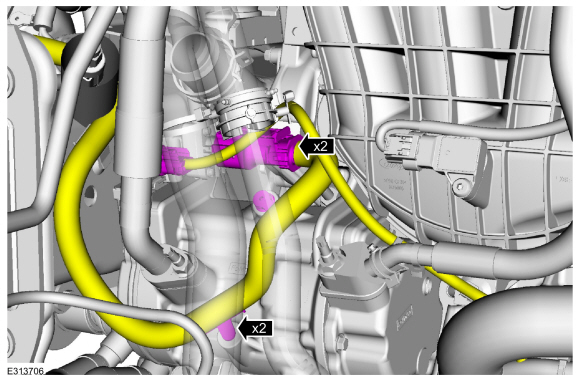
- Remove the A/C compressor nut and bolts and set them aside.
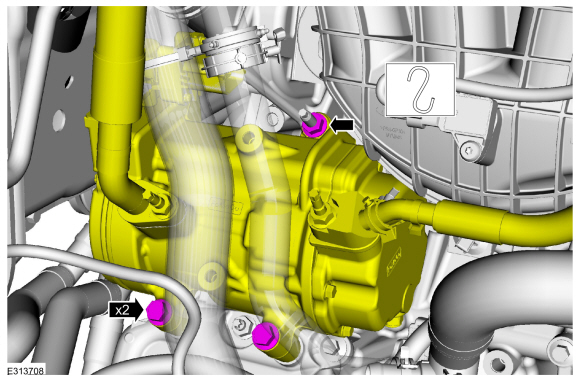
- Disconnect the wiring harness pin-type retainers, remove the clips and bracket.
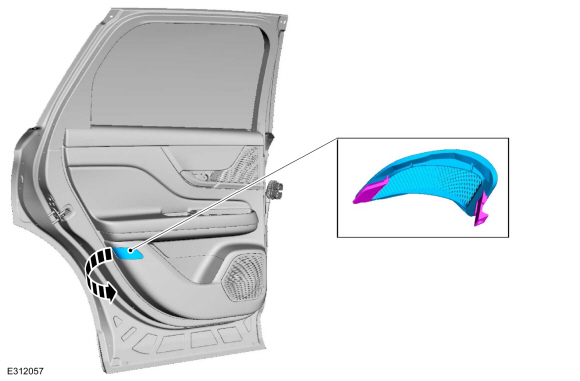
NOTICE: Do not loosen the engine-to-transmission bolts more than 5 mm (0.19 in) or damage to the transmission may occur.
Loosen the engine-to-transmission bolts by 5 mm (0.19 in).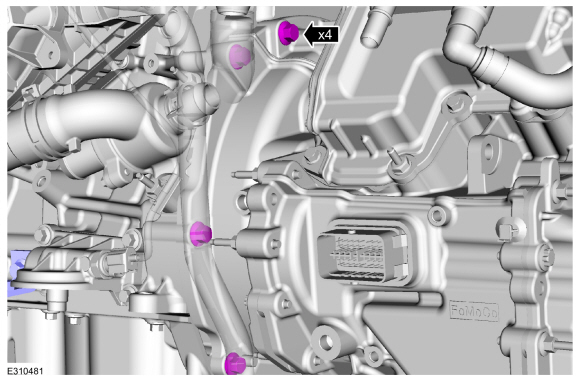
NOTICE: Do not loosen the engine-to-transmission bolts more than 5 mm (0.19 in) or damage to the transmission may occur.
Loosen the RH engine-to-transmission bolt by 5 mm (0.19 in).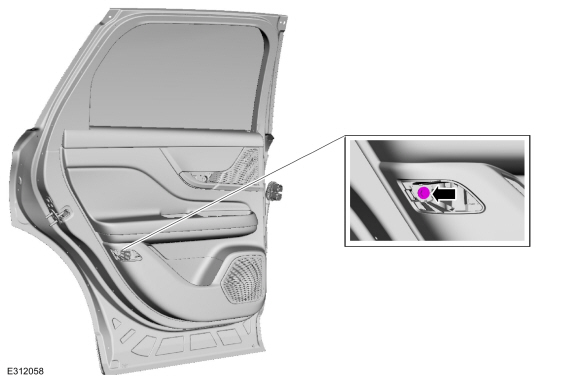
- Remove the bolt.
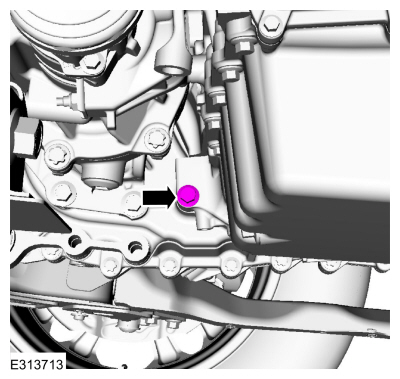
- Remove the bolts.
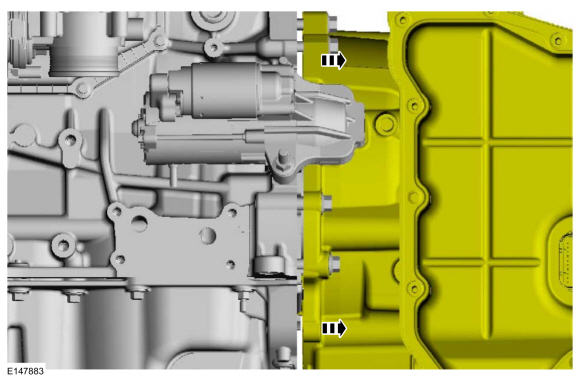
- Move the transmission away from the engine by 5 mm (0.19 in).
- Remove the bolts and the oil pan.
- Make sure the mating surface is clean and free of foreign material.
Refer to: RTV Sealant Surface Cleaning and Preparation (303-00 Engine System - General Information, General Procedures).
Use the general equipment: plastic scraper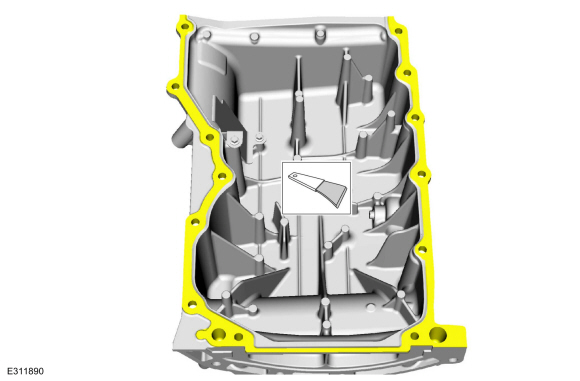
- Make sure the mating surface is clean and free of foreign material.
Refer to: RTV Sealant Surface Cleaning and Preparation (303-00 Engine System - General Information, General Procedures).
Use the general equipment: plastic scraper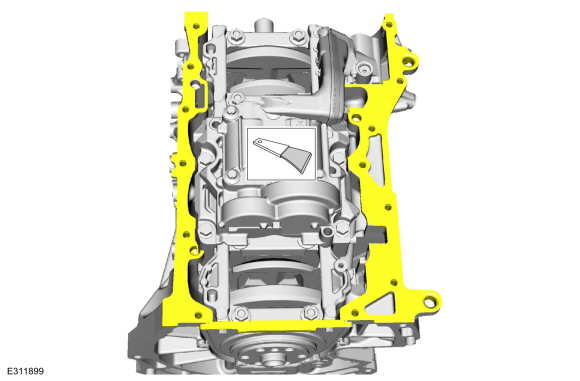
Installation
All vehicles
- Apply a 3 mm (0.12 in) bead of silicone sealant.
Material: Motorcraft® High Performance Engine RTV Silicone / TA-357 (WSS-M4G323-A6)
- Install the oil pan and hand-tighten the bolts.
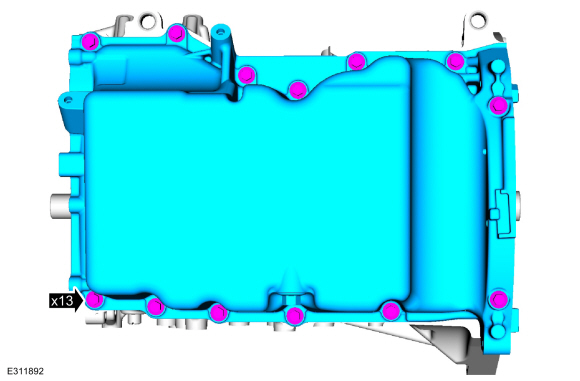
- Tighten the bolts in the sequence shown.
Torque:
Fasteners 1-9:
Stage 1: 177 lb-in (20 N·m)
Stage 2: 45°
Fasteners 10-11:
Stage 3: 177 lb-in (20 N·m)
Stage 4: 90°
Fasteners 12-13:
Stage 5: 177 lb-in (20 N·m)
Stage 6: 45°
- Alternately tighten the LH and RH engine-to-transmission bolts to join the engine and transmission.
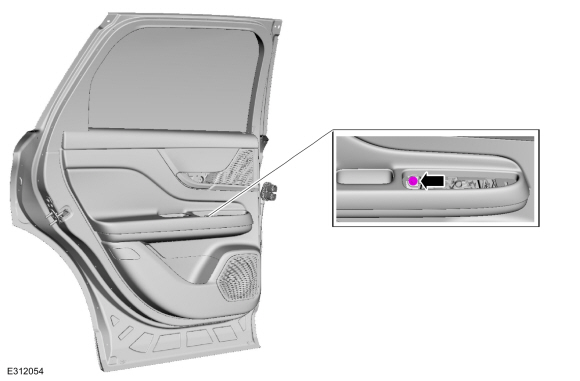
- Install the bolts.
Torque: 35 lb-ft (48 N·m) - Install the bolt.
Torque: 35 lb-ft (48 N·m) - Tighten the RH engine-to-transmission bolts.
Torque: 35 lb-ft (48 N·m) - Tighten the LH engine-to-transmission bolts.
Torque: 35 lb-ft (48 N·m) - Install the bracket and clips and connect the wiring harness pin-type retainers.
Torque: 18 lb-ft (25 N·m) - Install the A/C compressor, install the nut and bolts.
Torque: 18 lb-ft (25 N·m)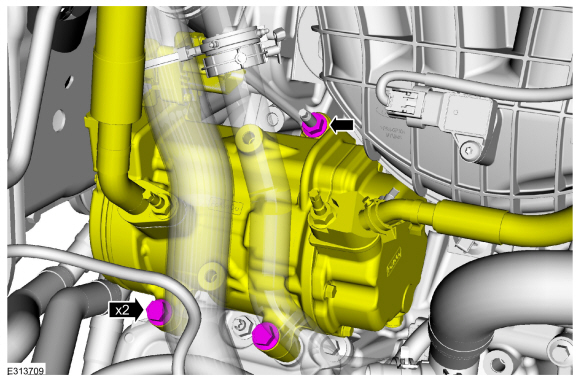
- Connect the A/C compressor electrical connectors and pin-type retainers.
- Install the coolant pump.
Refer to: Coolant Pump (303-03C Engine Cooling, Removal and Installation). - Connect the coolant pump electrical connector and install the retaining pin.
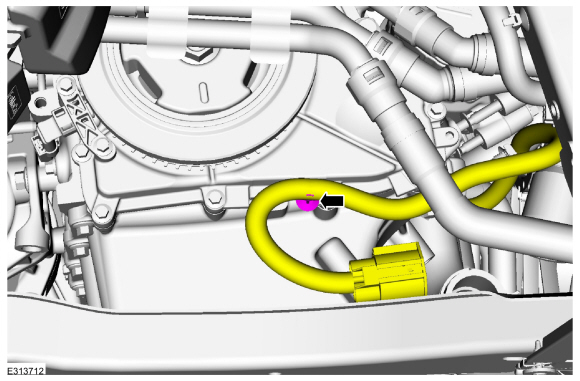
- Install a new oil filter.
Refer to: Specifications (Engine 303-01C, Specifications).
Torque: 133 lb-in (15 N·m)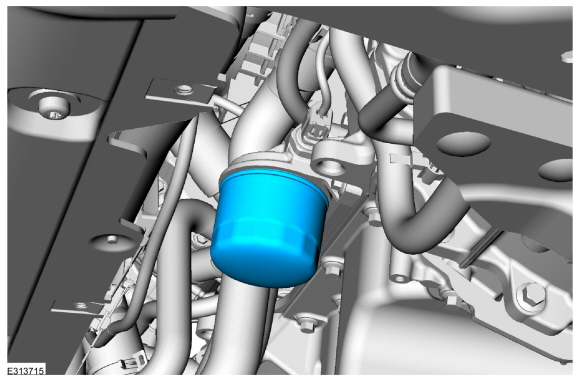
LH All-Wheel Drive/RH All-Wheel Drive
- Install the catalytic converter.
Refer to: Catalytic Converter (309-00C Exhaust System, Removal and Installation).
LHD FWD/RHD FWD
- Install the catalytic converter.
Refer to: Catalytic Converter (309-00C Exhaust System, Removal and Installation).
All vehicles
- Install the oil level indicator.
- Install the hood panel grille.
Refer to Hood Panel Grille (501-02 Front End Body Panels, Removal and Installation). - Fill the engine with clean engine oil.
Refer to: Specifications (Engine 303-01C, Specifications).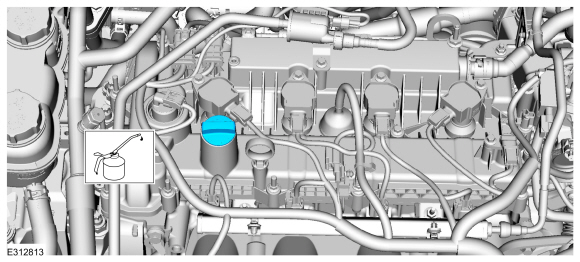
Test yourself
A quick Ford Escape quiz: every answer comes with an explanation and a link to the manual page.
Was this page helpful?