Ignition Timing Check and Adjustment
* The ignition timing adjustment procedure applies to almost all vehicles covered in this Manual. However, if the ignition timing specification given on the vehicle information label differs from the procedure described below, follow the instructions on the label.
Inspection
PROCEDURE

1. Connect the tachometer (1) in accordance with the tachometer manufacturer's instructions (2 – battery).
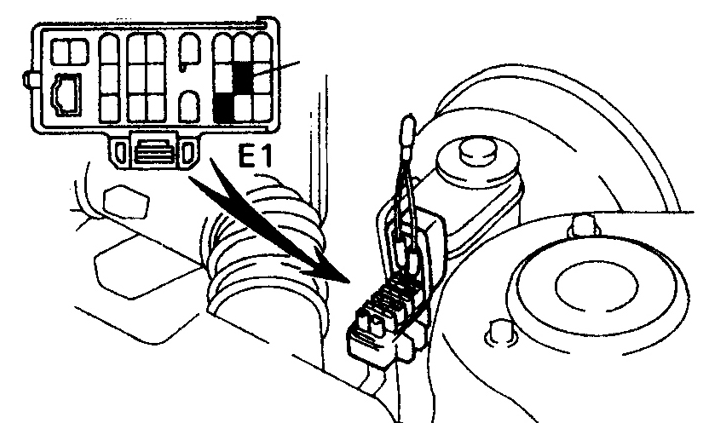
2. Locate the diagnostic connector (indicated by arrow) and short terminals E1 and TE1 together.

3. With the ignition switched off, connect the timing light in accordance with the timing light manufacturer's instructions (the photo shows the ignition timing check and adjustment kit). Nearly all timing lights are battery powered. In addition, clamp the timing light's inductive pickup around the high-tension lead of the No. 1 cylinder.
Installation
PROCEDURE
1. In most cases, disconnect the vacuum hoses and plug them. Molded plugs of various diameters are provided for this purpose.
2. The flash lamp is triggered by the current pulse of the electrical breakdown of the No. 1 cylinder spark plug. It emits a directed beam of light when the spark discharges at the No. 1 cylinder spark plug. Connect the lamp leads in accordance with the manufacturer's instructions.
3. On some vehicles, access to the distributor mounting bolt is restricted, so a bent wrench similar to the one shown in the photo above is used.
4. Locate the ignition timing marks on the front cover and on the crankshaft pulley.
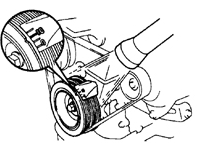
5. Start the engine and warm it up to normal operating temperature (the upper radiator hose should be hot). Make sure the engine idle speed is within specification (refer to Subsection 5.1). Direct the light from the flash lamp at the timing scale on the front cover (illustration). The mark on the crankshaft pulley should align with the 10 degrees BTDC mark on the scale. If necessary, loosen the distributor mounting bolt and slowly turn the distributor until the marks on the pulley and scale align. Tighten the distributor mounting bolt and check the ignition timing again.
6. Remove the jumper from the diagnostic connector and make sure the ignition advance angle is within specification (refer to Subsection 3.3.1).
7. Switch off the ignition and remove the timing light kit from the engine.
Test yourself
A quick Toyota Corolla quiz: every answer comes with an explanation and a link to the manual page.