Accelerator Cable Removal, Installation and Adjustment
REPLACEMENT
PROCEDURE
1. Disconnect the negative battery cable.
If the vehicle is equipped with an audio system with an anti-theft code, make sure you have the correct code to activate the audio system before disconnecting the battery!
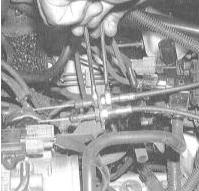
2. Loosen the locknut and disengage the accelerator cable from its bracket.
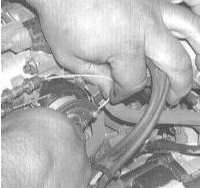
3. Turn the throttle shaft crank lever and disengage the cable end fitting from its slot in the lever.
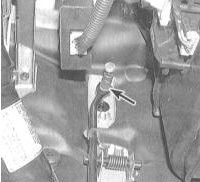
4. Under the instrument panel in the driver's footwell, disconnect the accelerator cable from the accelerator pedal lever.
5. Remove the rubber grommet from the firewall, then pull the cable assembly into the engine compartment.
6. Installation is the reverse of removal. Make sure the cable grommet is properly seated in the firewall opening. Take up the cable slack, then proceed to adjustment.
ADJUSTMENT
PROCEDURE
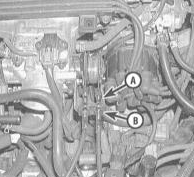
Adjust the accelerator cable as follows:
a) Take up the cable slack;
b) Turn the adjusting nut (B) of the accelerator cable to move it 3.2 mm away from the cable support bracket;
c) Tighten the locknut (A) and check the cable deflection at the throttle linkage. Deflection must be 9.5 to 12.7 mm. If not, loosen the locknut and readjust the adjusting nut as required;
d) After adjustment, have an assistant depress the accelerator pedal and verify that the throttle opens fully and returns to the idle position. Check that the cable moves freely.
Test yourself
A quick Honda Accord quiz: every answer comes with an explanation and a link to the manual page.