Brake Disc Removal and Installation
REMOVAL
PROCEDURE
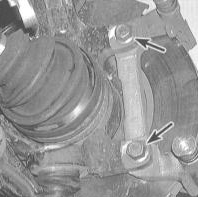
1. Unscrew the two caliper anchor bracket mounting bolts from the steering knuckle,
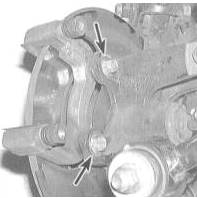
2. or (on the rear wheel brake) the bracket mounting bolts from the hub assembly. Remove the bracket.
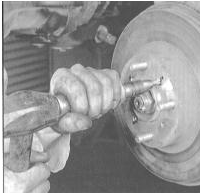
3. Remove the two wheel nuts used to secure the disc to the hub / unscrew the two retaining screws. Remove the disc from the wheel hub.
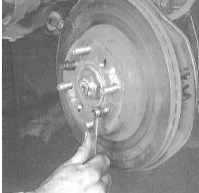
4. If the disc is stuck to the hub, it can be pressed off by threading a pair of suitable-size bolts into the mounting holes. Tighten the bolts evenly and gradually until the disc is fully released. When removing the disc, take care not to damage the wheel stud threads.
INSTALLATION
PROCEDURE
1. Carefully place the disc onto the hub (again take care not to damage the wheel studs). Install and securely tighten the retaining screws.
2. Install the caliper anchor bracket onto the disc. Tighten the bracket and caliper mounting bolts to the specified torque.
3. Install the wheel, lower the vehicle to the ground and tighten the wheel nuts to the specified torque (refer to Specifications in the Maintenance and Adjustments chapter). Depress the brake pedal several times / apply the parking brake lever several times to seat the pads against the disc. If the brake hoses were not disconnected, there is no need to bleed the hydraulic system. Before driving the vehicle, make sure the brakes function properly.
Test yourself
A quick Honda Accord quiz: every answer comes with an explanation and a link to the manual page.