Fan and Condenser
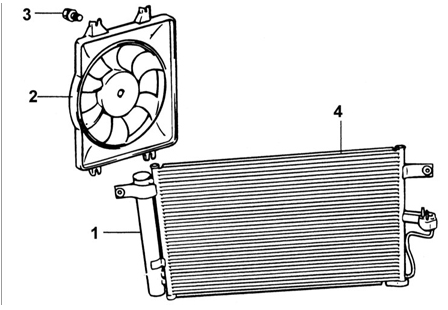
Fan and Condenser
1 – condenser tank;
2 – condenser fan;
3 – condenser fan mounting bolt;
4 – condenser.
Removal
PROCEDURE
1. Discharge the air conditioning system.
2. Drain the coolant from the radiator.
3. Unscrew the two upper mounting bolts of the radiator clamps and the air intake duct.
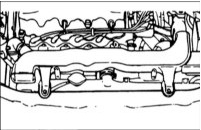
4. Remove the two clamps and the air intake duct.
5. Disconnect the inlet and outlet hoses from the radiator.
6. Disconnect the hoses from the transmission oil cooler.
7. Disconnect the connectors from the radiator fan and the condenser fan.
8. Remove the radiator and condenser as an assembly.
9. Disconnect the discharge pipe and the refrigerant line from the condenser.
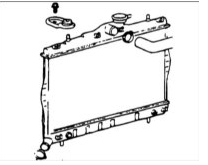
After disconnecting air conditioning components, immediately cover the openings with caps to prevent moisture from the air entering the system.
Take care not to damage the discharge pipe and the refrigerant line.
Take care not to damage the condenser fins.
10. Unscrew the two condenser mounting bolts.
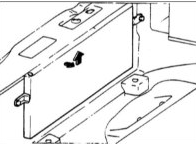
11. Remove the condenser.
Condenser Fan Check
PROCEDURE
1. Check the condenser fan operation.
2. Check the condition of the wiring harness electrical connector.
3. Make sure the fan motor rotates when 12 V is applied to the fan motor connector terminals.
Installation
PROCEDURE
1. Install in the reverse order of removal.
2. If the condenser was replaced, add 25 cm3 of oil to the compressor.
3. Evacuate, charge and check the air conditioning system.
Condenser Check on Vehicle
PROCEDURE
1. Check the condenser fins for blockage and damage. If the fins are clogged, rinse them with a stream of clean water and blow them dry with compressed air. If the fins are bent, straighten them with pliers and a screwdriver.
2. Check the condenser connection points for leaks.
Test yourself
A quick Hyundai Accent quiz: every answer comes with an explanation and a link to the manual page.