A/C Compressor Clutch Hub and Pulley
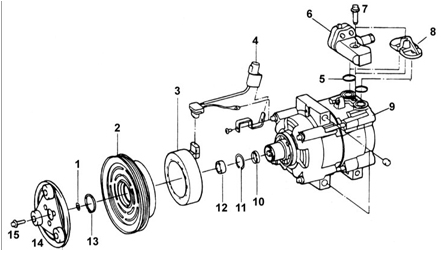
A/C Compressor Clutch and Pulley
1 – Spacer;
2 – Pulley and bearing;
3 – Field coil;
4 – Magnetic clutch connector;
5 – O-ring;
6 – Pipe assembly;
7 – Bolt, 16.3–26.6 N·m;
8 – Plate;
9 – A/C compressor;
10 – Shaft seal;
11 – O-ring;
12 – Seal;
13 – Snap ring;
14 – Disc and hub;
15 – Bolt, 10.2–15.3 N·m.
Removal
PROCEDURE
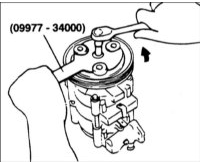
1. Remove the clutch hub bolt while holding the hub from turning with special tool 09977–34000.
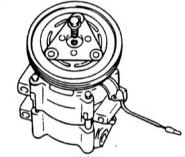
2. Remove the clutch hub and shims from the compressor shaft. If the hub does not come off, thread an M8 bolt into the hub shaft hole and use the bolt to remove the hub.
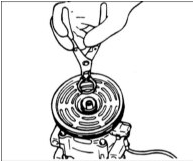
3. Remove the snap ring.
4. Remove the pulley and bearing from the compressor shaft.
Installation
PROCEDURE
1. Clean the contact surface of the compressor pulley bearing and remove any dirt and corrosion.
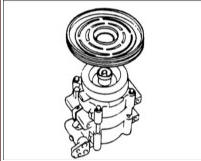
2. Install the pulley and bearing onto the compressor shaft.
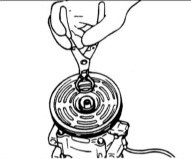
3. Install the snap ring.
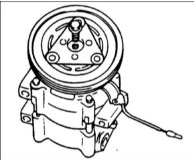
4. Place one spacer shim of standard thickness in the hub groove and install the hub onto the compressor shaft.
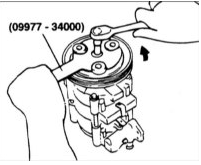
5. Install a new hub and secure it with the bolt, tightening to the specified torque.
Tightening Torque: 10.2–15.3 N·m
Do not use pneumatic tools.
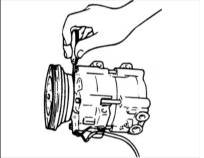
6. Using a feeler gauge, check the A/C compressor clutch clearance between the clutch hub and the pulley. Check the clearance at three points around the circumference of the pulley.
Clearance: 0.35–0.75 mm
7. If the clearance differs from the specification, adjust it by installing a shim of the appropriate thickness.
Test yourself
A quick Hyundai Accent quiz: every answer comes with an explanation and a link to the manual page.