Master Brake Cylinder
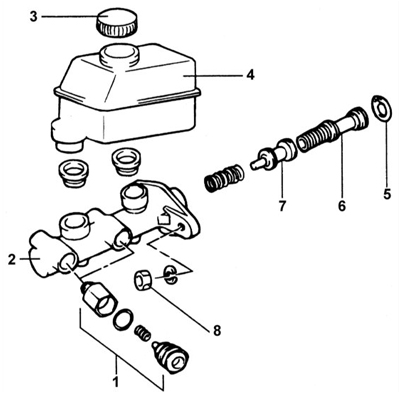
Brake Master Cylinder
1 – pressure regulator;
2 – brake master cylinder;
3 – cap;
4 – reservoir;
5 – retaining ring;
6 – primary piston;
7 – secondary piston;
8 – nut, 8–12 N•m.
Removal
PROCEDURE
1. Disconnect the electrical connector from the brake fluid level sensor.
2. Disconnect the brake lines from the brake master cylinder and plug the openings with suitable plugs.
Brake fluid dissolves paint, plastic and wire insulation. If brake fluid gets on painted surfaces or components, flush them immediately with plenty of water.
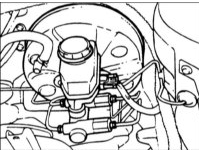
3. Disconnect the pressure regulator bracket and remove the brake master cylinder. Loosen the brake master cylinder mounting nuts.
Disassembly
PROCEDURE
1. Remove the cap and drain the brake fluid from the reservoir.
2. Remove the reservoir from the brake master cylinder.
If necessary, secure the brake master cylinder in a vise by clamping its main body, not the flange.
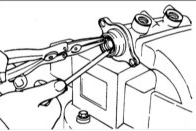
3. Remove the primary and secondary pistons from the brake master cylinder body.
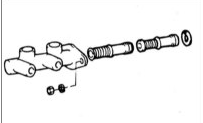
Be careful not to damage the bore diameter of the brake master cylinder.
Do not disassemble the primary and secondary pistons.
Inspection
PROCEDURE
1. Check the inner surface of the brake master cylinder body for rust and scoring.
2. Check the primary and secondary pistons for rust, scoring or wear.
3. Check the primary and secondary pistons for deterioration.
Assembly
PROCEDURE
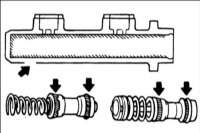
1. Lubricate the inner surface of the brake master cylinder and the outer surfaces of the primary and secondary pistons with the recommended brake fluid.
Recommended brake fluid: DOT3
2. Carefully insert the spring and secondary piston into the brake master cylinder bore.
3. Carefully insert the primary piston into the brake master cylinder bore.
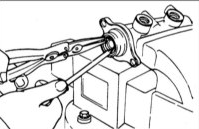
4. Press down on the primary piston and install the retaining ring into the groove of the brake master cylinder bore.
5. Install the cap on the reservoir.
6. Lubricate the two seal rings (inner and outer) with brake fluid and install them into the brake master cylinder body.
Seal rings must be replaced every time the reservoir is replaced.
7. Firmly press the reservoir into the seal rings of the brake master cylinder.
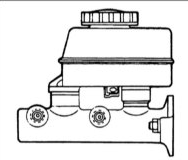
8. Connect the electrical connector to the brake fluid level sensor.
Installation
PROCEDURE
1. Install the brake master cylinder on the brake booster and screw in the two nuts. Tighten the two brake master cylinder mounting nuts.
Tightening torque: 8–12 N•m
2. Connect the two brake lines and the electrical connector to the brake fluid level sensor.
Brake line tightening torque: 13–17 N•m
3. Fill with brake fluid and bleed air from the brake hydraulic circuit.
Test yourself
A quick Hyundai Accent quiz: every answer comes with an explanation and a link to the manual page.