Oil Pump
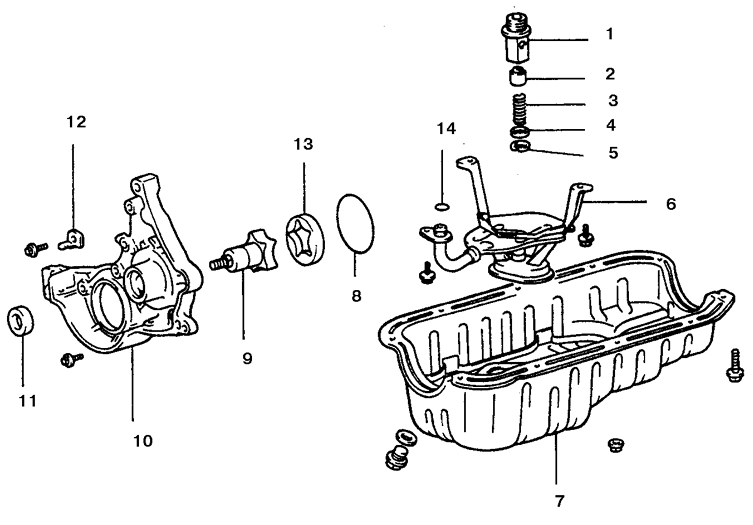
Oil pump components (engines 1.3 L) 1. Pressure relief valve housing
2. Piston
3. Spring
4. Valve plug
5. Snap ring
6. Oil pickup
7. Oil pan
8. O-ring
9. Drive rotor
10. Oil pump housing
11. Oil seal
12. Timing belt tensioner spring tab
13. Driven rotor
14. O-ring
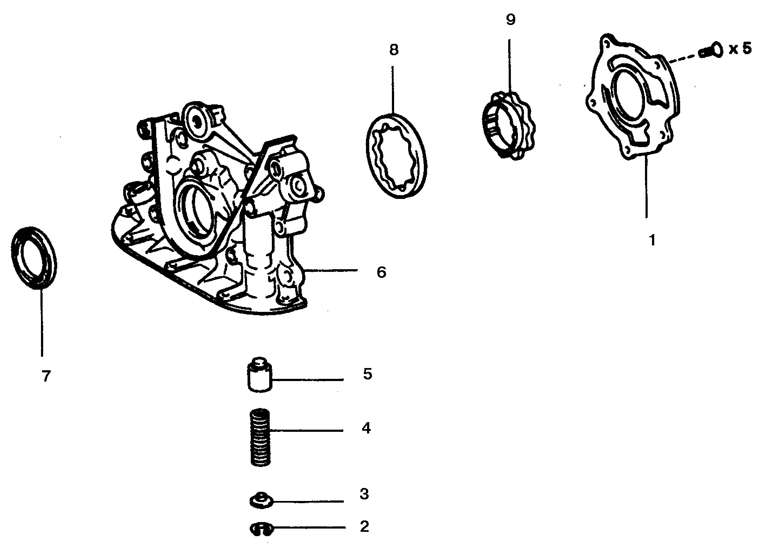
Oil pump components (engines 1.6 L and 1.8 L) 1. Oil pump housing cover
2. Snap ring
3. Valve plug
4. Spring
5. Pressure relief valve
6. Oil pump housing
7. Crankshaft front oil seal
8. Driven rotor
9. Drive rotor
Removal
PROCEDURE
1. Remove the oil level gauge tube, oil pan, oil deflector plate (only on engines 1.8 L) and the oil pick-up assembly with the coarse filter.
2. Support the engine from above and remove the timing belt, belt tensioner roller with spring, crankshaft drive pulley, camshaft driven sprocket and oil pump drive sprocket (the last part is removed on engines 1.3 L). For the sequence of operations, refer to subsection 3.1.1.6.
3. Remove the crankshaft position sensor, if equipped, by unscrewing the bolt (indicated by the arrow). Unscrew the bolt and remove the oil level gauge tube. On engines 1.3 L, unscrew the pressure relief valve from the cylinder block.
4. Unscrew the bolts (indicated by the arrows) and remove the oil pump housing from the engine. If necessary, pry the housing with a screwdriver inserted between the front main bearing cap and the housing, or move the pump by lightly tapping it with a soft-faced hammer. On engines 1.3 L, remove the O-ring.
5. Scrape off the remains of the gasket material from the mating surfaces of the pump and cylinder block, then clean the surfaces with lacquer thinner or acetone.
6. Unscrew the five countersunk screws (on engines 1.6 and 1.8 L) and remove the pump housing cover. Remove the drive rotor and driven rotor (see fig. Oil Pump Components (engines 1.3 L) and fig. Oil Pump Components (engines 1.6 L and 1.8 L)).
7. Remove the snap ring, spring and pressure relief valve plunger.
* Note that the valve spring is under high compression, so be careful and wear safety glasses.
Condition Inspection
PROCEDURE
1. Wash all parts in solvent and check for wear and damage.
2. Check the condition of the sliding surface of the pressure relief valve piston and the spring. If any damage is found, replace the piston together with the spring.
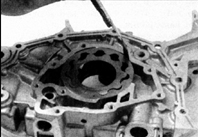
3. Using a feeler gauge, check the clearance between the rotor and the pump housing.
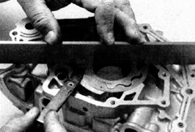
4. Using a feeler gauge and a straightedge, check the rotor end clearance.
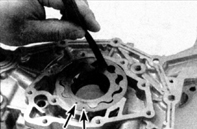
5. Using a feeler gauge, check the clearance in the mesh of the drive and driven rotors. Compare the measurement results with the specifications. If the clearances exceed the limit, replace the rotors as a set. If necessary, replace the pump housing.
Installation
PROCEDURE
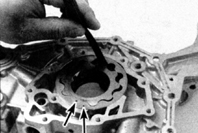
1. Lubricate the rotors with fresh engine oil and install them in the pump housing with the marks facing down on engines 1.3 L, or with the marks facing up on engines 1.6 and 1.8 L.
2. Pack the pump cavities with petroleum jelly, install the cover and tighten the cover screws.
3. Lubricate the pressure relief valve plunger with fresh engine oil and install the valve components into the housing or the cylinder block.
4. On engines 1.3 L, apply sealant drops 5 mm in diameter to the pump housing and insert the ring gasket into the housing groove. On engines 1.6 and 1.8 L, place a new gasket on the cylinder block (align the gasket with the dowels).
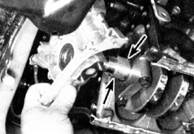
5. Install the pump assembly on the cylinder block and tighten the mounting bolts. On engines 1.6 and 1.8 L, fit the drive rotor onto the crankshaft, aligning the flats on the crankshaft and the rotor shaft.
6. Tighten the mounting bolts to the specified torque in three steps. To avoid housing distortion, tighten the bolts in a diagonal sequence. 7. Install the remaining removed parts in the reverse order.
8. Install the oil deflector plate and the oil pick-up assembly with the coarse filter, after replacing the gasket (see subsection 3.1.1.12). Tighten the bolts to the torques specified in subsection 3.1.1.1. When installing the oil level gauge tube, replace the O-ring on the pump side.
9. Fill the engine with oil, start the engine and check for leaks.
10. Check the engine oil level again.
Test yourself
A quick Toyota Corolla quiz: every answer comes with an explanation and a link to the manual page.