Suspension Control Arms
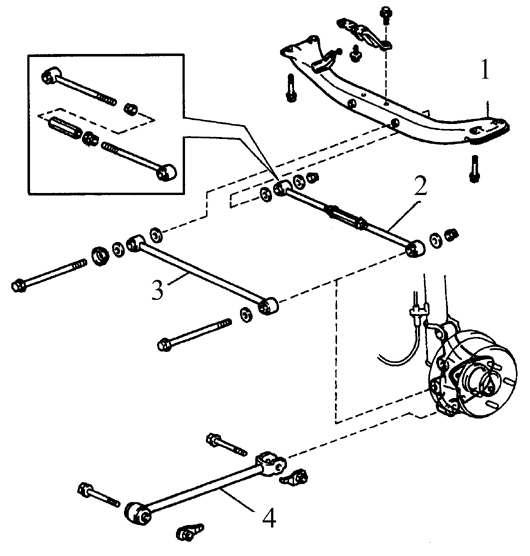
Rear Suspension Arms and Crossmember
1. Suspension crossmember
2. Suspension control arm N2
3. Suspension control arm N1
4. Trailing arm
Removal
PROCEDURE
1. Loosen the rear wheel nuts, raise the rear of the vehicle and support it on stands.
2. Chock the front wheels and remove the rear wheel.
Control Arm N2
3. If the vehicle is equipped with a load-sensing rear brake pressure limiting valve, loosen the lock nut securing the lower valve spring to the right control arm N2. Be careful not to twist the adjusting nut located slightly above. It is recommended to mark the adjusting nut and the spring mounting thread with quick-drying paint so they can be returned to their original position.
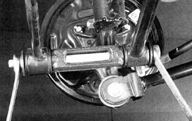
4. Remove the nut and washer from the outer end of the control arm that secure it to the knuckle bracket, and remove the bolt (if only arm N2 is being removed, it is not necessary to remove the bolt).
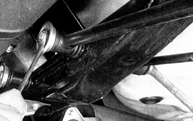
5. Loosen and remove the nut and washer from the inner end of the control arm that secure it to the suspension crossmember.
6. Remove control arm N2.
* Do not loosen the lock nuts or turn the adjusting turnbuckle. If the turnbuckle is loosened, the rear wheel alignment (toe) will change.
Control Arm N1
7. Loosen the nut and bolt securing the inner end of the arm.
Also loosen the nut and bolt securing the outer end of the arm to the knuckle bracket. Remove the center section of the exhaust pipe and the exhaust pipe insulation (see subsection 5.13). If the vehicle is equipped with a load-sensing rear brake pressure limiting valve, disconnect the lower spring mounting (see step 3).
8. Place a jack under the rear suspension crossmember. Loosen the four bolts securing the crossmember (see figure Rear Suspension Arms and Crossmember). Lower the crossmember far enough to access the long through bolt securing the control arms.
9. Loosen and remove the bolt and nut securing the front control arm to the rear wheel knuckle bracket.
10. Remove the nut and bolt securing the front control arm to the suspension crossmember.
11. Remove control arm N1.
Test yourself
A quick Toyota Corolla quiz: every answer comes with an explanation and a link to the manual page.