Removing and installing instrument panel insert / warning lamps
Removal
Disconnect the battery negative (-) cable. Warning: this erases electronic memories, such as engine operating values. Observe the notes in the chapter "Remove and install battery".
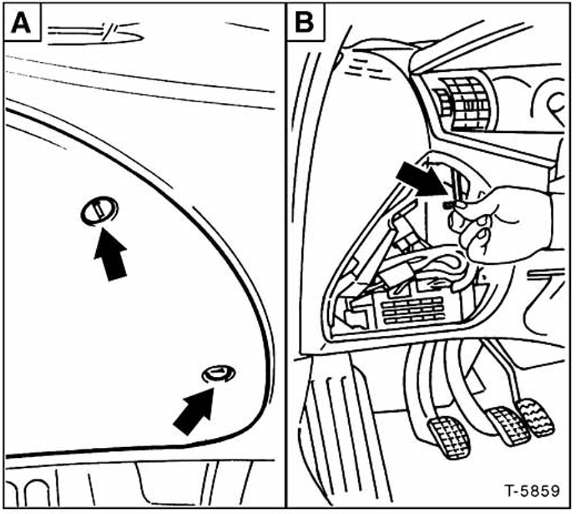
Unscrew the cover for the fuse and relay box - a -, unclip and remove it, see page 247.
Unscrew the outer fixing screw for the instrument panel trim - b -.
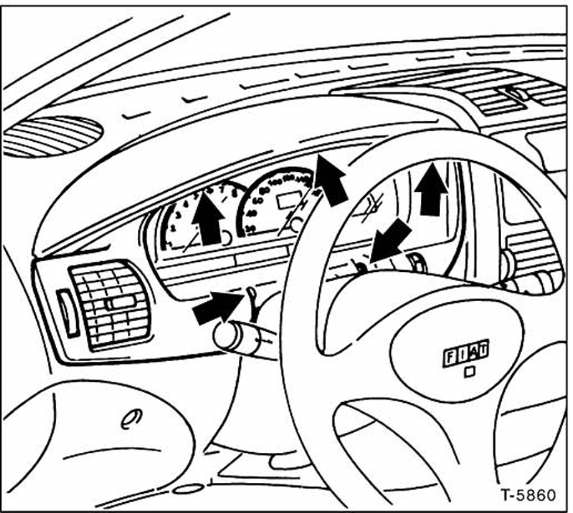
Unscrew the instrument panel trim. Note: the upper, center screw is not always fitted.
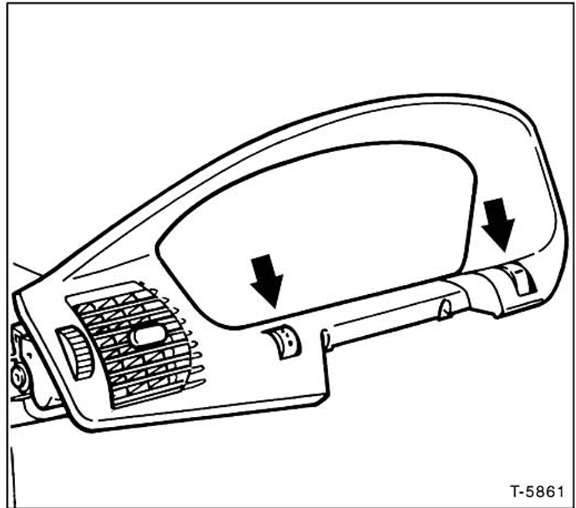
Pull the trim forward slightly and disconnect the multi-pin connectors for the two switches of headlamp level control and instrument lighting.
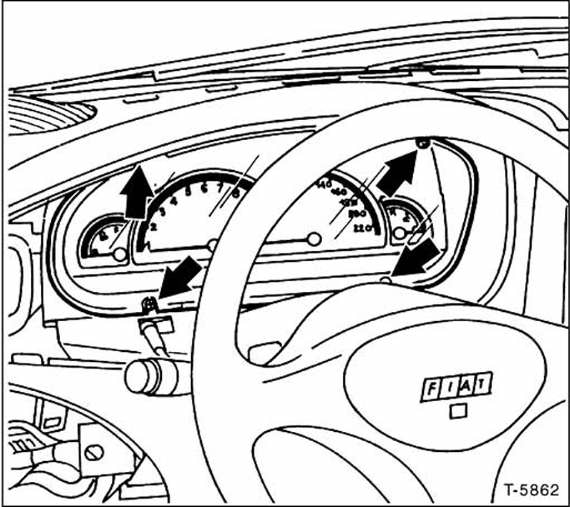
Unscrew the instrument panel insert.
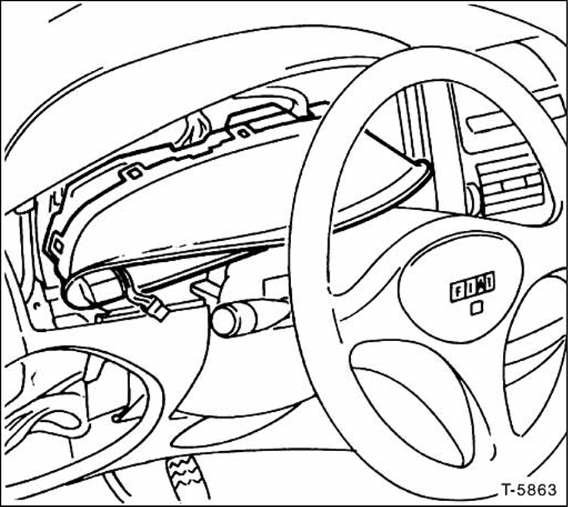
Fold the instrument panel insert forward and disconnect all connectors from the rear.
Press the socket of the defective bulb slightly down and lift it out by turning it anticlockwise. Pull the bulb straight out of the socket and replace it. Secure the socket with bulb by turning it clockwise.
Installation
Push the multi-pin connector onto the instrument panel insert.
Insert the instrument panel insert and screw it in place.
Push on the connectors for headlamp level control and instrument lighting.
Screw on the instrument panel trim.
Clip the fuse and relay box cover in on the left and screw it in on the right.
Connect the battery negative cable (-).
Set the clock.
If required, enter the radio anti-theft code.
Test yourself
A quick Fiat Bravo quiz: every answer comes with an explanation and a link to the manual page.