Line Pressure Adjustment
PROCEDURE
1. Drain the transmission fluid from the automatic transmission.
2. Remove the oil pan.
3. Remove the oil filter.
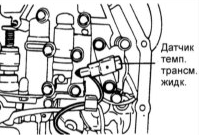
4. Remove the transmission fluid temperature sensor.
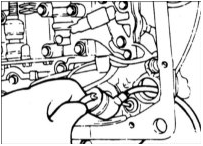
5. Press the retainer and pull out the O-ring of the solenoid valve.

6. Remove the valve body assembly, taking care that it does not drop.
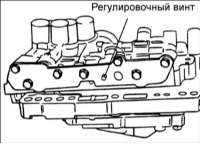
7. Turn the pressure regulator screw of the valve body until the line pressure reaches the specified value. Turning the screw clockwise decreases the pressure, and turning it counterclockwise increases the pressure.
Specified pressure: 860–900 kPa
Pressure change per 1 turn of the screw: 38 kPa
8. Make sure the O-ring is installed on the upper part of the valve body, at the location shown in the illustration.
9. Replace the solenoid valve O-ring.
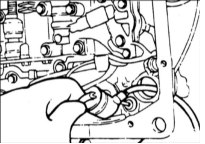
10. Install the valve body in the case and insert the solenoid valve connector into the case. Make sure the toothed portion of the connector is installed as shown in the illustration.
11. Tighten the valve body mounting bolts to 10–12 N·m.
12. Install the oil filter.
13. Install a new oil pan gasket and the oil pan.
14. Fill the automatic transmission with the specified amount of transmission fluid.
15. Check the line pressure.
Test yourself
A quick Hyundai Accent quiz: every answer comes with an explanation and a link to the manual page.