Automatic Transmission - Removal (For F4A42)
(For F4A42)
1. Remove the drain plug and drain the ATF from the transmission.
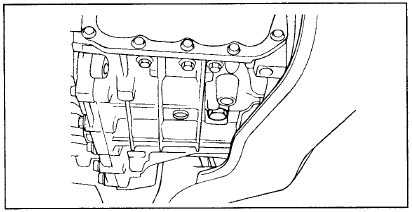
2. Remove the air cleaner housing assembly.
3. Disconnect the A/T control cable.
4. Disconnect the vehicle speed sensor (speedometer) connector.
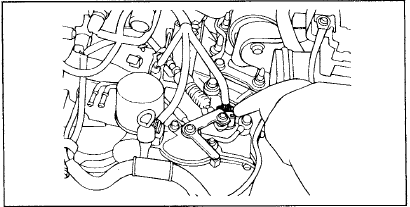
5. Disconnect the inhibitor switch connector, the solenoid valve connector, and the ATF temperature sensor connector.
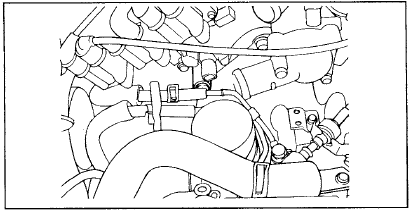
6. Disconnect the A/T oil cooler hoses.
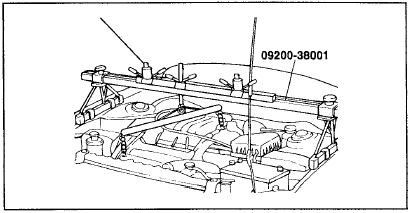
7. Secure the engine to the special tool (engine support fixture 09200-38001) using the mounting brackets.
8. Raise the vehicle on a hoist.
9. Disconnect the tie rod ends and the lower arm ball joints, and remove the drive shafts. Remove the steering gear and the stabilizer bar.
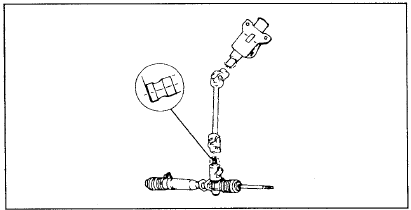
10. Disconnect the universal joint of the steering shaft.
Before disconnecting, make alignment marks on the steering shaft universal joint and the steering gear shaft to simplify reassembly.
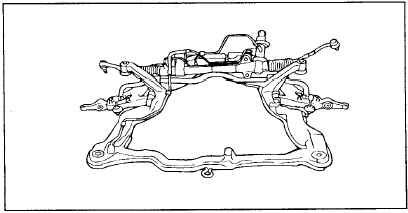
11. Remove the mounting bolts of the subframe and remove the subframe.
12. Remove the starter motor.
13. Remove the transaxle mounting bolts.
14. Remove the transaxle-to-engine mounting bolts.
15. Remove the transaxle assembly using a T/M jack.
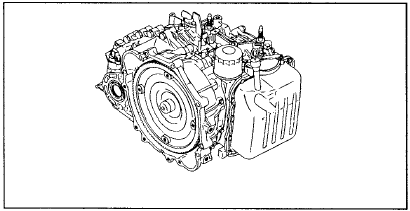
a. The engine and transaxle mounts must be installed in a specific order.
b. Mount bracket installation order:
1) Engine side mount bracket.
2) Transaxle mount bracket.
3) Engine rear mount bracket.
4) Engine front mount bracket.
c. Be careful when installing the engine front mount bracket. Do not damage or deform the mount. If the mount is damaged, severe engine vibration may occur at idle.
Test yourself
A quick Hyundai Elantra CN7 quiz: every answer comes with an explanation and a link to the manual page.