Injector
Specifications
Specification
| Item | Specification |
| Coil Resistance (Ω) | 1,5 ± 0,075 [20 °C] |
Description and Operation
Description
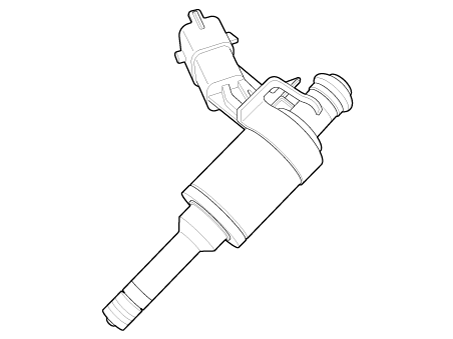
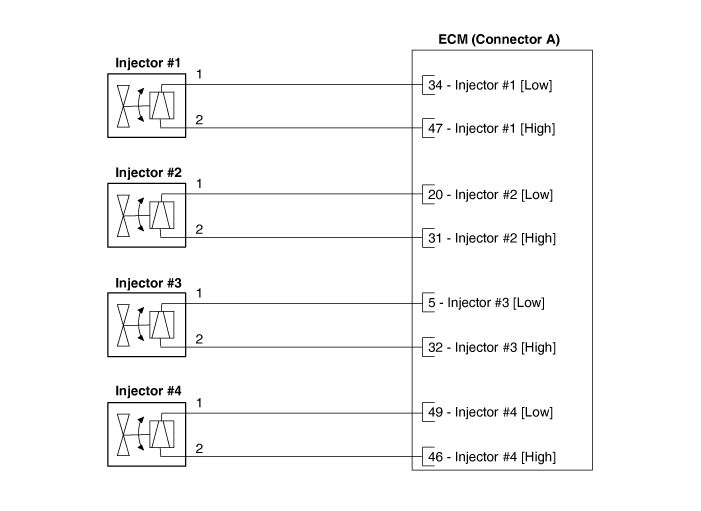
The GDI injector is similar to a standard injector, but injects fuel directly into the combustion chamber at a higher pressure, and has a swirl disc to give the fuel a swirl at the injector outlet. This promotes fuel atomization. The ECM controls both the power circuit (high side) to supply voltage to the injectors and the ground circuit (low side) to supply power to the injectors. Also, power is supplied to 2 injectors from one driver set. Since the ignition coils work in pairs with cylinders (1-4 and 2-3), the injectors are also installed in pairs.
Circuit Diagrams
Wiring Diagram
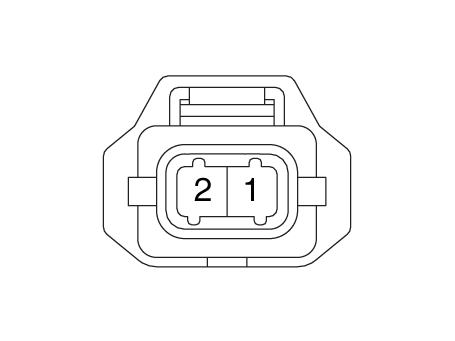
Harness Connector
Repair Procedures
Inspection
Turn the ignition off.
Disconnect the injector connector.
Measure the resistance between terminals 1 and 2 of the injector.
Make sure the resistance is within specification.
Specification: 1.5 ± 0.075 [20 °C]
Removal
Turn the ignition switch OFF and disconnect the negative (-) battery terminal.
Release the residual pressure in the fuel line.
(Refer to Fuel System - "Release Residual Pressure from Fuel Line")
Remove the delivery pipe and injector assembly.
(Refer to Fuel System - "Delivery Pipe").
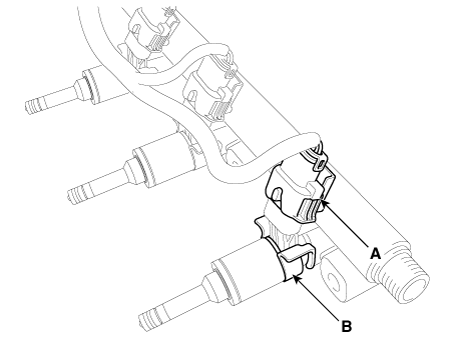
Remove the connector (A) and retainer clip (B), then separate the injector from the delivery pipe.
Installation
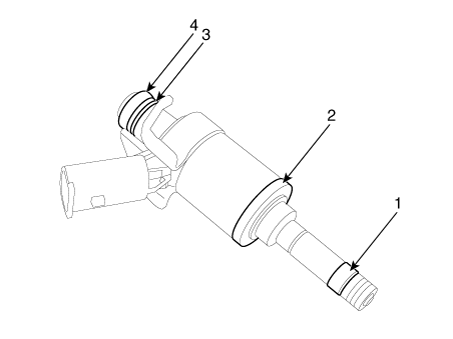
Combustion Seal
Rubber Washer
Support Ring
O-ring
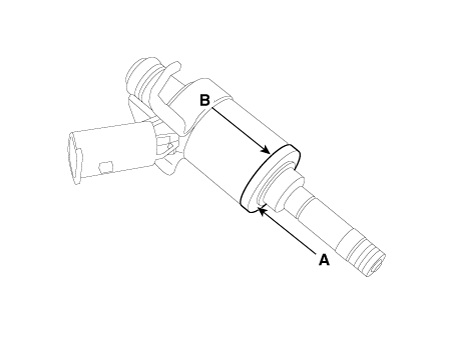
Installation is the reverse of removal.
Replacement
Replace the injector O-ring with a new one to prevent leakage after removal.
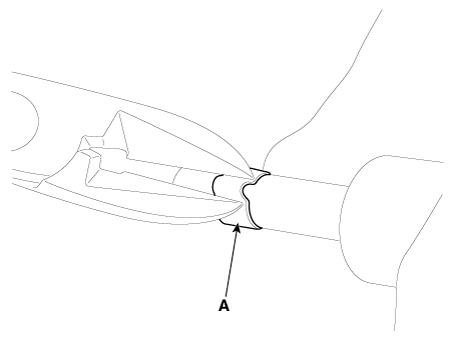
Remove the combustion seal (A) using cutting pliers.
Before installing the O-ring, the groove must be cleaned with a clean cloth.
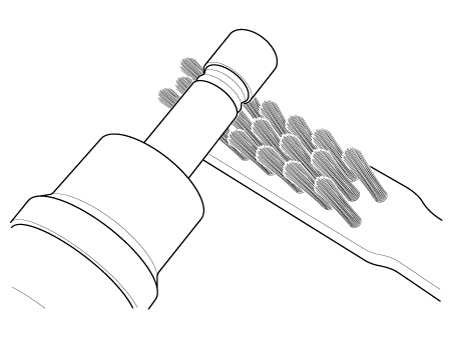
Any carbon deposits on the injector sealing surface must be carefully removed with a brass wire brush.
Place the O-ring installation guide (B) (SST No.: 09353-2B000) on the injector tip so as not to damage the injector tip (A).
Press the O-ring (C) with your thumb and index finger onto the tapered installation tool until it enters the groove.
The entire assembly should not take more than 2-3 seconds.
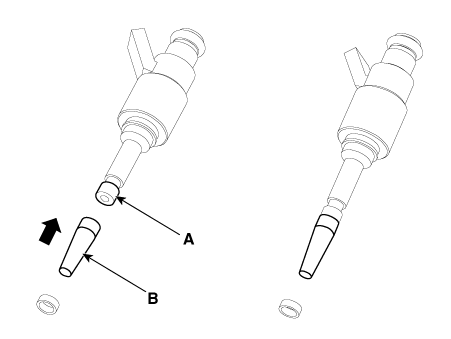
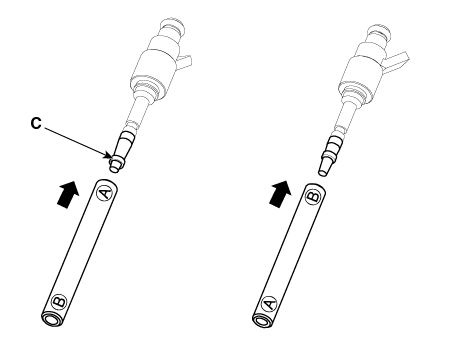
To determine the O-ring size, first insert the injector into the sizing tool (A) (SST No.: 09353-2B000), then press and simultaneously rotate it 180° in the gauging tool.
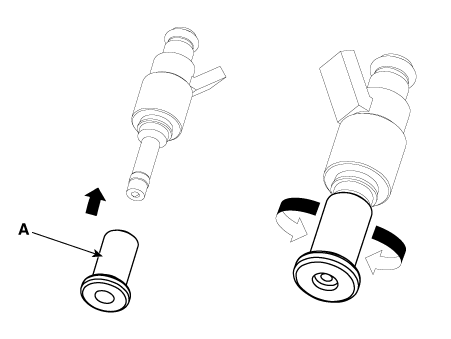
Remove the injector from the gauge tool by rotating it in the direction opposite to that used during press-fitting.
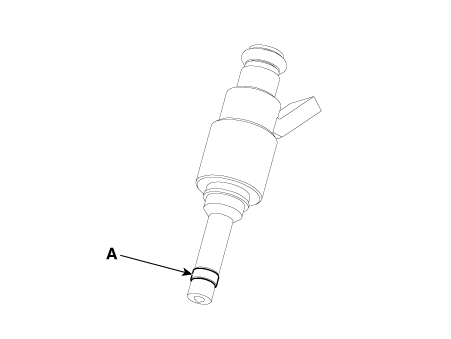
Check the installation of the combustion seal (A).
Test yourself
A quick Kia Forte BD quiz: every answer comes with an explanation and a link to the manual page.