Engine bottom side disassembly
Note the crankcase must be separated to service the crankshaft and conrod.
- Remove the engine assembly from the frame. Refer to “engine assembly removal” .
- Remove the engine top side (1). Refer to “engine top side disassembly” .
Remove the crankcase breather (pcv) cover (1).
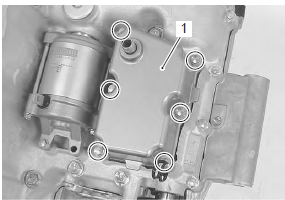
Starter motor
Remove the starter motor (1).

Clutch
Remove the clutch component parts (1). Refer to “clutch removal” in section 5c .
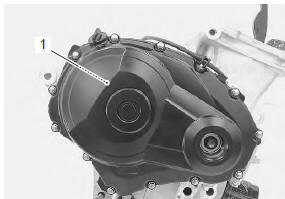
Gearshift system
Remove the gearshift shaft (1) and gearshift cam plate (2). Refer to “gearshift shaft / gearshift cam plate removal and installation” in section 5b .
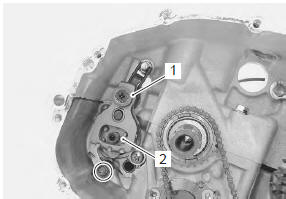
Starter torque limiter / starter clutch
Remove the starter torque limiter (1) and starter clutch (2) component parts. Refer to “starter torque limiter removal and installation” in section 1i and “starter clutch removal and installation” in section 1i .

Cam chain / cam chain tensioner / cam chain guide no. 1
- Remove the washer (1).
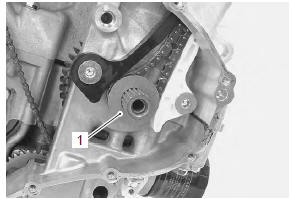
- Remove the cam chain tensioner (2) and cam chain guide no. 1 (3).
- Remove the cam chain drive sprocket (4) and cam chain (5).
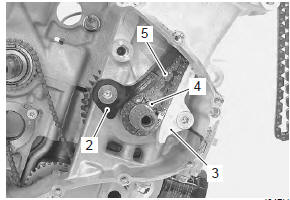
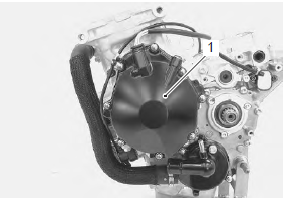
Generator
Remove the generator cover (1) and rotor. Refer to “generator removal and installation” in section 1j .
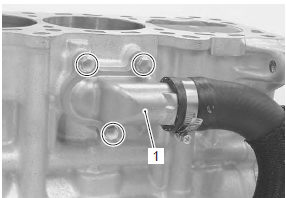
Water pump
- Remove the water inlet connector (1).
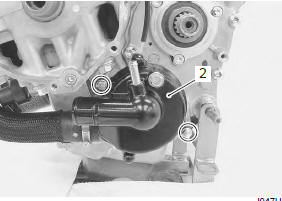
- Remove the water pump (2).
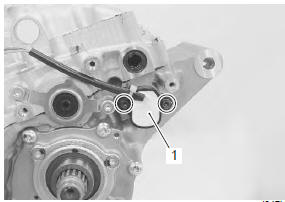
Gear position switch
Remove the gear position switch (1).
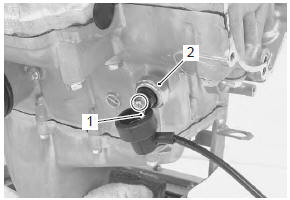
Oil pressure switch
Remove the oil pressure switch lead wire (1) and switch (2).
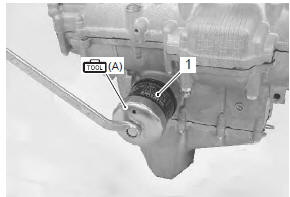
Oil filter
Remove the oil filter (1) with the special tool.
Special tool (a): 09915–40610 (oil filter wrench)
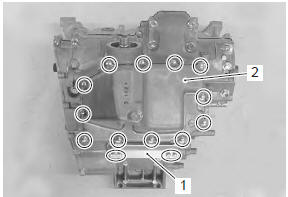
Oil pan
- Remove the plate (1).
- Remove the oil pan (2) and gasket.
Oil pressure regulator / oil strainer
- Remove the oil pressure regulator (1).
- Remove the oil strainer (2).
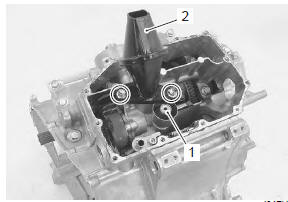
- Remove the o-ring (3).
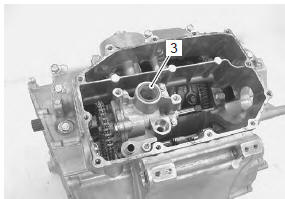
Oil pump
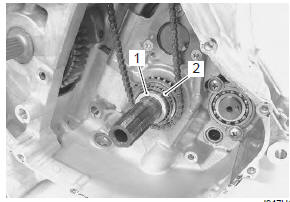
- Remove the spacer (1) and bearing (2).
- Remove the oil pump drive sprocket (3) and chain (4).
- Remove the thrust washer (5).
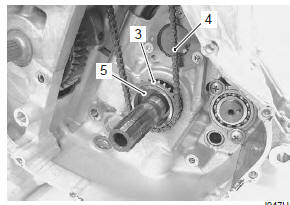
- Remove the oil pump assembly (6).
- Remove the dowel pins and o-ring (7).

- Remove the breather oil return pipe (8).
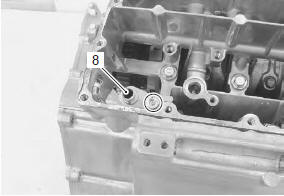
Crankcase
- Remove the clutch push rod oil seal retainer (1).
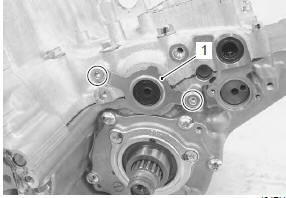
- Remove the cap (2).
- Remove the crankcase bolts from upper side.
Note loosen the crankcase bolts diagonally and smaller size ones first.
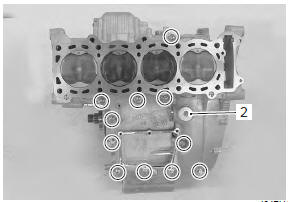
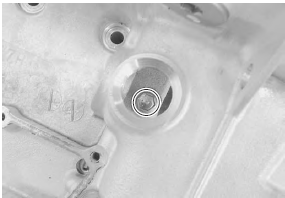
- Remove the crankcase bolts from lower side.
- Remove the crankshaft journal bolts (m9).
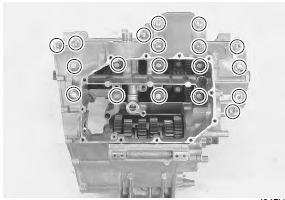
- Make sure that all of the bolts are removed. Then, tap the sides of the lower crankcase using a plastic hammer to separate the upper and lower crankcase halves and then lift the lower crankcase off the upper crankcase.
- Remove the dowel pins and o-rings (3).

Balancer shaft
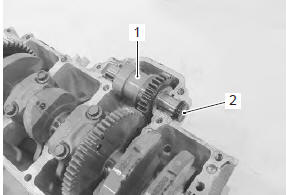
Remove the balancer shaft assembly (1) and plug (2).
Transmission
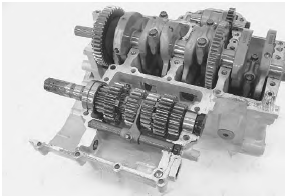
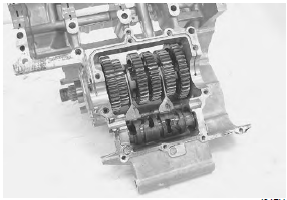
Remove the transmission component. Refer to “transmission removal” in section 5b .
Crankshaft
- Loosen the conrod cap bolts using a 10 mm, 12- point socket wrench.
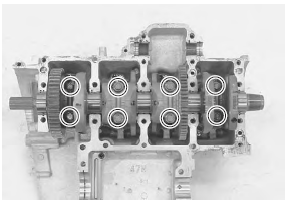
- Remove the conrod caps by tapping the bolts lightly with a plastic hammer.

- Remove the crankshaft (1) and thrust bearings (2).
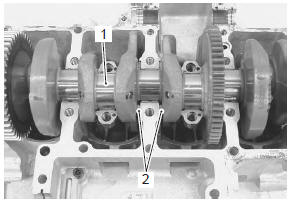
Piston cooling oil jet
Remove the piston cooling oil jet (1) from the upper crankcase.
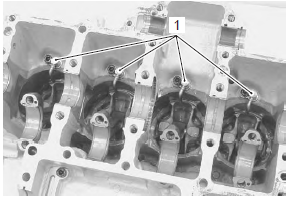
Piston / conrod
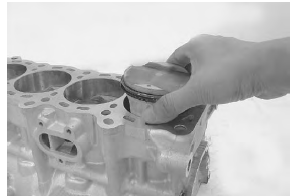
- Push the conrod to cylinder head side and remove the piston and conrod from the upper crankcase.
Caution be careful not to damage the cylinder wall by the conrod.
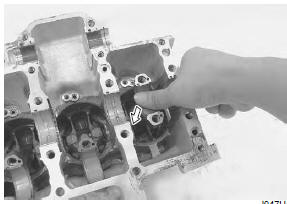
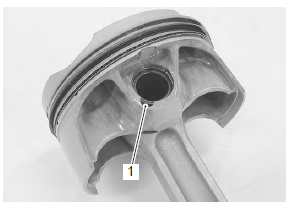
- Remove the piston pin circlip (1).
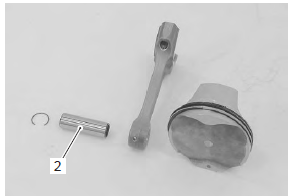
- Draw out the piston pin (2) and remove the piston from the conrod.
Note scribe the cylinder number on the piston head.
Crankshaft journal bearing
Remove the crankshaft journal bearings, upper and lower.
Caution- when removing the crankshaft journal bearings, be careful not to scratch the crankcase and the crankshaft journal bearings.
- Do not touch the bearing surfaces with your hands. Grasp the bearings by their edges.
- do not remove the crankshaft journal bearings unless absolutely necessary.
- Make a note of where the crankshaft journal bearings are removed from so that they can be reinstalled in their original positions.
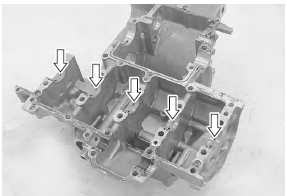
Oil jet
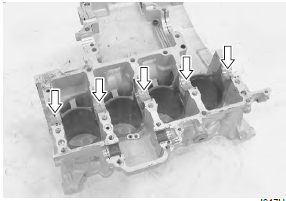
Remove the oil jet (1) (for transmission) from the lower crankcase.
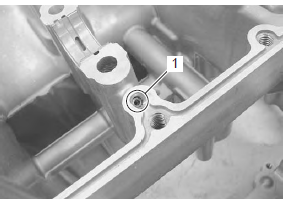
Oil gallery plug
- Remove the oil gallery plug (1), (2) and (3) from the lower crankcase.
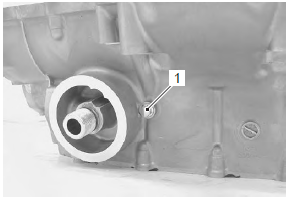
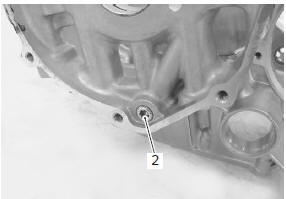
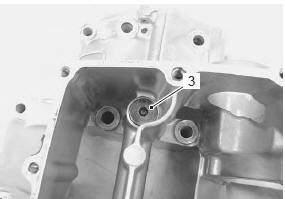
- Remove the oil gallery plug (4) from the upper crankcase.
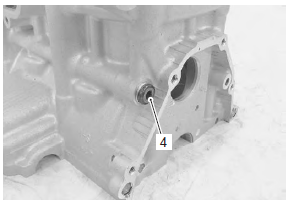
Water jacket plug
Remove the water jacket plugs (1) from the upper crankcase.
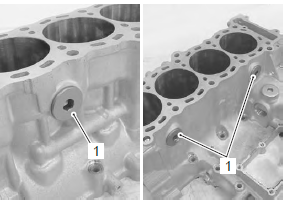
Oil seal / bearing
Remove the oil seal and bearings if necessary. Refer to “transmission removal” in section 5b .
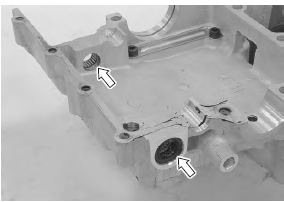
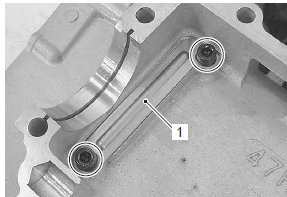
Breather oil return plate
Remove the breather oil return plate (1) from the upper crankcase.
Test yourself
A quick Suzuki GSX-R 1000 quiz: every answer comes with an explanation and a link to the manual page.