External amplifier
Components and Component Location
Components
[Mobis]
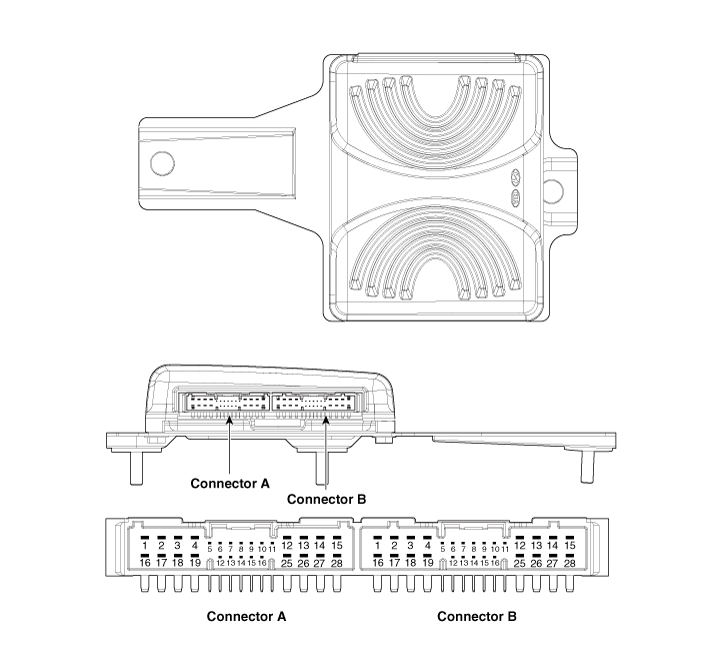
Connector Pin Information
| No. | Connector A | Connector B |
| 1 | Battery (+) | Left rear door speaker (+) |
| 2 | Battery (+) | Left rear door speaker (-) |
| 3 | Battery (+) | Right rear door speaker (+) |
| 4 | Battery (+) | Right rear door speaker (-) |
| 5 | - | Reserved |
| 6 | Multimedia CAN (High) | - |
| 7 | Multimedia CAN (Low) | - |
| 8 | ACC | - |
| 9 | Voice navigation amplifier (+) | - |
| 10 | - | - |
| 11 | - | - |
| 12 | Left front door speaker (+) | - |
| 13 | Left front door speaker (-) | - |
| 14 | Right front door speaker (+) | - |
| 15 | Left front door speaker (-) | - |
| 16 | Ground | Subwoofer 1 (+) |
| 17 | Ground | Subwoofer 1 (-) |
| 18 | Ground | Subwoofer 2 (+) |
| 19 | Ground | Subwoofer 2 (-) |
| 20 | SPDIF Amplifier (High) | - |
| 21 | Amplifier SPDIF (Low) | - |
| 22 | SPDIF Amplifier (Ground) | - |
| 23 | Voice navigation amplifier (-) | - |
| 24 | IGN1 | - |
| 25 | Front center speaker (+) | - |
| 26 | Front Center Speaker (-) | - |
| 27 | - | - |
| 28 | - | - |
[Harman]
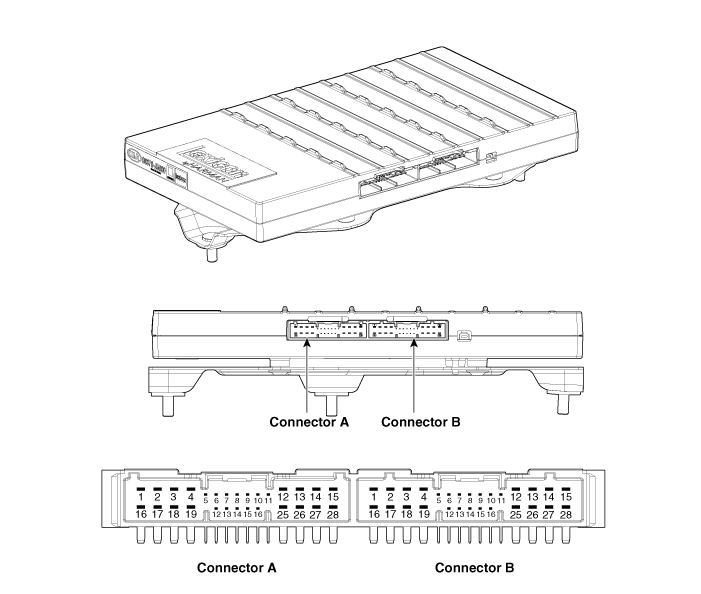
| No. | Connector A | Connector B |
| 1 | Battery (+) | Subwoofer 2 (+) |
| 2 | Battery (+) | Subwoofer 1 (+) |
| 3 | Battery (+) | Right front door speaker (+) |
| 4 | Battery (+) | Left front door speaker (+) |
| 5 | - | - |
| 6 | Multimedia CAN (High) | - |
| 7 | Multimedia CAN (Low) | - |
| 8 | ACC | - |
| 9 | Voice navigation amplifier (+) | - |
| 10 | - | - |
| 11 | - | - |
| 12 | - | Right rear door speaker (+) |
| 13 | Center Speaker in Front Door (+) | Left rear door speaker (+) |
| 14 | Right front door tweeter (+) | Right Surround Speaker (+) |
| 15 | Left front door tweeter (+) | Left Surround Speaker (+) |
| 16 | Ground | Subwoofer 2 (-) |
| 17 | Ground | Subwoofer 1 (-) |
| 18 | Ground | Right front door speaker (-) |
| 19 | Ground | Left front door speaker (-) |
| 20 | SPDIF Amplifier (High) | - |
| 21 | Amplifier SPDIF (Low) | - |
| 22 | SPDIF Amplifier (Ground) | - |
| 23 | Voice navigation amplifier (-) | - |
| 24 | IGN1 | - |
| 25 | - | Right rear door speaker (-) |
| 26 | Center Speaker in Front Door (-) | Left rear door speaker (-) |
| 27 | Right front door tweeter (-) | Right Surround Speaker (-) |
| 28 | Left front door tweeter (-) | Left Surround Speaker (-) |
Repair Procedures
Removal
Disconnect the negative (-) battery terminal.
Remove the luggage compartment side trim [RH].
(Refer to Body — "Luggage Compartment Side Trim")
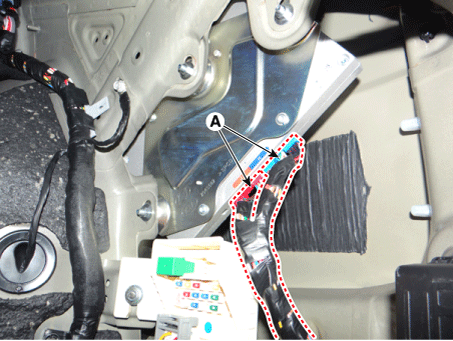
Disconnect the connectors of the external amplifier (A).
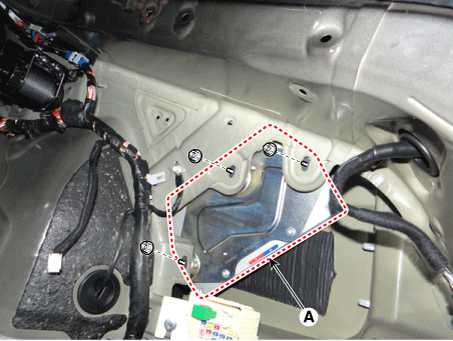
Remove the external amplifier (A) after loosening the mounting nuts.
Installation
Install the external amplifier after connecting the connectors.
Install the luggage compartment side trim panel [RH].
Connect the negative (-) battery terminal.
Inspection
In the body electrical system, faults can be quickly diagnosed using the Korean Diagnostic System (KDS).
Self-Diagnosis: Malfunction and code number check (DCT).
Current Data: Check the system input/output status.
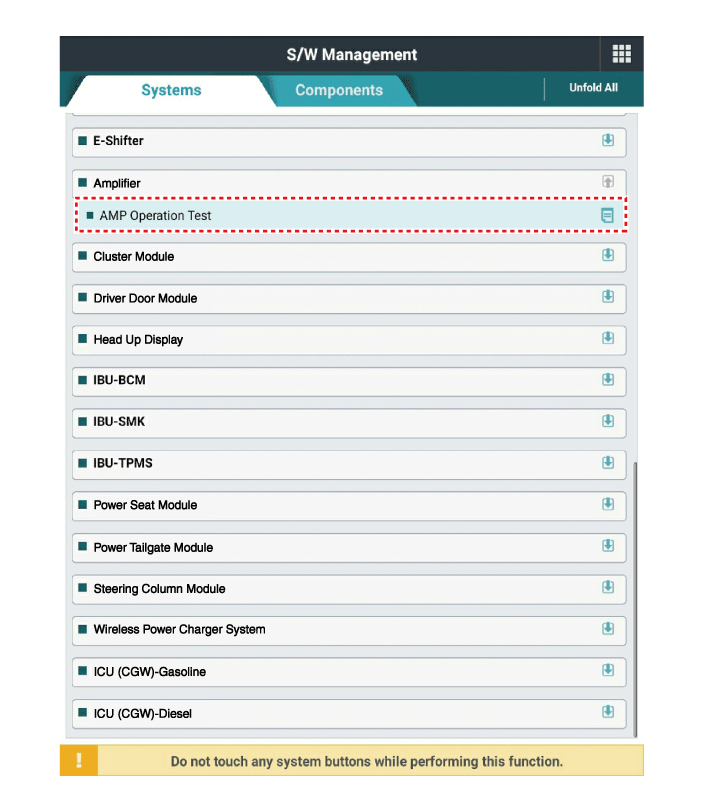
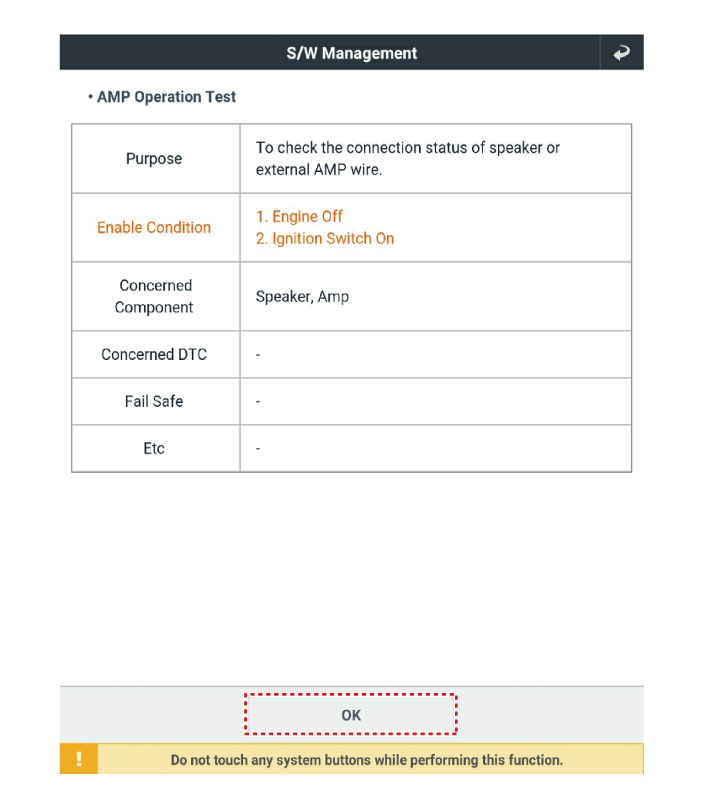
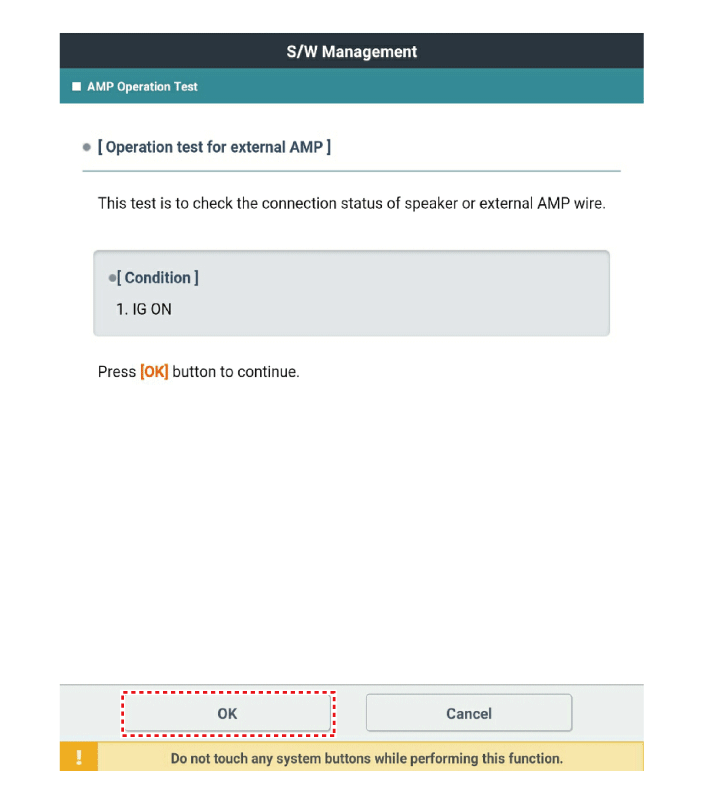
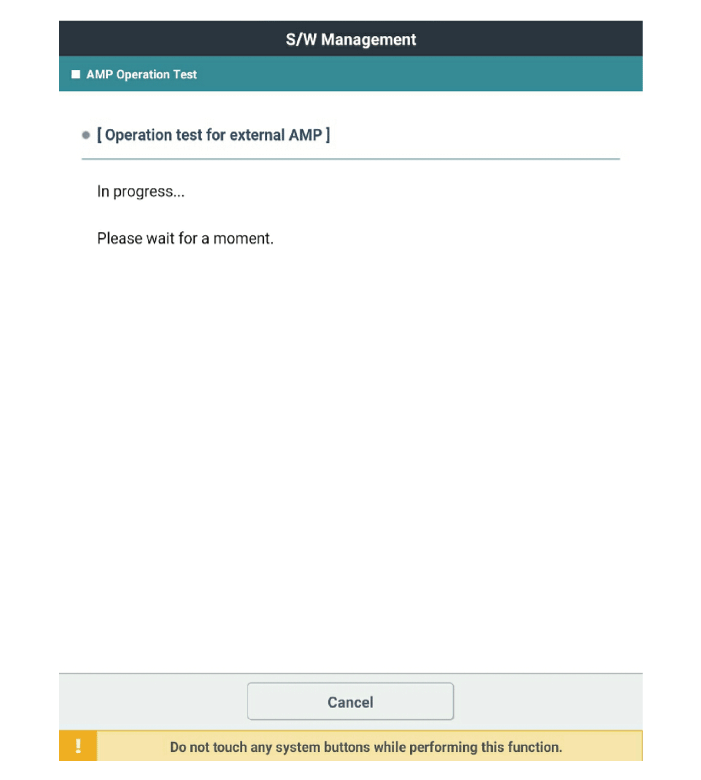
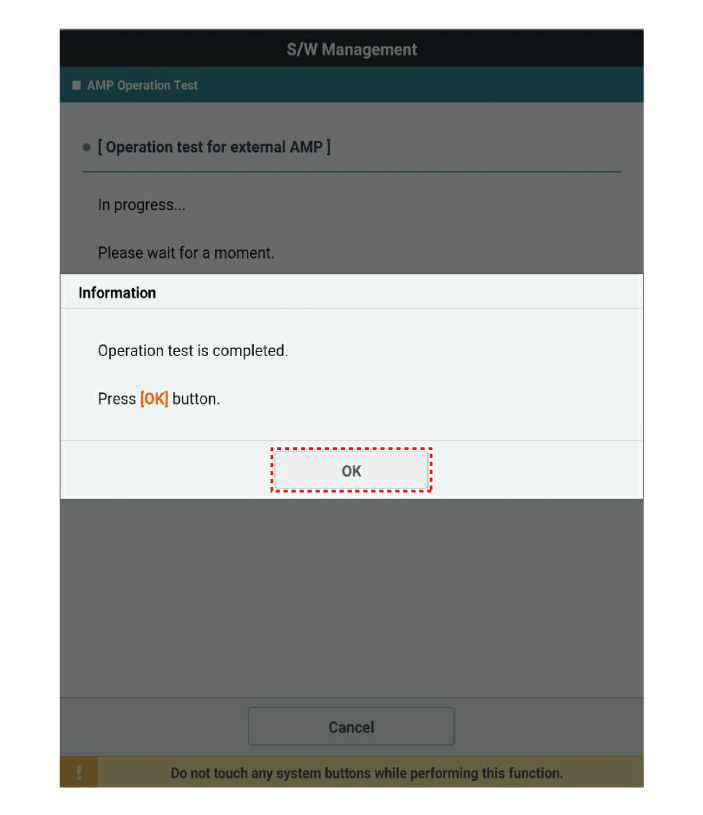
Operation check: Check the operating status of the system.
Additional function: Control of other functions, including the setting parameter system and zero point adjustment.
Select the "Vehicle Model" and the system to be checked in order to inspect the vehicle with the scan tool.
Select "Amplifier" to check the AVN.
Select the "Current Data" menu to view the current input/output data status.
The input/output data for the sensors corresponding to the Amplifier can be checked.
Test yourself
A quick Kia Stinger CK quiz: every answer comes with an explanation and a link to the manual page.