Blind-Spot Collision Warning (BCW) Radar Calibration
Repair Procedures
Inspection
Calibration Overview
The BCW installation angle must be calibrated when the vehicle has a rear or side collision with the BCW system, even when only the BCW bracket or BCW components are replaced.
Inspection Before Adjustment
If DTC [C2702 (Master)] or [C2703 (Slave)] is present, check the following before performing the adjustment.
Check the vehicle condition and check whether the BCW unit or bracket is deformed (installation angle, twisted vehicle body, etc.).
Vehicle Inspection Normal Abnormal (deformation of the bracket or bolted connection) 

Vehicle Inspection Normal Abnormal (deformation of the bracket or bolted connection) 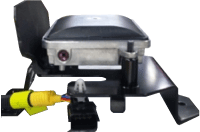

Check the nut tightening. Check for foreign objects.
Vehicle Inspection Normal Abnormal (deformation of the bracket or bolted connection) 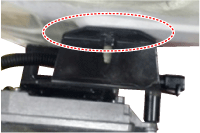
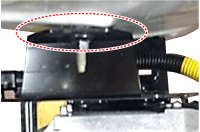
BCW Angle Adjustment
After replacing the BCW unit or bracket with the bumper removed, use the BCW unit adjustment kit (Special Service Tool: 09958-3T000) to perform the angle adjustment.
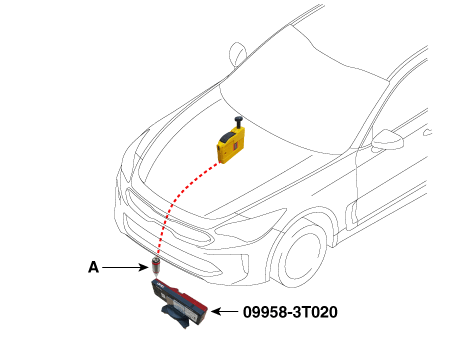
Attach the vertical plumb bob (Special Service Tool: 09958-3T010) to the hood and lower the plumb bob (A) to the ground so that it passes through the center of the emblem.
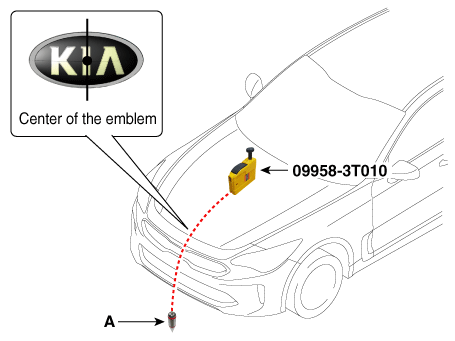
Install the optical receiver (Special Service Tool: 09958-3T020) under the plumb bob (A).
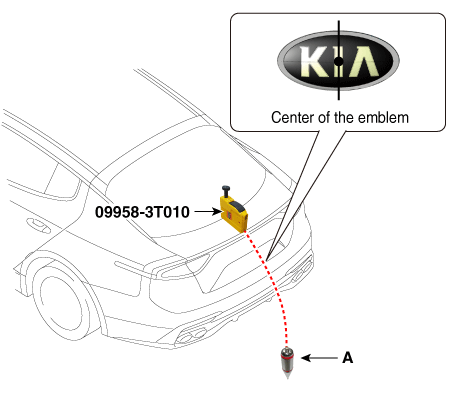
Attach a plumb bob (Special service tool: 09958-3T010) to the luggage compartment (or tailgate) and lower the plumb bob (A) to the ground so that it passes through the center of the emblem.
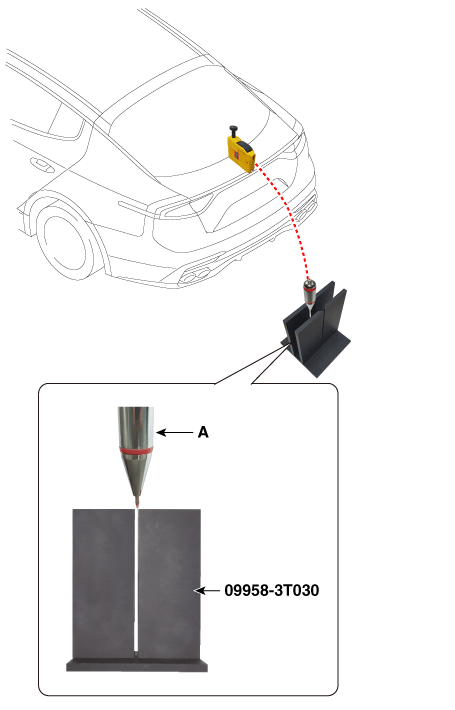
Install the rear alignment template (Special Service Tool: 09958-3T030) so that its hole is directly below the plumb bob (A).
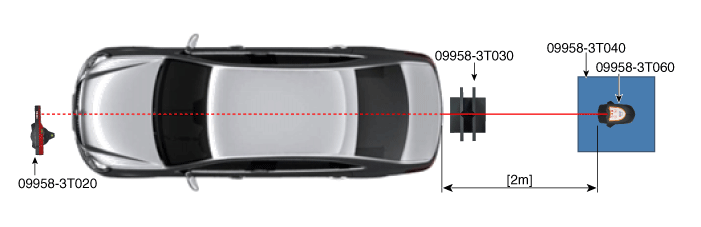
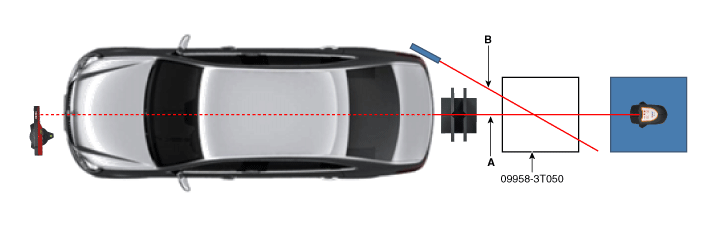
Place the laser stand (Special Service Tool: 09958-3T040) at a distance of 2 m from the rear of the vehicle and install the laser level (Special Service Tool: 09958-3T060) on top of the laser stand.
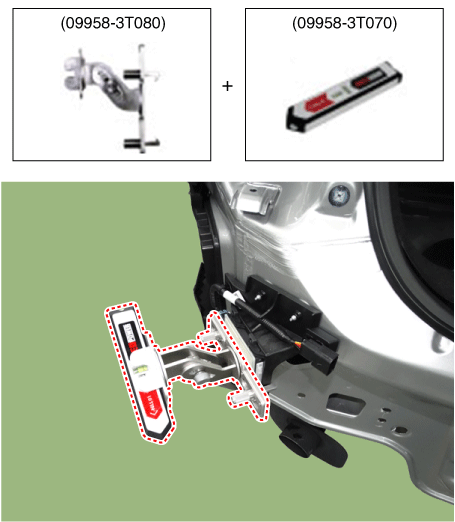
Install the BCW unit fixing adapter (Special Service Tool: 09958-3T080) on the BCW unit and secure the laser level (Special Service Tool: 09958-3T070).
Install the angle measuring plate (Special Service Tool: 09958-3T050) at the point where the center laser beam (A) and the horizontal laser beam (B) intersect.
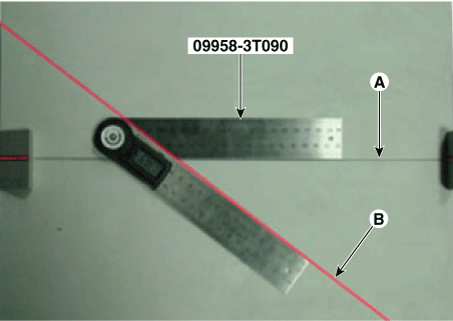
Measure the angle between the center line (A) of the angle measuring plate and the horizontal laser beam (B) using the digital angle gauge (Special Service Tool: 09958-3T090).
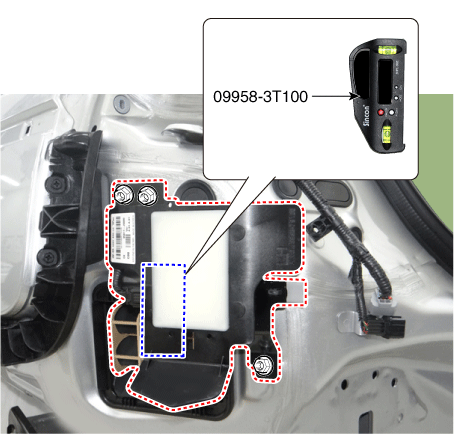
Use the digital inclinometer (Special Service Tool: 09958-3T100) to measure the vertical angle of the BCW unit.
Measure the horizontal and vertical angles of the left and right BCW units. If the measured values deviate from the specified values, insert a shim (A) between the BCW unit bracket.
Specifications Horizontal angle: 53 ± 2° Vertical angle: 90 ± 1°
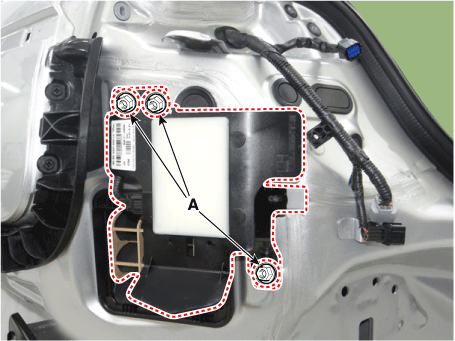
Tightening Torque Nut: 8.8–13.7 N·m
After checking and adjusting the BCW unit angle, perform the BCW radar calibration procedure.
BCW Unit Alignment
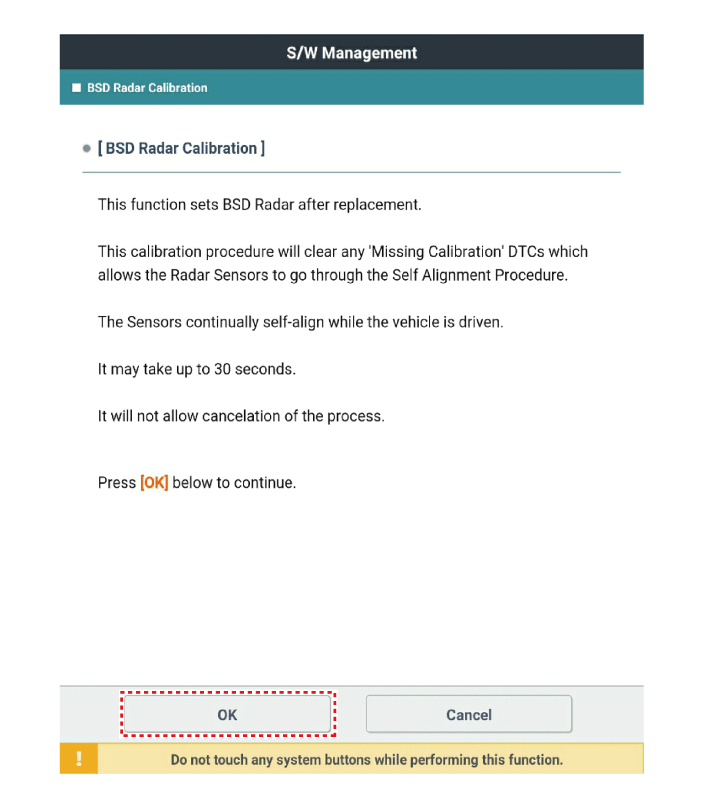
Vehicles with rear bumper damage and vehicles with replaced BCW units must perform BCW unit alignment using KDS.
Select the "BCW Radar Calibration" procedure in the BCW system.
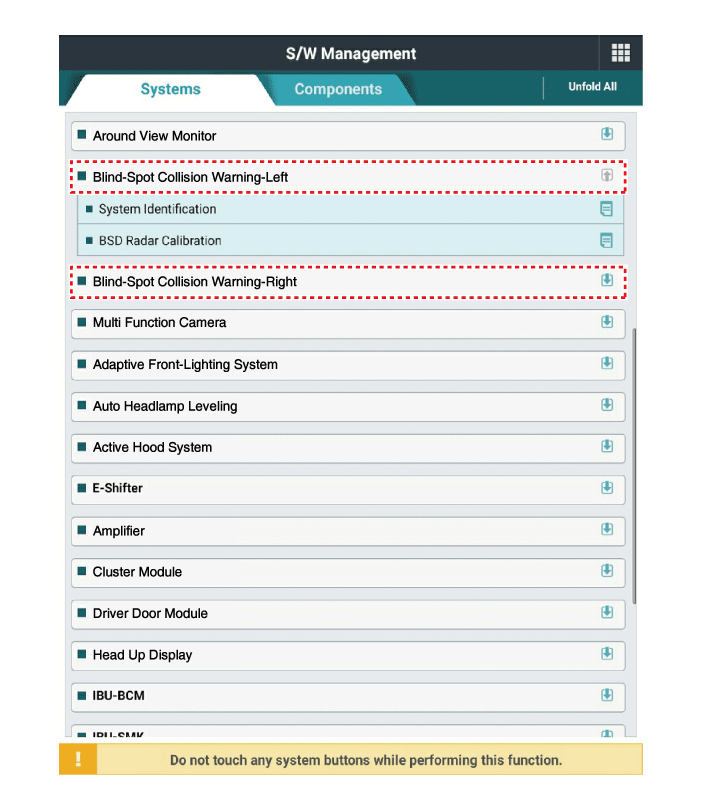
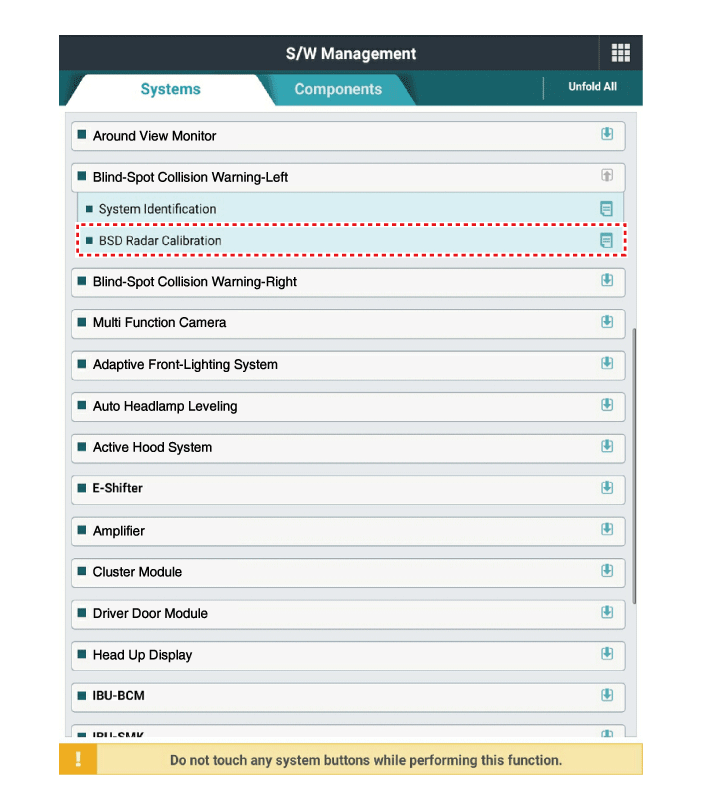
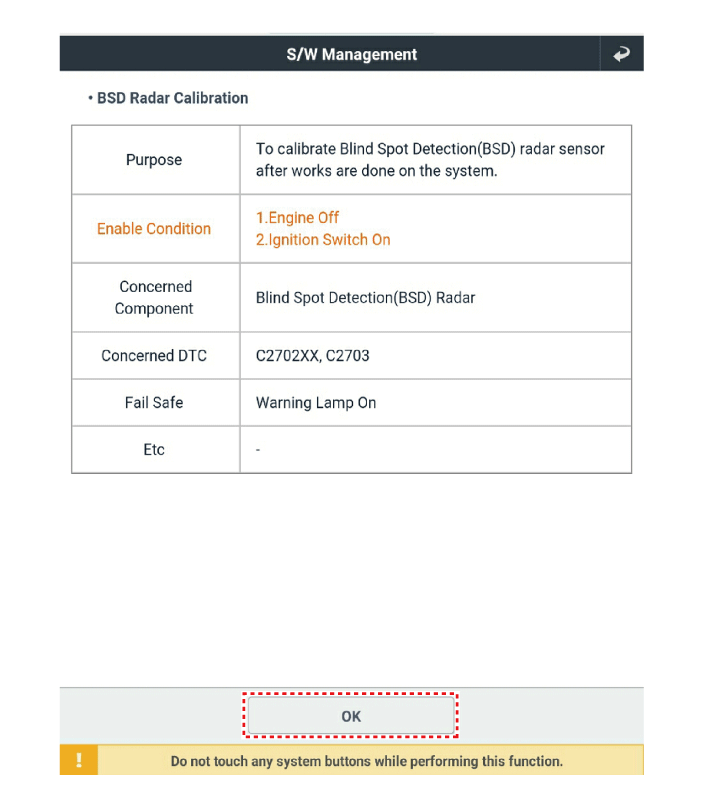
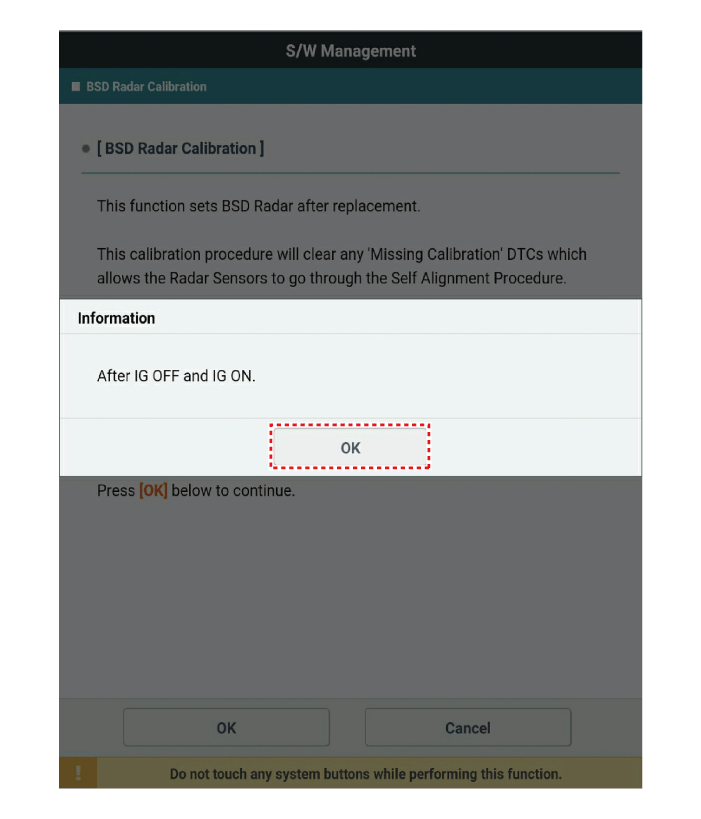
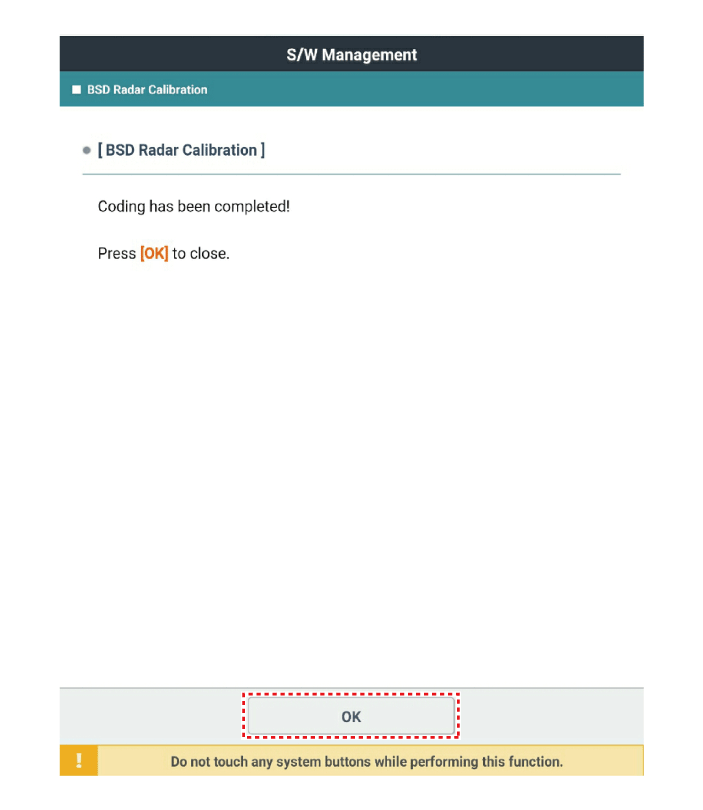
Perform the "BCW Radar Calibration" procedure according to the KDS screen message.
Test yourself
A quick Kia Stinger CK quiz: every answer comes with an explanation and a link to the manual page.