Removing and installing tie rod end
Mark the position of the front wheels relative to the wheel hub with paint.
This allows the balanced wheel to be refitted in the same position. Loosen the wheel bolts. The vehicle must be standing on the ground.
Raise the vehicle at the front and remove the front wheels.
Unscrew the self-locking nut - 1 - from the tie rod ball joint - 2 -.
Press out the tie rod ball joint using a commercially available ball joint separator - 3 -.
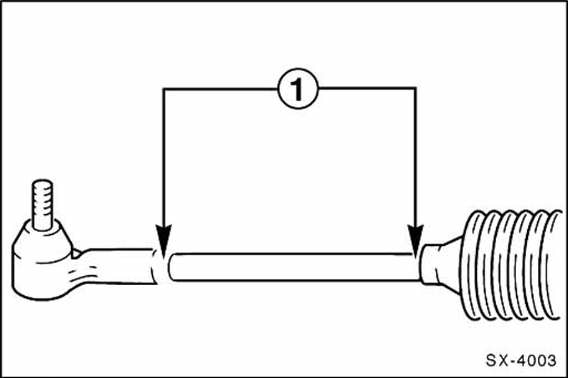
Measure and record the thread-in depth - 1 - of the tie rod end on the tie rod.
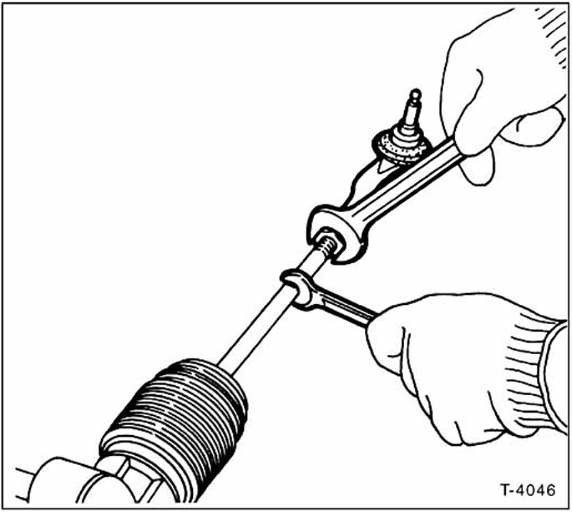
Loosen the locknut, holding the hex of the tie rod with an open-end wrench.
Unscrew the tie rod end from the tie rod. Warning: also count the number of turns so the joint can be screwed on to the same depth during installation.
Screw on the tie rod end to the recorded dimension or number of turns; do not tighten the locknut yet.
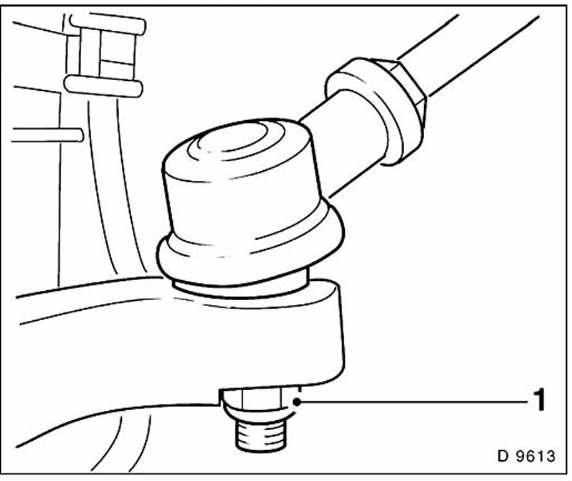
Insert the ball joint into the steering arm and tighten the new self-locking nut - 1 - to 35 N·m.
Tighten the tie rod end locknut, holding the hex of the tie rod with an open-end wrench.
Position the front wheels so that the marks made during removal line up. Before fitting, lightly grease the centering seat of the rim on the wheel hub and the conical surface of the wheel bolts with wheel bearing grease. Do not grease or oil the threads of the wheel bolts. Fit the wheels.
Lower the vehicle and tighten the wheel bolts crosswise to 90 N·m.
Check the wheel alignment and adjust the toe if necessary (workshop task).
Test yourself
A quick Fiat Bravo quiz: every answer comes with an explanation and a link to the manual page.