Single-Use Parts
Front Door
In this manual: Single-Use Parts
62steps
~372min
4/5difficulty
Done 0 of 62
Contents:
Components and Components Location
Component
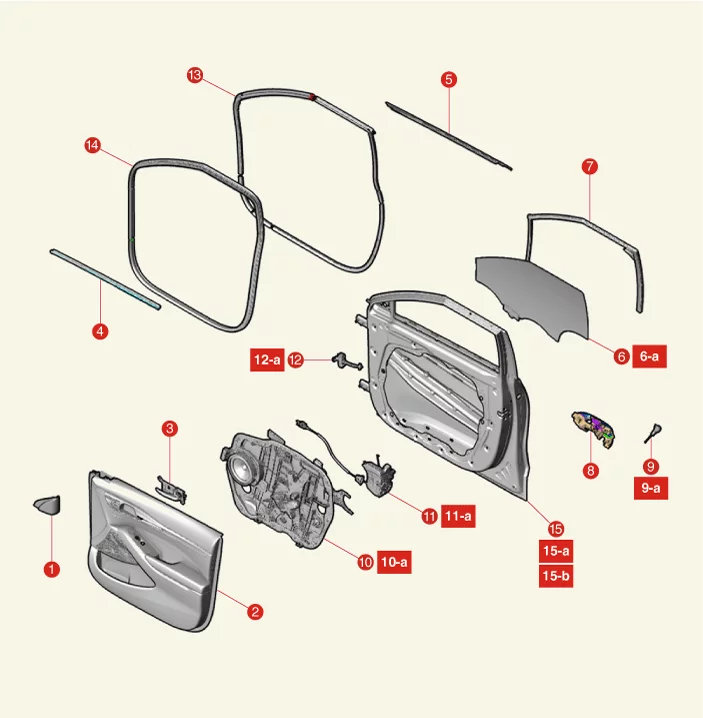
| 1. Front Door Quadrant Inner Cover 2. Front Door Trim 3. Front Door Inside Handle 4. Front Door Belt Inside Weatherstrip 5. Front Door Belt Outside Weatherstrip 6.Front Door Window Glass 6-a. 7.8 - 11,8 N·m 7. Front Door Glass Run 8. Front Door Outside Handle Assembly |
9. Front Door Lock Assembly 9-a. 3.9 - 5,9 N·m (0.4 - 0.6 kgf·m, 2.9 - 4.3 lb·ft, 34.7 - 52.1 lb·in) 10. Front Door Module 10-a. 8.8 - 13,7 N·m 11. Front Door Latch 11-a. 6-a. 6.9 - 10,8 N·m 12. Front Door Checker 12-a. 16.7 - 22 N·m 13. Front Door Side Weatherstrip 14. Front Door Body Side Weatherstrip 15. Front Door Assembly 15-a. 21.6 - 26 N·m 15-b. 23.5 - 31 N·m |
Adjustment
Adjustment
Door Adjustment- Check that the gap between the door and the body is even after parking in a flat level.
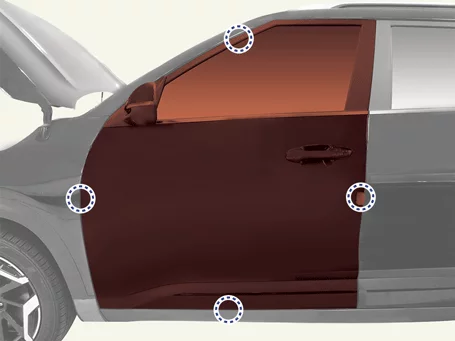
- Loosen the door hinge (A) bolts, adjust the door by moving it back and forth, left and right, and then tighten the bolts.
Tightening torque (B) : 21.6 - 26 N·m (C) : 23.5 - 31 N·m
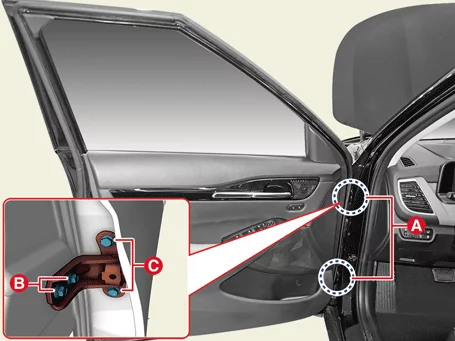
- Check that the gap between the door and the body is even.
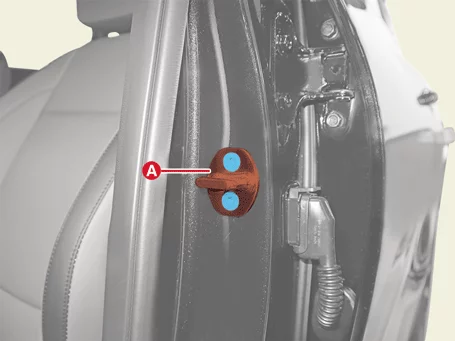
- Loosen the screws and adjust the striker (A) by moving it back and forth, left and right, and then tighten the screws.
Tightening torque : 16.7 - 22 N·m
- Check that the door opens and closes properly.
|
- Remove the front door trim. (Refer to Front Door - "Front Door Trim")
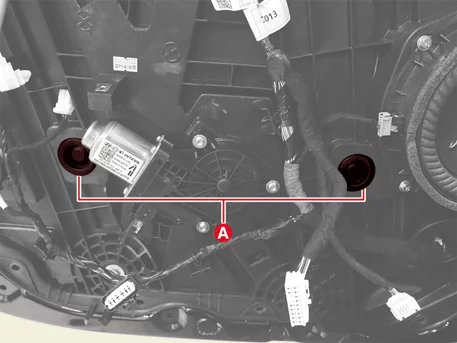
- Remove the front door window glass hole plugs (A).
- Operate the power window switch to lower the window glass until the window glass bolt is visible in the service hole.
- Loosen the front door window glass bolts (A).
Tightening torque : 7.8 - 11,8 N·m

- Adjust the gap by moving the front door window glass (A) up, down, left and right, and then tighten the bolts.
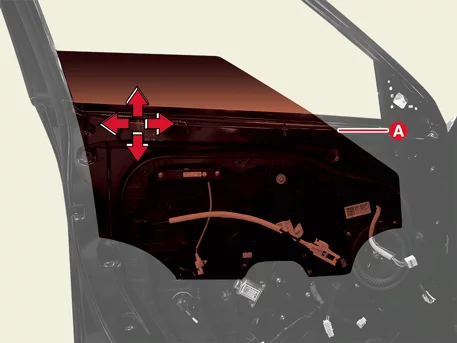
- Check that the glass operates properly.
Front Door Trim Removal and Installation
Removal
- Disconnect the battery negative ( - ) terminal.
- Remove the front door quadrant inner cover (A).

Clip position :

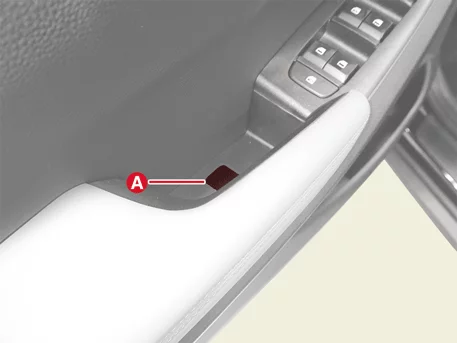
- Remove the door screw cap (A).
- Remove the front door trim (A) using the service hole (B) after removing the screw.
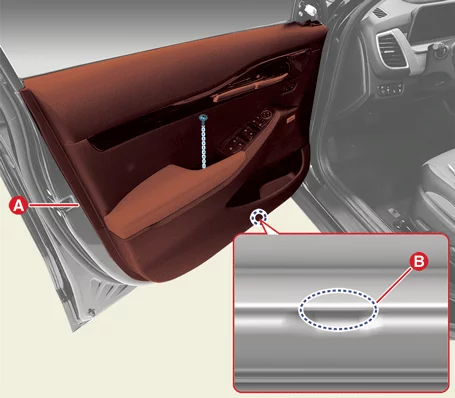
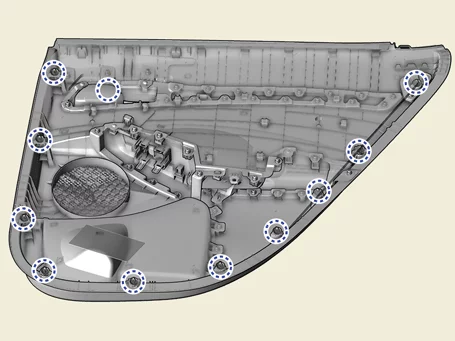
Clip position : - Separate the front door inside handle cage (A) by pressing the hook.
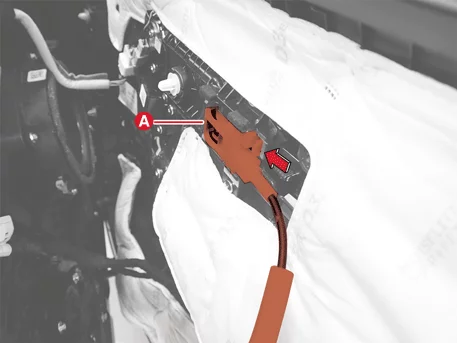
When mounting the cage on the inside handle, assemble it until there is a "click" sound.
- Disconnect the memory power seat switch connector (A).
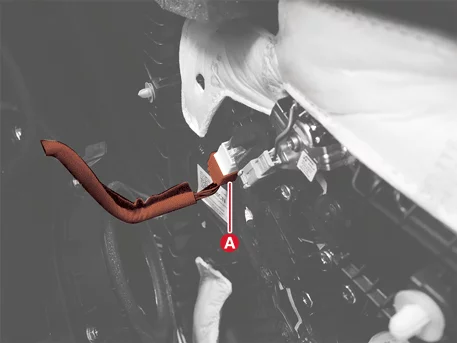
- Disconnect the power window switch and power mirror switch connectors (A).
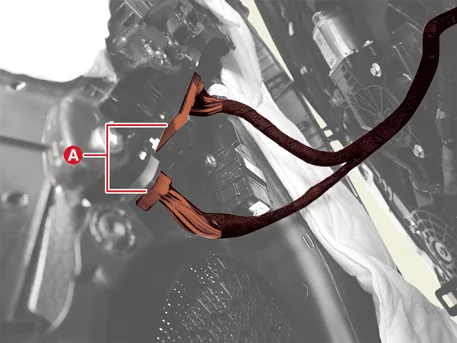
Installation
- Install in reverse order of removal.
Front Door Window Glass Removal and Installation
Removal
Front Door Window Glass- Remove the front door trim. (Refer to Front Door - "Front Door Trim")
- Remove the front door belt inside and outside weatherstrips. (Refer to Front Door - "Front Door Weatherstrip")
- Remove the front door window glass hole plugs (A).
- Operate the power window switch to lower the window glass until the window glass bolt is visible in the service hole.
Be careful not to damage the surface of glass. - Remove the front door window glass bolts (A).
Tightening torque : 7.8 - 11,8 N·m
- Remove the front door window glass (A) in the direction of the arrow.
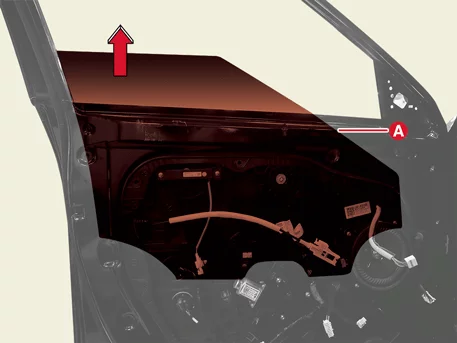
- Remove the front door window glass.
- Remove the front door glass run (A).
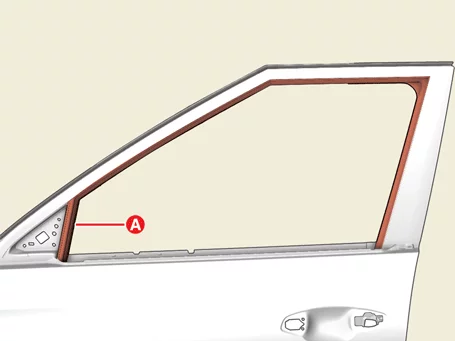
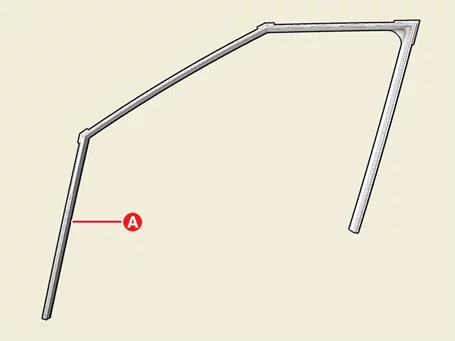
Installation
- Install in reverse order of removal.
Front Door Module Removal and Installation
Removal
- Remove the front door window glass. (Refer to Front Door - "Front Door Window Glass")
- Remove the front door outside handle. (Refer to Front Door - "Front Door Handle")
- Disconnect the front door main wiring connector (A).
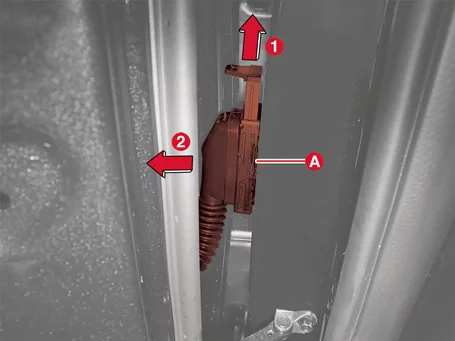
- Disconnect the outside rear view mirror connector (A).
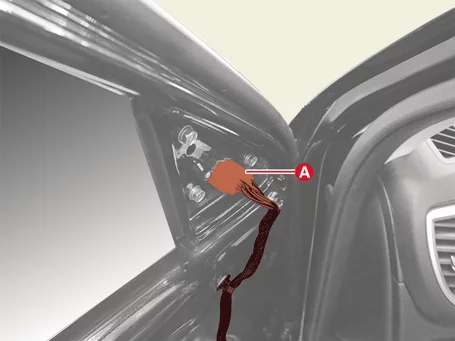
- Remove the front door handle base screw (A).
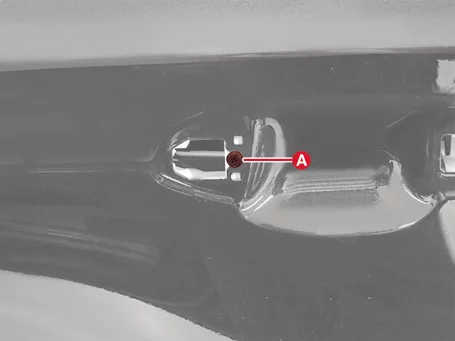
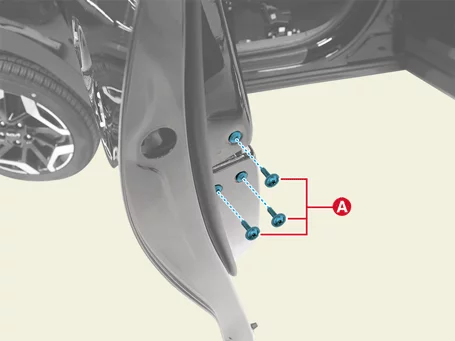
- Remove the front door latch screws (A).
Tightening torque : 6.9 - 10,8 N·m
- Remove the clip (B) and remove the front door module (A) after removing the bolts.
Tightening torque : 8.8 - 13,7 N·m
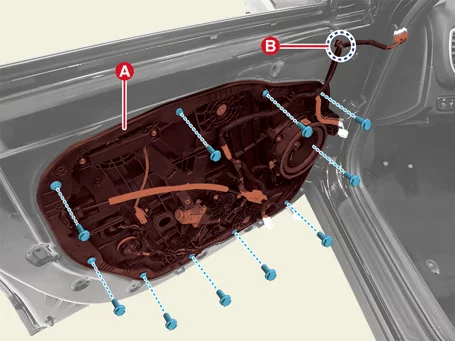
- Remove the wiring harness (A) from the front door module.
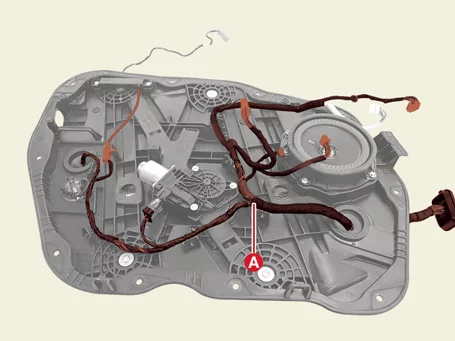
Installation
- Install in reverse order of removal.
Front Door Handle Removal and Installation
Removal
Front Door Inside Handle- Remove the front door trim. (Refer to Front Door - "Front Door Trim")
- Remove the front door inside handle (A) after removing the screws.

- Remove the hole plug (A).
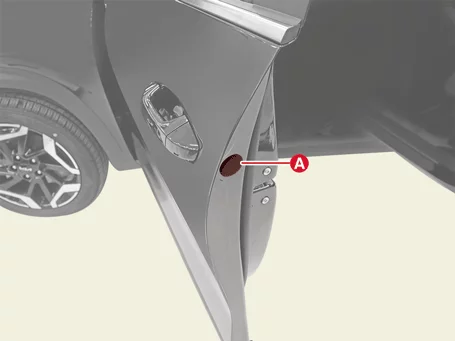
- Fully loosen the front door lock assembly bolt (A).
Tightening torque : 3.9 - 5,9 N·m (0.4 - 0.6 kgf·m, 2.9 - 4.3 lb·ft, 34.7 - 52.1 lb·in)
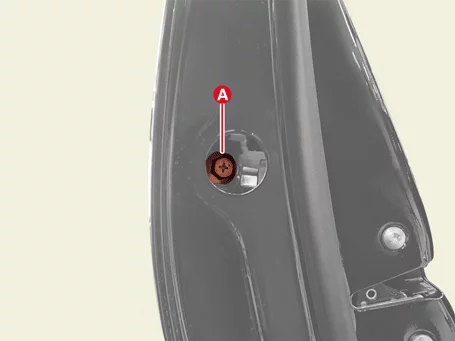
- Remove the door lock assembly (A).
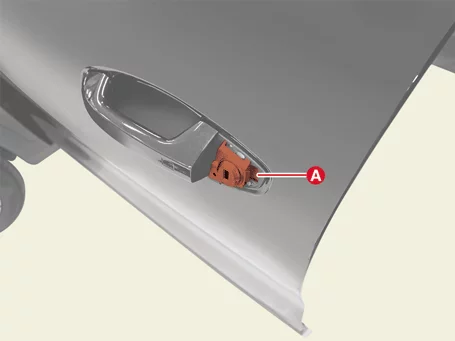
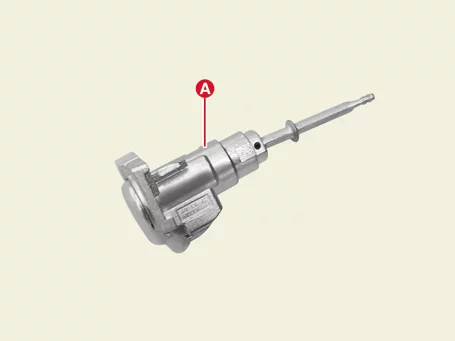
- Remove the front door outside handle (A) in the direction of the arrow.

- Disconnect the front door outside handle connector (A).

- Remove the front door outside handle pad (A).
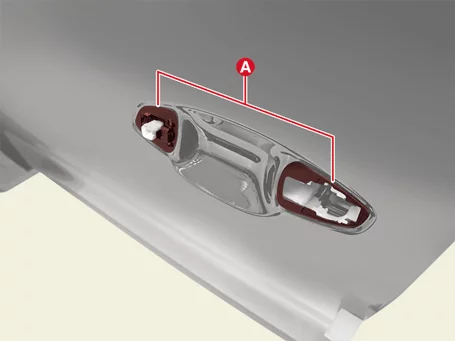
- Remove the hole plug (A).
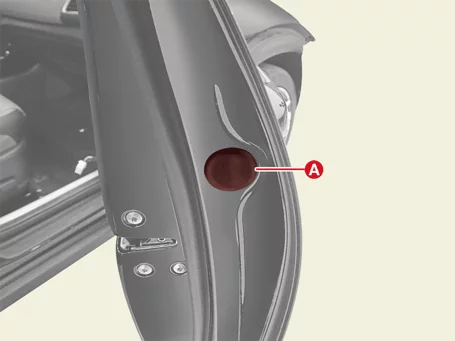
- Fully loosen the front door outside handle bolt (A).
Tightening torque : 3.9 - 5,9 N·m (0.4 - 0.6 kgf·m, 2.9 - 4.3 lb·ft, 34.7 - 52.1 lb·in)
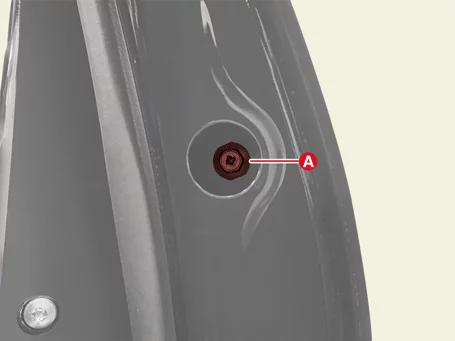
- Remove the front door outside handle (A) in the direction of the arrow.
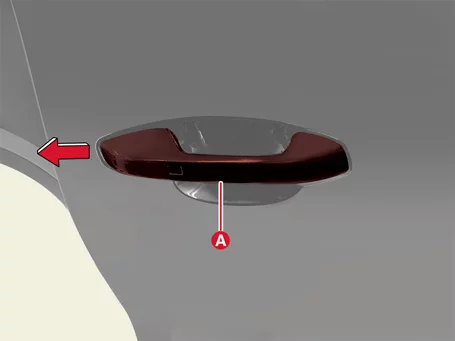
- Disconnect the front door outside handle connector (A).
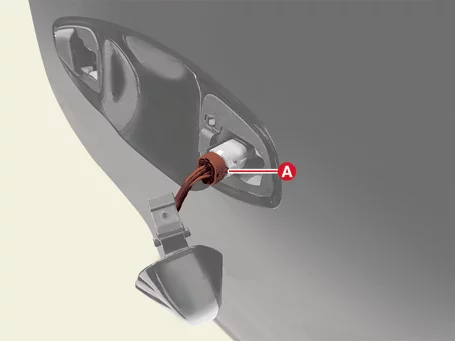
- Remove the front door outside handle cover (A).
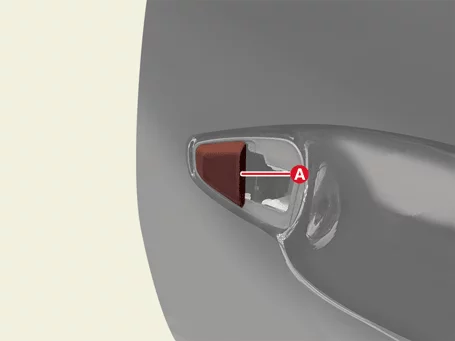
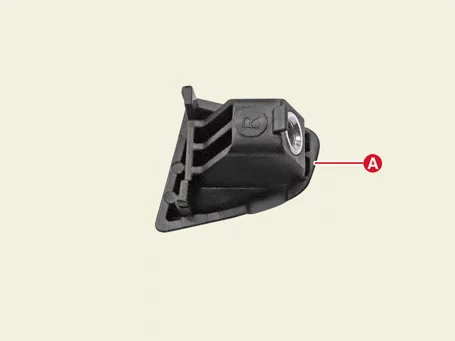
- Remove the front door module. (Refer to Front Door - "Front Door Module")
- Separate the front door outside handle wiring (A).

- Separate the retainer (B) and the front door latch rod (A).
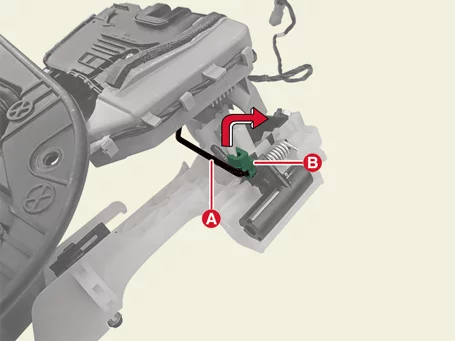
- Remove the front door outside handle base (A) after releasing the hook (B).
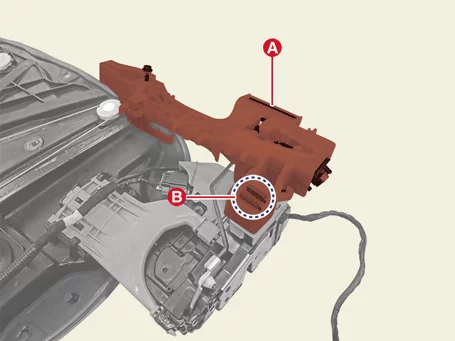
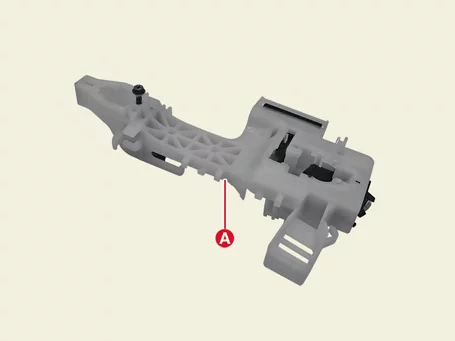
Installation
- Install in reverse order of removal.
Front Door Latch Assembly Removal and Installation
Removal
- Remove the front door outside handle base. (Refer to Front Door - "Front Door Handle")
- Disconnect the front door latch connector (A).
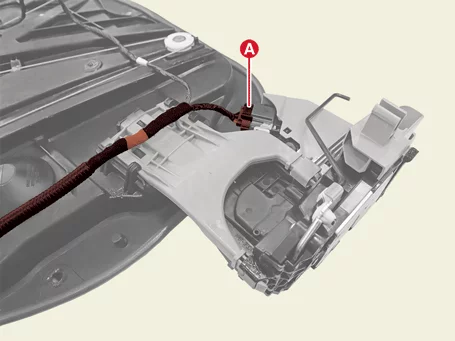
- Remove the front door latch (A) in the direction of the arrow after releasing the retainer hook (B).
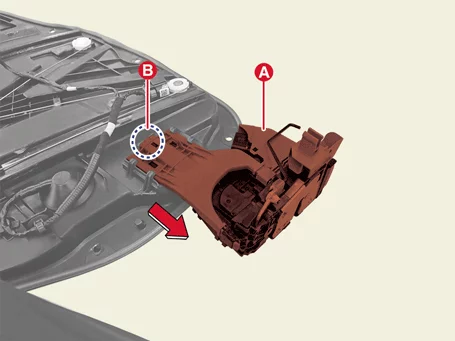
- Remove the front door inside handle cable (A) in the direction of the arrow.

Installation
- Install in reverse order of removal.
Front Door Weatherstrip Removal and Installation
Removal
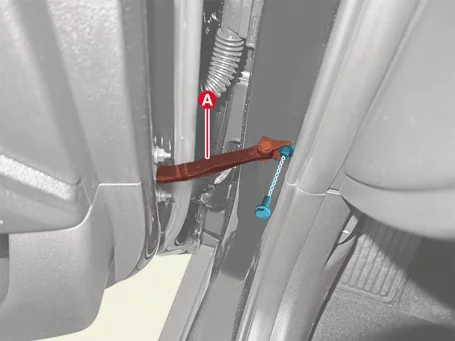
Front Door Side Weatherstrip- Separate the front door checker (A) after removing the bolt.
Tightening torque : 16.7 - 22 N·m
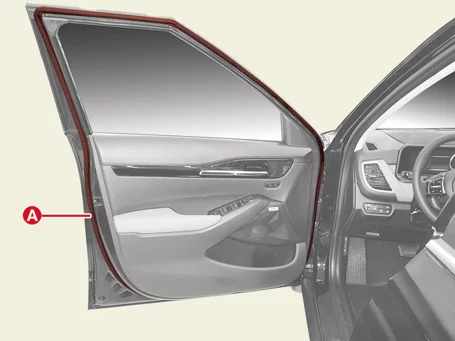
- Remove the front door side weatherstrip (A).
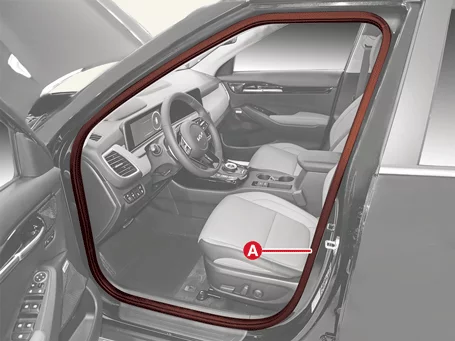
- Remove the front door body side weatherstrip (A).
- Remove the outside rear view mirror. (Refer to Mirror - "Outside Rear View Mirror")
- Remove the front door belt outside weatherstrip (A).
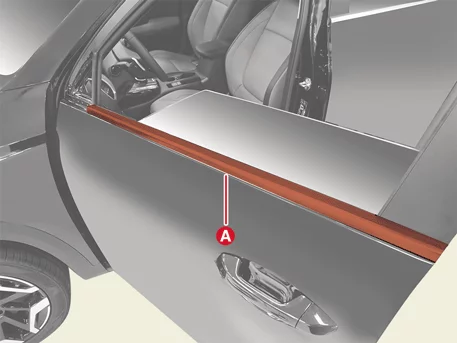
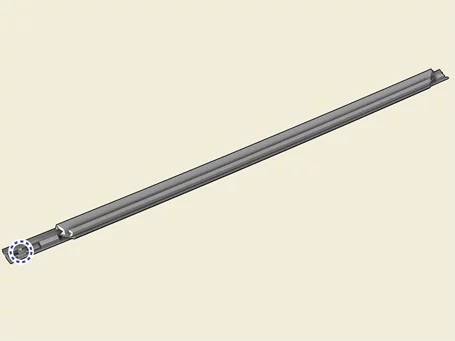
Clip position : - Remove the front door trim. (Refer to Front Door - "Front Door Trim")
- Remove the front door belt inside weatherstrip (A).
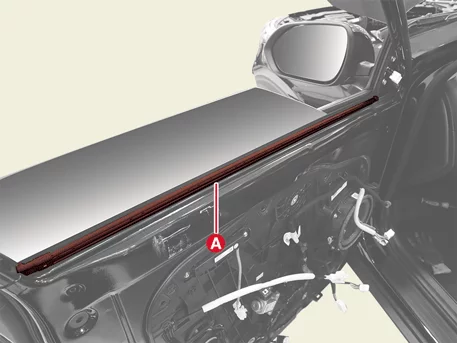
Installation
- Install in reverse order of removal.
Was this page helpful?