Single-Use Parts
Hood
In this manual: Single-Use Parts
10steps
~60min
3/5difficulty
Done 0 of 10
Contents:
Components and Components Location
Component
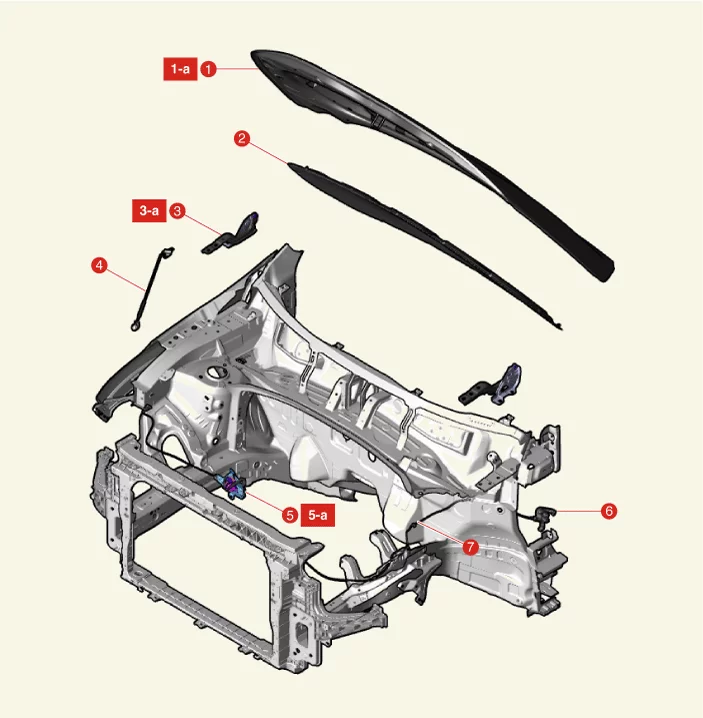
| 1. Hood Assembly 1-a. 18.6 - 28 N·m 2. Hood Insulator Pad 3. Hood Hinge 3-a. 21.6 - 26 N·m 4. Hood Lifter |
5. Hood Latch Assembly 5-a. 6.9 - 10,8 N·m 6. Hood Latch Release Handle 7. Hood Latch Release Cable |
Adjustment
Adjustment
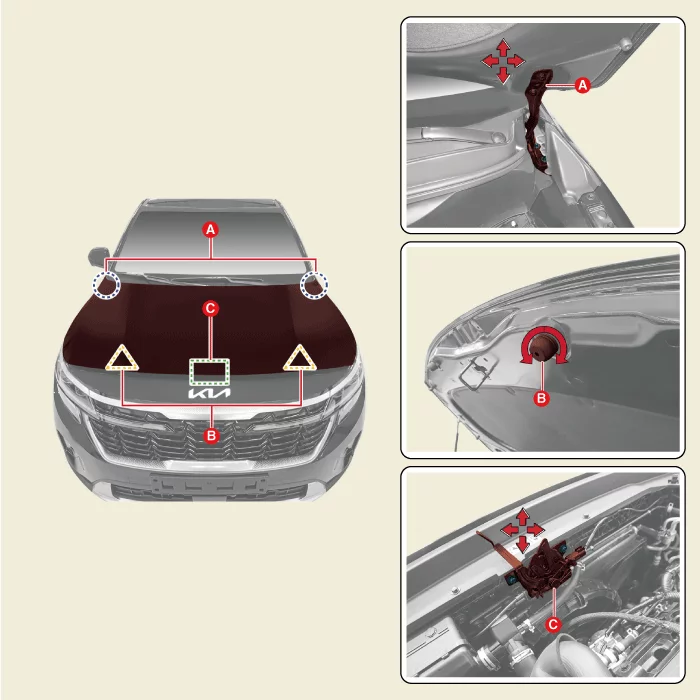
- Loosen the hood hinge (A) bolt to the body.
- Tighten the bolt after adjusting the hood by moving it in all directions.
- Adjust the height of the hood by turning the overslam bumper (B) in clockwise and counterclockwise.
- Loosen the hood latch (C) bolts, adjust the hood latch by moving it up, down, left and right, and then tighten the bolts.
- When the hood is closed after the completion of adjustment, check if there is an iron noise when the front hood latch area of the hood assembly outer plate is tapped. If there is iron noise, increase the overlap by adjusting the two hood over slam bumpers down one quarter to a half of a turn.
Hood Assembly Removal and Installation
Removal
|

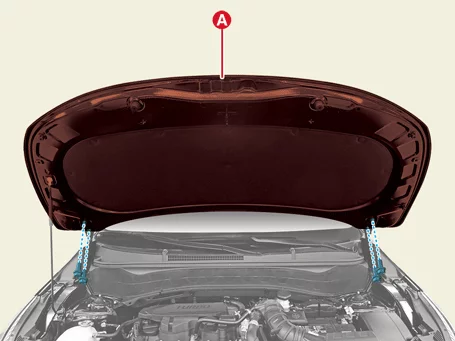
- Remove the hood assembly (A) after removing the bolts.
Tightening torque : 18.6 - 28 N·m
Installation
- Install in reverse order of removal.
Hood Insulator Pad Removal and Installation
Removal
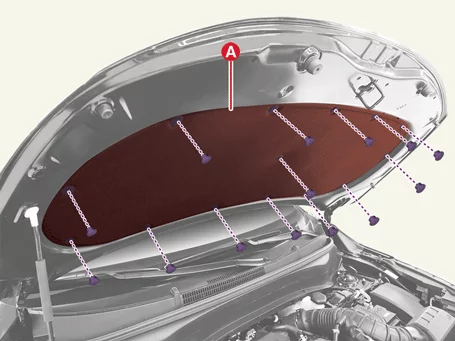
- Remove the hood insulator pad (A) after removing the clips.
Installation
- Install in reverse order of removal.
Hood Latch Release Handle Removal and Installation
Removal
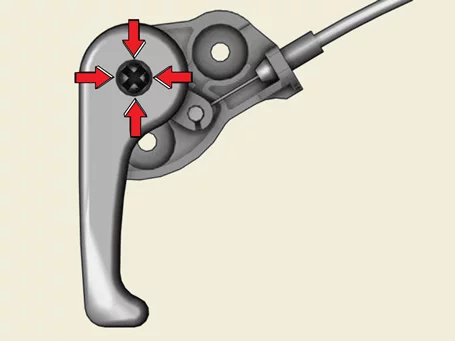
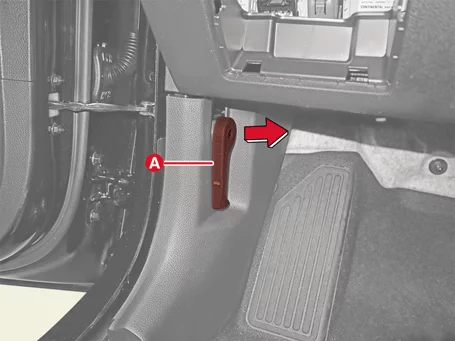
- Remove the hood latch release handle (A) after retracting the fixing hook inside.
Installation
- Install in reverse order of removal.
Hood Latch Assembly Removal and Installation
Removal
- Disconnect the battery negative ( - ) terminal.
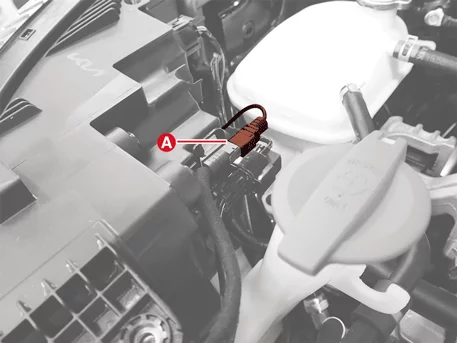
- Disconnect the hood latch connector (A).
- Remove the hood latch wiring clips (A).
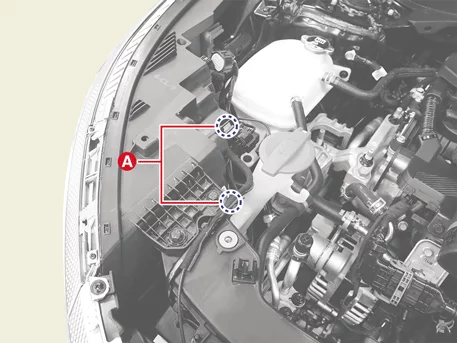
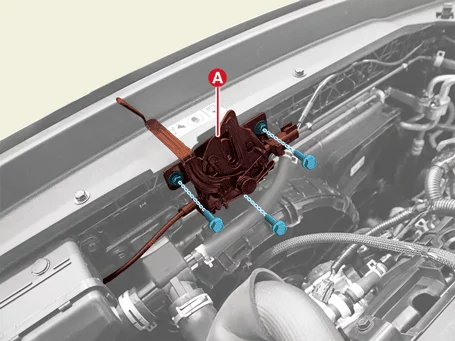
- Remove the hood latch assembly (A) after removing the bolts.
Tightening torque : 6.9 - 10,8 N·m
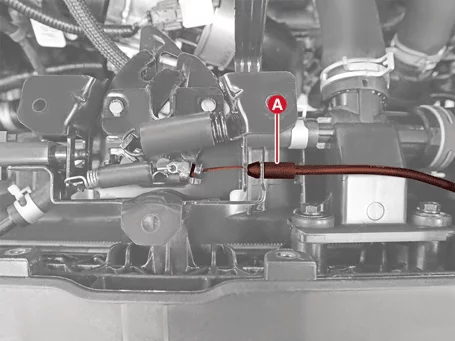
- Separate the cable (A).
Installation
- Install in reverse order of removal.
Was this page helpful?