Single-Use Parts
Fuel Filler Door
In this manual: Single-Use Parts
7steps
~42min
2/5difficulty
Done 0 of 7
Contents:
Removal and Installation
Removal
Fuel Filler Door
|

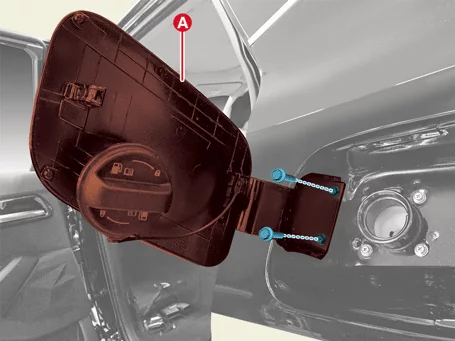
- Open the fuel filler cap.
- Remove the fuel filler door (A) after removing the bolts.
Tightening torque : 3.9 - 5,9 N·m (0.4 - 0.6 kgf·m, 2.9 - 4.3 lb·ft, 34.7 - 52.1 lb·in)
- Remove the floor carpet. (Refer to Floor Carpet - "Removal and installation")
- Remove the driver's side luggage side trim. (Refer to Tailgate Trim - "Luggage Side Trim")
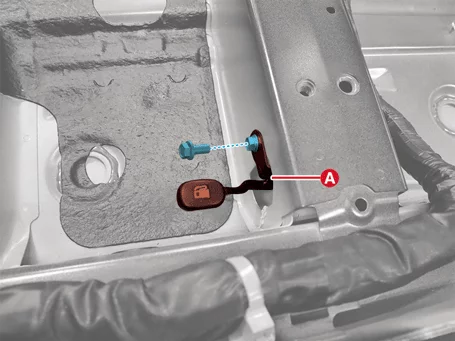
- Remove the fuel filler door handle (A) after removing the bolt.
Tightening torque : 7.8 - 11,8 N·m
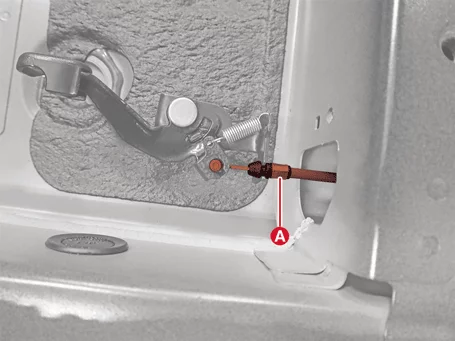
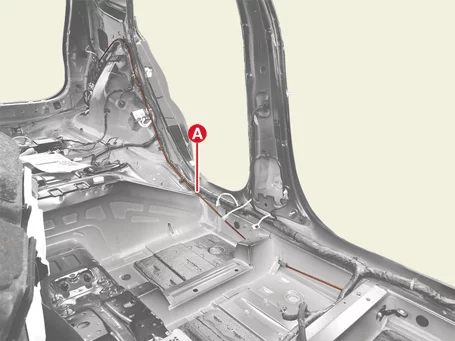
- Separate the control cable (A) from the fuel filler lead handle.
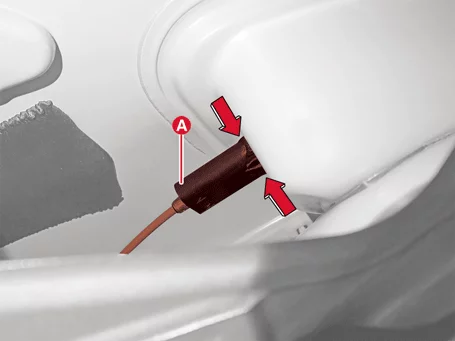
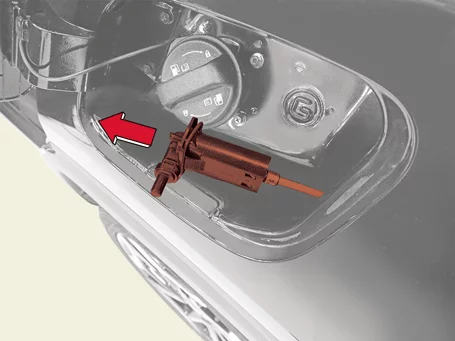
- Remove the fuel filler door opener (A) in the direction of the arrow after pressing the hooks.
Installation
- Install in reverse order of removal.
Was this page helpful?