Single-Use Parts
Roof Trim
In this manual: Single-Use Parts
23steps
~138min
4/5difficulty
Done 0 of 23
Contents:
Sunvisor Removal and Installation
Removal
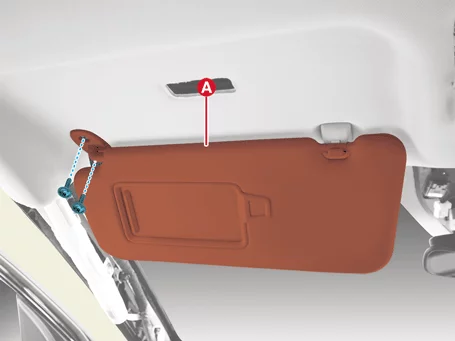
- Remove the sunvisor (A) after removing the screws.
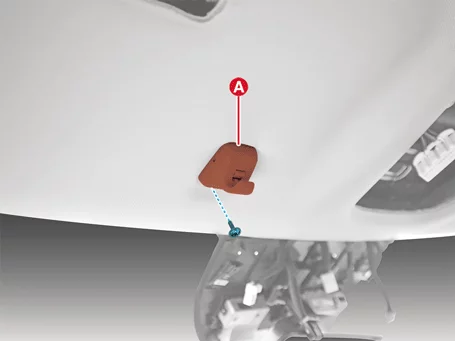
- Remove the sunvisor retainer (A) after removing the screw.
Installation
- Install in reverse order of removal.
Assist Handle Removal and Installation
Removal
- Open the assist handle cap (A).
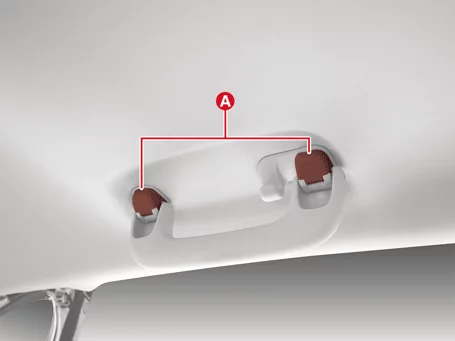
- Remove the assist handle (A) after removing the screws.

Installation
- Install in reverse order of removal.
Roof Trim Assembly Removal and Installation
Removal
- Remove the front seat assembly. (Refer to Front Seat - "Front Seat Assembly")
- Remove the rear seat back assembly. (Refer to Rear Seat - "Rear Seat Assembly")
- Remove the front pillar trim. (Refer to Interior Trim - "Front Pillar Trim")
- Remove the center pillar upper trim. (Refer to Interior Trim - "Center Pillar Trim")
- Remove the rear pillar trim. (Refer to Interior Trim - "Rear Pillar Trim")
- Remove the sunvisor or retainer. (Refer to Roof Trim - "Sunvisor")
- Remove the assist handle. (Refer to Roof Trim - "Assist Handle")
- Remove the overhead console lamp. (Refer to Body Electrical System - "Overhead Console Ramp")
- Remove the room lamp. (Refer to Body Electrical System - "Room Ramp")
- Remove the vanity lamp. (Refer to Body Electrical System - "Vanity Lamp")
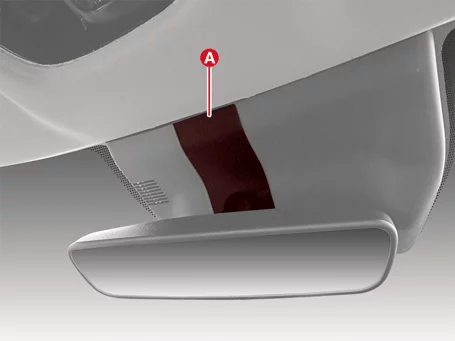
- Remove the multi sensor blanking cover (A).
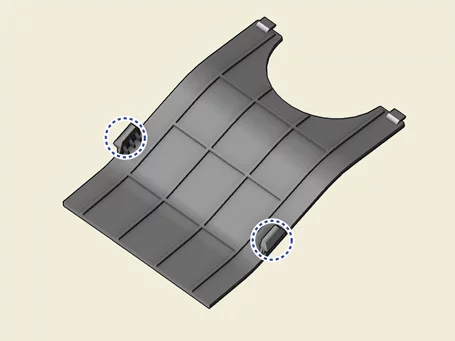
Clip position :

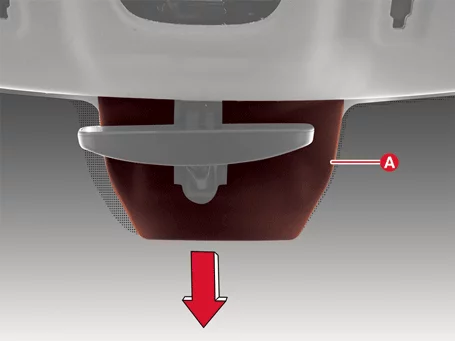
- Remove the multi sensor cover (A) in the direction of the arrow.
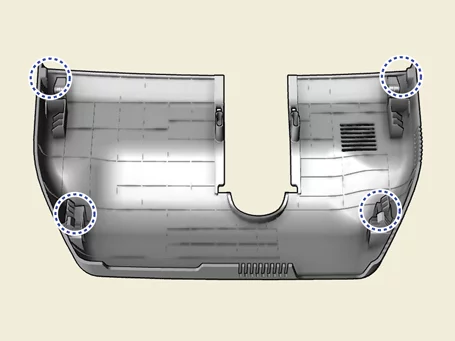
Clip position : - Disconnect the multi sensor connectors (A).

- Disconnect the roof trim connectors (A).
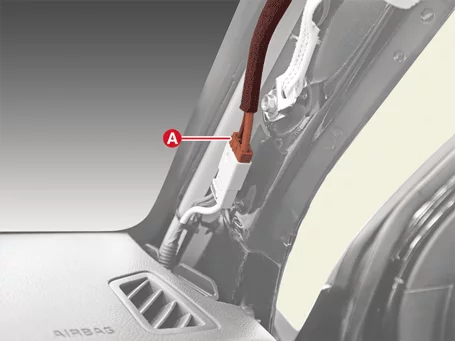
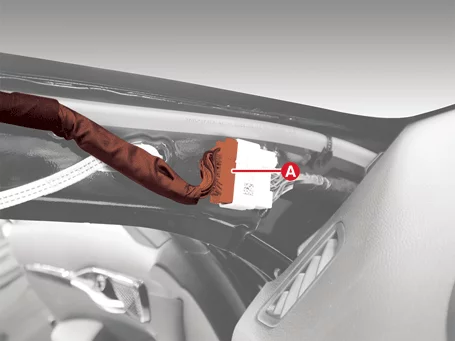
- Remove the roof trim wiring clips (A).
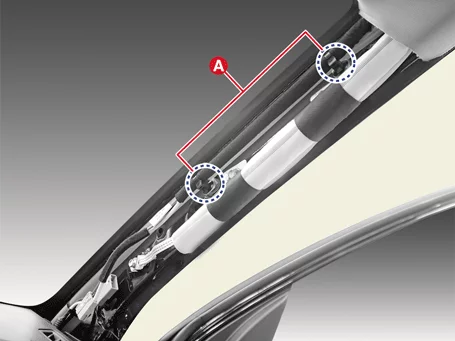

- Remove the roof trim assembly (A) after removing the clips.
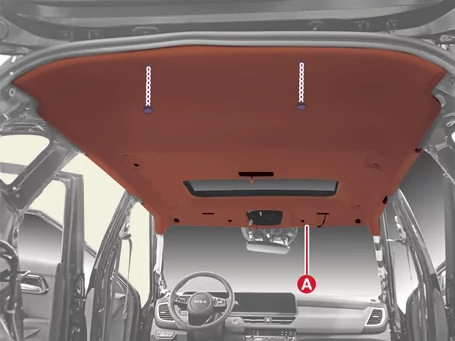
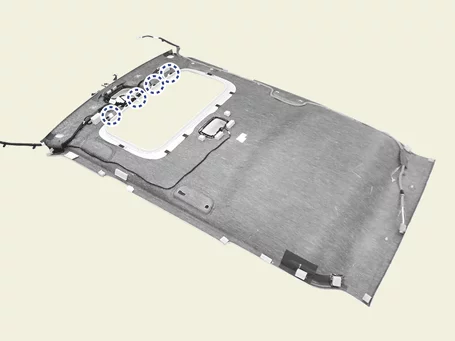
Clip position : - Disconnect the sunroof motor connector (A).
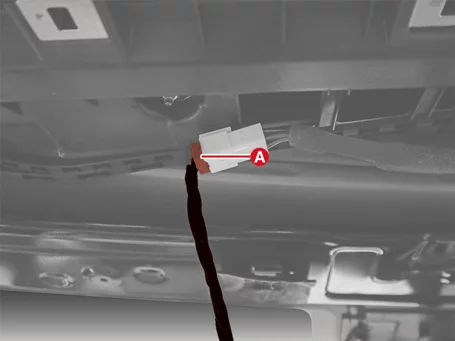
- Disconnect the shark pin antenna connector (A).

- Remove the roof trim assembly (A) and pull it out in the direction of the arrow.

Installation
- Install in reverse order of removal.
Was this page helpful?