Oil Pump
GENERAL INFORMATION
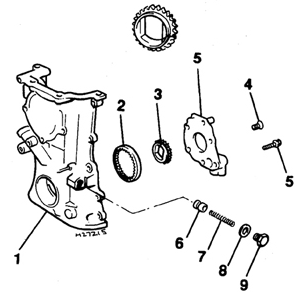
Oil Pump Components
1. Front cover
2. Driven cover
3. Drive gear
4. Screw
5. Oil pump cover bolt
6. Piston
7. Spring
8. Sealing washer
9. Bolt
Removal Remove the front cover (see subsection 3.1.1.12).
Inspection
PROCEDURE

1. Remove the screws and bolt.
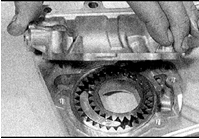
2. Remove the oil pump cover from the back side of the front cover.
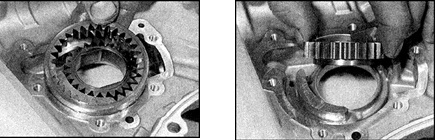
3. Remove the oil pump gears (in the left photo – driven gear, in the right photo – drive gear).
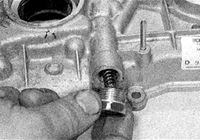
4. Unscrew the bolt, and remove the washer, spring and relief valve piston, noting the piston orientation.
5. Inspect the pump gears and relief valve piston for signs of wear.
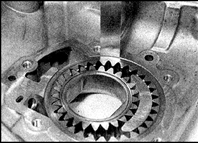
6. Install the gears into the front cover and check the clearance between the driven gear and the pump housing.
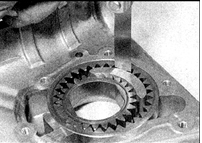
7. Check the clearances between the teeth of the driven and drive gears and the crescent insert.
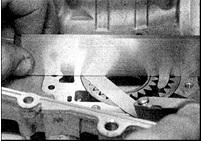
8. Check the axial play of the driven and drive gears.
9. If the necessary tools are available, determine the clearance between the driven gear and the pump housing by measuring the diameters.
10. If there are signs of damage, or if any measured clearance exceeds the specification, replace the front cover.
11. If the gears are heavily worn, also check the condition of the bypass valve: remove the oil filter, then inspect the valve ball for signs of wear and check that it moves freely. If the valve is sticking, replace it: press the valve out of the cylinder block and press in a new valve. Replace the oil filter.
12. Lubricate the oil pump gears with fresh engine oil and install them into the cover. The driven gear must be installed with its shoulder facing outward.
13. Install the pump cover and tighten the bolt and screws to the specified torque.
14. Assemble the relief valve.
Installation Install the front cover.
Test yourself
A quick Nissan Sunny quiz: every answer comes with an explanation and a link to the manual page.